Servicing your brakes is a normal part of vehicle ownership, and that's because brake pads and rotors are designed to wear out over time. Sometimes, though, a non-consumable part might need to be replaced. If you suspect your brake calipers might be bad, keep reading to find out more about how they normally work, signs they need to be replaced, and how to get the job done.

How a Brake Caliper Works
The brakes on modern vehicles are a bit more complicated than you might expect but here's a simplified look at what happens in a disc brake system. Let's start with what happens when you press the brake pedal.
When you apply the brakes, you create a force that is sent to a hydraulic system. Hydraulic systems work on the principle that, unlike air, fluid can't be compressed. In a braking system, this means that brake fluid is pushed out from the master cylinder and moves to each wheel via brake lines. The force of the fluid then pushes on the brake pads, which create friction against the rotor and slow the vehicle.
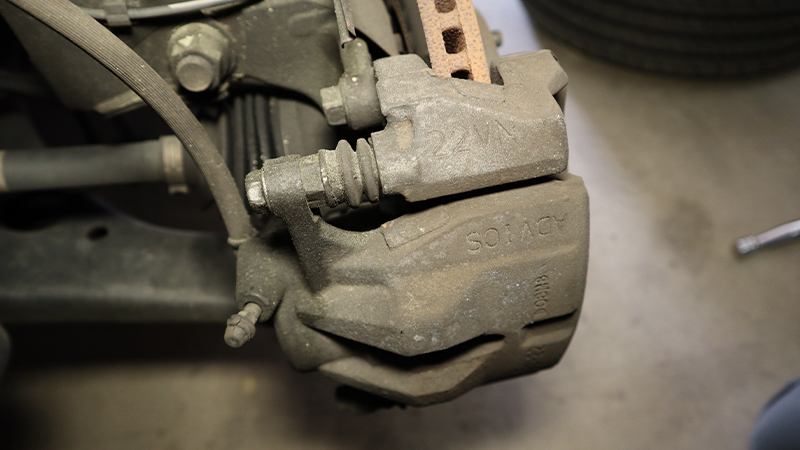
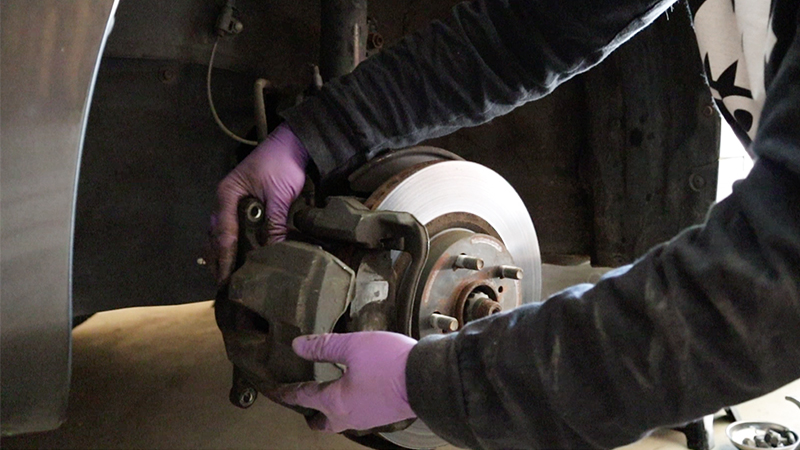
The brake caliper is the point where the hydraulic and friction components meet. Inside the C-shaped caliper is a piston — or sometimes multiple pistons, depending on the needs of the vehicle. When brake fluid gets pushed to each wheel, it then puts pressure on the caliper pistons, which move against the brake pads that are held in place inside the caliper. The pads, in turn, make contact with the rotors.
Calipers are not meant to be replaced at regular intervals like brake pads and rotors. Ideally, they'll last the life of the vehicle, so you probably won't even think about your brake calipers until you have a problem.
Signs of a Bad Brake Caliper
You might first experience signs of a bad caliper while you're driving:
- You might notice that your vehicle pulls to one side. This can happen when one brake remains engaged, causing a drag that pulls on one side of the vehicle.
- Another common sign is that your brake pedal feels soft or spongy. Seized slide pins – which need to be able to move freely – can cause this condition.
- It's possible you might also hear some abnormal sounds, like squealing or grinding as the friction pad is prematurely worn away. These are also the normal sounds you might hear when it's time to replace your pads and rotors, so don't panic just yet.
- A burning smell coming from one wheel. The constant engagement of the brakes when the caliper is frozen can quickly lead to overheating and an alarming smell.
In fact, all of these symptoms could point to more problems than just the caliper, so you'll need to take a look at the brake caliper itself. Other signs of a bad brake caliper include:
- Leaking brake fluid around the piston
- Seized slide pins on floating calipers
- Seized caliper piston
- Rust or pitting around the piston

A frozen slide pin or piston will cause abnormal brake pad wear as a pad remains engaged and is dragged across the rotor. Checking a slide pin on a floating caliper is easy, as you should be able to move it by hand even without removing the caliper. A C-clamp or piston retractor is an easy way to confirm a piston is seized. For further confirmation here, keep in mind that with a seized piston you might see more wear on the inside pad, whereas a frozen slide pin often causes abnormal wear on the outside pad.
If you're wondering, yes, sometimes calipers can be rebuilt. However, we recommend replacing them instead. It's a real time-saver, plus given the importance of your brakes, we think evaluating whether a caliper can safely be rebuilt is best left to the pros.
This is a project that needs some know-how
-
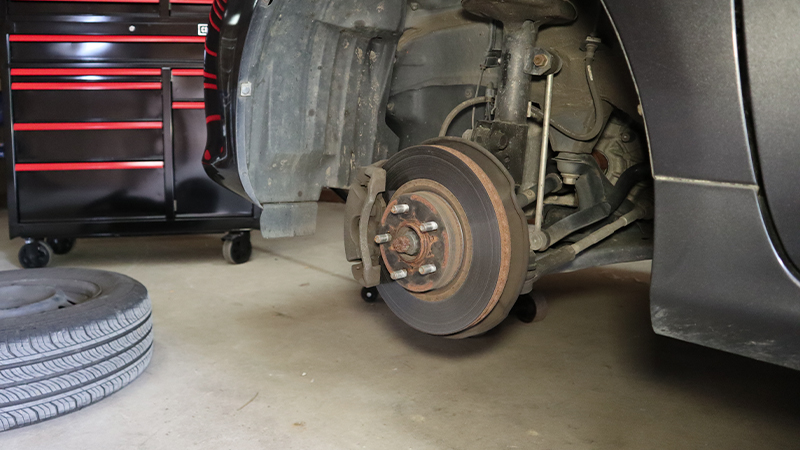
1. Break the lug nuts loose but don't remove them. Safely lift the vehicle with a floor jack and place jack stands at the lift points on the frame.
-
Remove the wheel.
-
We recommend you then attach a hose to the bleeder screw for drainage. Crack open the bleeder valve and allow the brake fluid to drain into a container for proper disposal. This step prevents old, contaminated fluid from circulating back into the system.
-
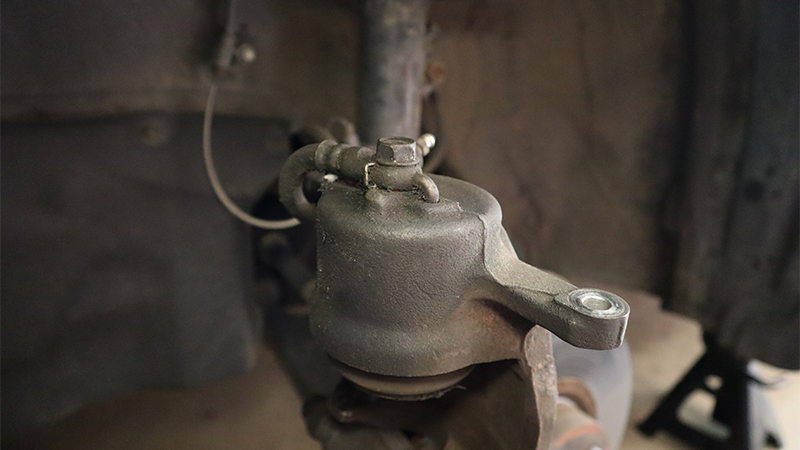
Many brake lines are secured to the caliper with a banjo bolt, which is hollow. Remove this bolt and replace any washers between the bolt and the brake line and caliper.
-
Remove the bolts that secure the caliper to the bracket. If you're completing the brake job, you'll want to remove the bracket bolts that connect to the steering knuckle at this time, too.
-
Inspect your brake pads. A problem with a caliper can cause abnormal and uneven wear on pads, and replacing them is almost always recommended. For more help with this, read our guide to replacing brake pads and rotors.
-
Installation of the new caliper is the reverse of removal. Tighten all bolts to specification with a torque wrench.
-
Removing a caliper allows air to enter the brake system. To remove all of the air, bleed the brakes, starting with the wheel farthest from the master cylinder (usually the right rear). Having a friend help you will make this job much easier, and for exact steps, read how to bleed brakes.
- Any time you put caliper back on the vehicle with the piston fully recessed, the brake pedal will travel all the way to the floor at first. This is normal. Pump the brakes a few times to get enough brake fluid pushing the piston outward, and the pedal should firm up. This does not replace the brake bleeding procedure, though.
- There's usually a core charge on brake calipers, so transfer any plugs that came with the new caliper to seal up the old one for easy, clean transport back to your local Advance.
- If you replaced your brake pads, they need to be broken in, or “burnished." The exact procedure varies but generally involves periodic braking applications at various speeds.
Before You Begin
We recommend you replace your calipers in pairs (both front or both rear) for the best performance. Keep in mind that calipers are side specific, so double check your parts before starting. It's best to realize you have a left caliper for the right side while you can still drive your vehicle. Left means driver's side and right means passenger.
Also keep in mind that a bad caliper often means the brake pads will be worn unevenly, so it's a good idea to go ahead and have pads and rotors for both sides handy. Let's get started.
Take this opportunity to use a penetrant spray and a wire brush to clean the slide pin housings inside the bracket. Over time, sludge and rust can accumulate and lead to seized slides. Or you can skip this step altogether by purchasing CarQuest Premium calipers, which come with new brackets.
Some calipers come with new washers and pad hardware included, such as CarQuest Premium calipers. If you've purchased calipers without these items, be sure to purchase them separately. They're inexpensive and can affect your brake performance when they wear out.
Here are some final important reminders as you finish up:
And that's it—you're done. Your brakes are one of the most important parts of your vehicle, so be proud that you've tackled this job!
Is this a job you're looking to tackle soon? Let us know in the comments.