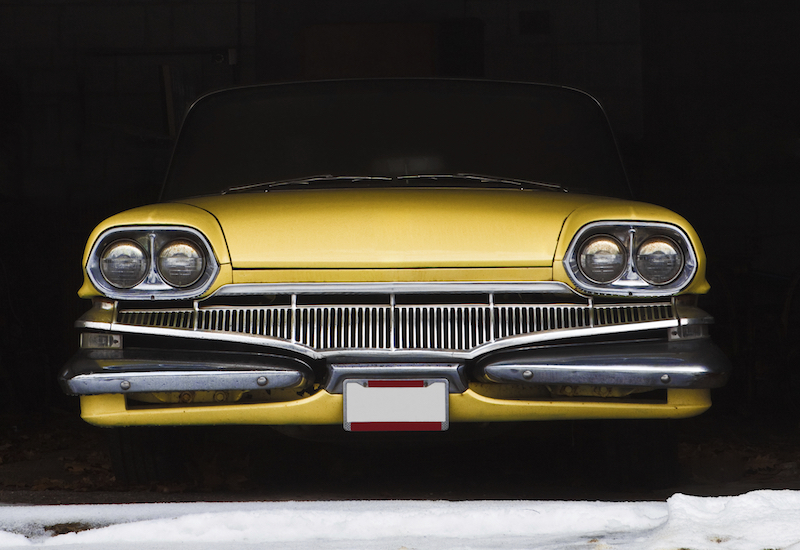
Vitamin D is great for your skin but not so much for your vehicle's clear coat. UV rays, age, and road debris all take their toll, eventually leading to a fading or clear coat peeling. This makes your vehicle look gross (like a peeling sunburn), but paint shops will want to strip it all and repaint it, which takes weeks and costs thousands of dollars.

You don't necessarily have to go that route. Here's a DIY solution for peeling clear coat, and how to do it yourself for less money.
What Causes Clear Coat Damage
Clear coat damage is caused by a number of factors, but the primary culprit is the sun's UV rays—the same rays that crack your dashboard, fade your carpets and cloth upholstery, and cause plastic rot on interior trim panels. Ultraviolet light slowly degrades the outer layer of paint protection, burning it white and rough. Road debris also causes damage, and small scratches or pits can lead to clear coat peeling if ignored. On rare occasions, the factory slips and allows the base coat too much time to dry before adding the clear coat. This means the base is totally dry, instead of a slightly tacky prepped surface for the clear to adhere to. Since the clear won't ever entirely settle to the dry paint, it will easily peel or flake off down the road, usually when you're well out of warranty.
Preventing Clear Coat Damage
Regular waxing can help prevent clear coat damage by placing a thin invisible barrier between the clear coat and the sun's damaging rays. A faded or peeling clear coat is too late to save with preventative treatments. Even using the best car-wash soap, clay bar, and wax will result in a cleaner, better-looking exterior, but the damage is still easily visible. Here's a look at clear coat damage with all the preventative steps applied:

Not much better, is it? It's cleaner, but the damage is easily visible. While a solid regimen of washing and waxing will help prevent clear coat damage, the products can do little when applied after the damage. It's like putting a brush guard on a truck that's already been in a front-end collision.
Quality body shops will try and sell you the real solution, but it won't be cheap. They will want to strip the entire panel (or vehicle, if the damage is everywhere), apply primer, basecoat, and then clear in several layers. For a show-winning paint job, this is the only way to repair clear coat and have a long-lasting, high-quality finish. If you are looking for a factory quality paint job that will last another decade and a half without fading, also go with a paint shop's recommendation.
Unfortunately, since the base coat has been set for years, any new clear coat will sit on top of the base coat instead of bonding together. This is why a paint shop will want to start over. The steps below show you how to restore clear coat to a factory-like finish, but it will not be as durable as what pro shops provide, so expect approximately half the life out of this fix compared to a real strip/repaint. It will look nice enough to last your kid's car through high school, but it's not a permanent fix.
Gather Your Tools
You will need to have the basic car wash supplies on hand, as well as fine-grit sand paper, and an aerosol clear coat. If you are stocked with air tools and a compressor at home, look to a spray gun for a more professional finish. This is like the difference between your cell phone's camera, and a professional's full-frame camera. Sure, they both generally do the same job, but paying more gets you a whole lot more flexibility. A single can of clear will get you through this job before getting thrown away. A spray gun can be used again and again, and can adapt to anything you spray down the road, like primer and metallic base coats.
How to Repair Clear Coat
First, use a degreaser to remove any leftover wax. Then clean the entire body panel with a good car-wash soap. This removes any leftover degreaser and foreign contaminants that could mar the clear coat.
Mask off the repair area using painter's tape, applying about an inch outside the damaged area.

Source | Andy Jensen
Use an 800-grit sandpaper to sand down the rough clear coat until you can't feel it anymore. Go lighter on the surrounding clear coat, as you are trying to smooth and blend the damaged area, not remove more clear coat.
Wipe clean with a microfiber cloth and isopropyl alcohol to remove any contaminants left by sanding.
To spray new clear coat, shake the aerosol can for at least a minute, then apply a light first coat. Overlap the application onto the entire area you sanded, not just the damaged area. Let the first coat dry for five minutes and spray another light second coat.
Wait another five minutes to see if it needs a third coat. If not, pull the tape off slowly, at an angle away from the repair. Once it's off, you'll see that the repair area is easily noticeable compared to the surrounding older clear coat.
Depending on the temperature, humidity, and thickness of layers applied, you should let the clear coat dry anywhere from an hour to 24 hours before continuing. Once fully dried, use 2,000-grit sandpaper to wet sand and grind down the border of the repair, blending the new clear with the older clear coat. Go easy, as you are trying to blend, not remove layers.

Then use rubbing compound, then polish on a buffer. Use a slow setting, light pressure, and the wheel should rotate from new clear to old. At this point, no one besides yourself should be able to see where the damage was. Give it a few weeks to cure completely before hitting it with wax.
Any tips to add? Please comment below!


