Source | Igor Ovsyannykov
Rear and front differential fluid, like any fluid system in a vehicle, needs changing over the life of the vehicle. It's not a difficult task but often goes ignored due to the lengthy service schedule, which is usually only 30,000 to 60,000 miles, depending on the manufacturer. If the differential in your high-mileage Silverado is leaking, or you're changing all the fluids to synthetic in your Mustang, follow along for a guide on how to change your differential fluid in an easy afternoon. Remember, though, that you might want to shorten these intervals if your vehicle sees severe service like hauling heavy loads, off-road use, trailer towing, etc.
This is a good project for new DIYers
-
Park on a flat surface and set the parking brake.
-
Jack up rear of the vehicle using proper jack points. Set on jack stands. Chock the front wheels.
-
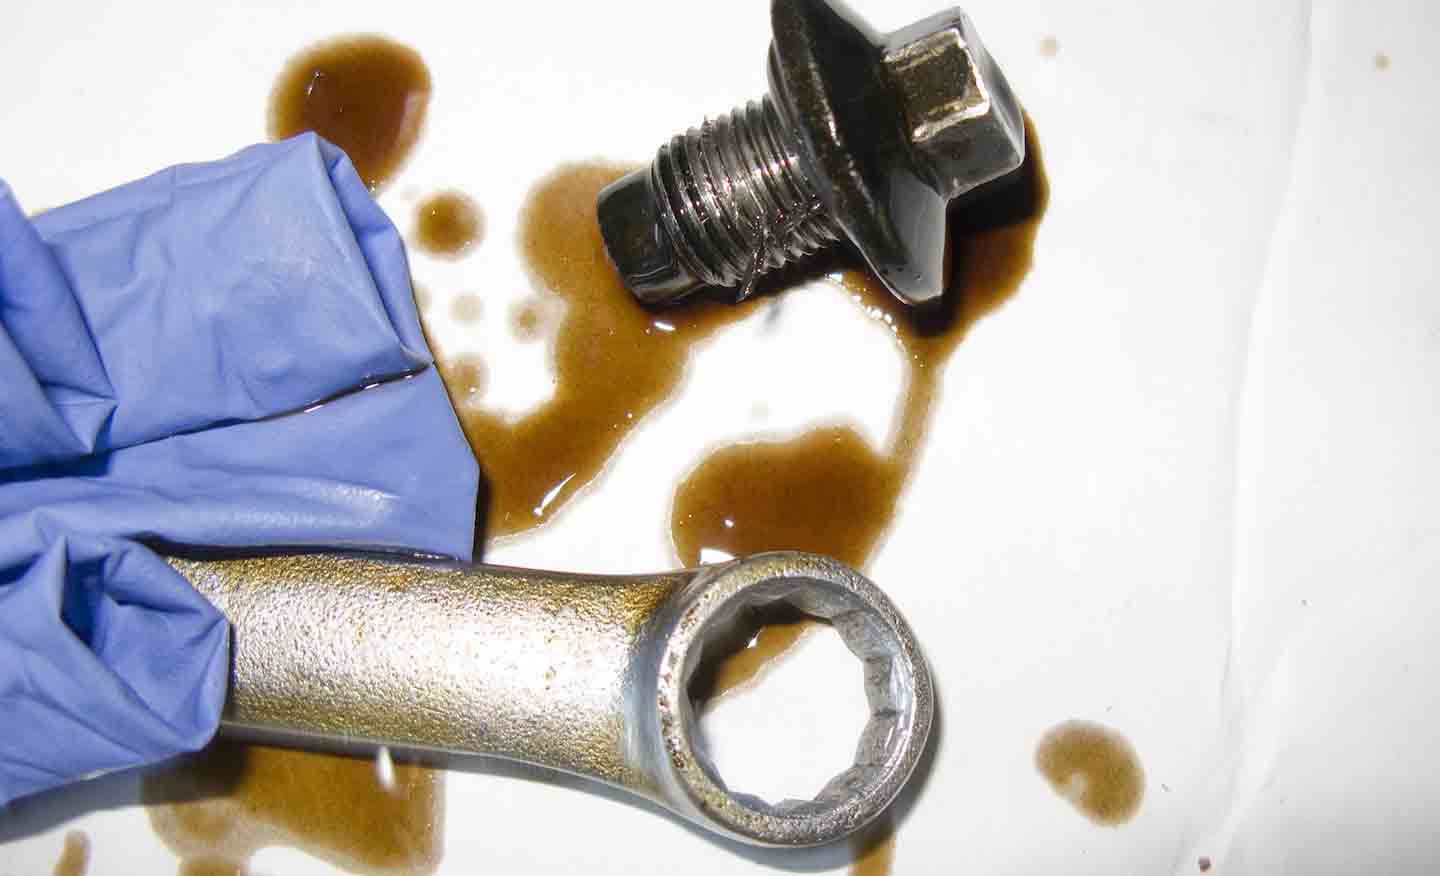
Remove the fill bolt before draining the fluid. If your differential housing has a drain plug, place a catch pan under the housing and undo the drain plug. Some vehicles will feature a rubber plug, making your job a whole lot easier. Let the differential fluid drain completely, then replace the plug. Refill with fresh fluid, and lower the vehicle. Without a drain plug, continue to step 4.
-
Remove the differential fill plug located on top of the differential housing, being aware that it might require something unusual like a large torx bit or a ½-inch box extension, rather than a conventional socket or wrench. Then remove the differential cover bolts using standard sockets, leaving only the top bolt loosely attached. The differential cover will be stuck to the housing, so use a pry bar or screwdriver to pry the cover off the bottom of the housing. Have the catch pan ready and be careful not to bend the cover, or it could leak.
-
Differential oil will flow out of the bottom, but give it a few minutes to drain completely. Then spray brake cleaner into the housing to get the rest, being careful of overspray. Spray the inside of the differential cover as well. Inspect the drained oil for metal shavings (there shouldn't be any).
-
Use a scraper to remove gasket remnants from the differential cover and housing mating surfaces. Be thorough and make sure the mating surfaces are completely clean of gasket debris—you don't want to have to redo this job because of a leak.
-
If using a gasket maker, place the differential cover with the inside surface facing up. Lay down a continuous bead of gasket maker along the center of the differential housing mating surface. Let it cure a few minutes (follow the directions on the package), then press the cover onto the housing, holding it in place another minute. Hand-tighten all the cover bolts and let it sit for an hour. Then torque the bolts to spec in an alternating star pattern.
-
If using a gasket, align the bolt holes with the corresponding holes in the housing cover. Use gasket glue or any spray adhesive to tack it in place. Then bolt on the cover, using the pattern above.
-
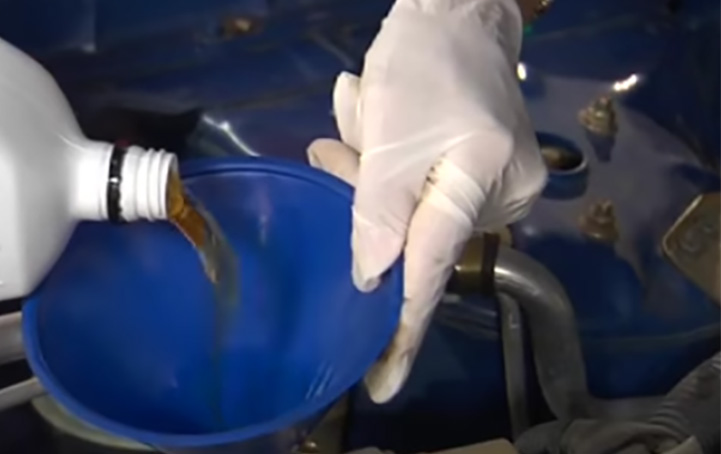
Add the recommended fluid through the filling port and limited slip additive, if necessary. Use a fluid pump for easier filling. Replace the filler bolt, and torque to spec.
-
Lower the vehicle and take it for a test drive. Monitor for leaks over the next week.
Two notes before we start. First, used differential car fluid is by far the worst-smelling stuff in your vehicle, so proper ventilation is really beneficial. It's a nasty sulfurous smell that you'll recognize right away; should you ever smell it, it means you've got a problem. Work outside, or use a box fan to keep your work area fresh if working in a tight garage. Second, this guide will take it a little slow and careful, as the extra work will prevent an annoying leak. This isn't the fast way; this is the right way.
Don't support the vehicle by the differential housing or axle tubes. This puts the vehicle weight on the area you need to work on, placing load, tension, and stress on the differential cover bolts, making them impossible to remove.
Spray brake cleaner on a rag and rub it on the surfaces to get them car-show clean. Meticulous work here will prevent leaks.


