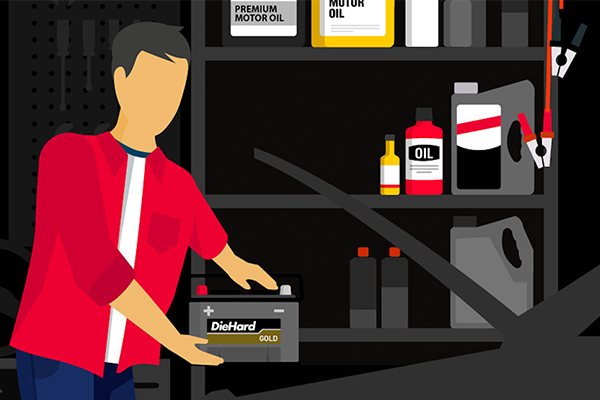
The amount of electronics in today's vehicles means there are wires practically everywhere. We don't see them, though, because that would just be unsightly and detract from a vehicle's stylish interior. Instead, all this wiring is bundled together inside flexible plastic conduit to create wiring harnesses that traverse the vehicle through channels along a vehicle's sides, ceiling, and floor, hidden behind trim panels, carpeting and upholstery.
Because these wiring harnesses run through tight spots, and are subject to tens of thousands of side or hatchback door openings and closings, there's ample opportunity for one wire in the bundle to break, or cause a short after its protective plastic cover has worn away. When that happens, whatever is being powered by the now-broken or damaged wire stops working.
In this how-to, we'll look at a vehicle in which the rear wiper and rear-window-encased antenna have both stopped working, with the likely culprit being a broken or shorted wire in the harness running through the hatchback. Your problem probably won't be the exact same, but focus on the process. You'll find that electrical diagnoses require keeping a clear, calm head, and always start with the quick and simple tests first. Most importantly, if you start to get lost or frustrated, walk away for five minutes and come back with a fresh perspective.
This is a good project for new DIYers
-
Using your repair manual or fuse box guide, determine which fuse or relay is associated with the non-working accessory. In this case, where more than one component isn't working, use the wiring diagram to find shared points in the circuit. Doing so will automatically narrow down the areas you need to visually inspect and test.

Source | Rich Ellis
-
Next, check the fuse to ensure it isn't burned out and causing the problem, and consider these tips for checking fuses using a test light.
- Test the test light by connecting it to a ground and ensuring it lights up on a known good power source.
- Check both sides of the fuse to confirm it is receiving power, if it's not hot at all times.
- When replacing a bad fuse, make sure the new fuse has the same amp rating as the original. Using a a new fuse with a higher amp allows too much current to flow through the circuit, potentially damaging components.

Source | Rich Ellis
-
Expose the vehicle component that isn't working so that you can see where wires connect to it. In many cases, this will require removal of interior trim panels. If that's the case, proceed carefully as interior trim tends to be delicate and becomes brittle with age. You might find a plastic trim removal kit handy.

Source | Rich Ellis
-
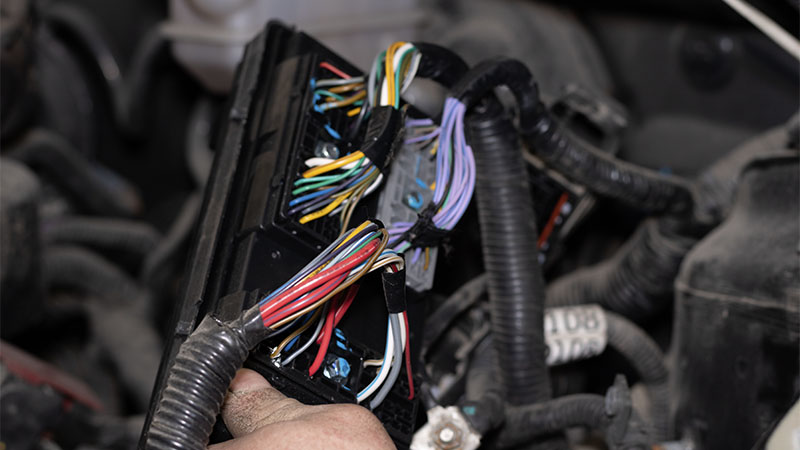
If the wires are enclosed in a flexible plastic tube, carefully remove the tube so you can see and feel the wires.
-
Visually inspect each wire, looking for any spots where the plastic covering has worn away, exposing bare copper wire. These are problem areas and need to be repaired.
-
Turn on the switch powering the accessory and grab your multimeter. We're about to check for voltage.
-
Touch the multimeter's negative lead to any good ground, and place the positive lead on the non-working vehicle accessory's positive terminal or wire leading to it to see if there is voltage flowing to the accessory. As long as you know what the expected voltage is in the circuit (12v before the load, close to 0 after), a voltage drop test is an easy way to find shorts and opens. Splitting the circuit into thirds helps narrow it down, so start by back probing with T-pins from battery to the load, then test the load, and then the ground side of the circuit. If there is, but the accessory still isn't working, then the problem is probably related to a grounding issue. If you suspect a grounding issuing, check for these potential causes and solutions to determine if there's an issue on the ground side of a circuit:
- corrosion on a the ground bolt
- a loose connection between the wire and that bolt
- an issue with the ground wire, such as a visible trouble spot where the wiring harness is rubbing against something or where water and dirt might be present
- use a jumper wire from the load to a known good ground to confirm there's a ground-side issue
If there isn't any electricity flowing to the accessory, the problem may caused by a faulty wiring harness or a bad switch.
-
To test the wiring harness, first remove the wires connected to the accessory. Carefully trace the wires back to the first connection point you encounter. This may require the removal of the wires from the protective plastic tubing. Disconnect the wires at that first connection point encountered.
-
You're now going to test this length of the wiring harness for continuity, which shows whether electricity is able to flow through the wiring. Set the multimeter on the “continuity" setting.
-
Assuming there are multiple wires in the wiring harness, place one probe in one socket of the connector, and then trace that individual wire back to the other end and attach or insert the multimeter's other probe on this end. If the multimeter's reading is infinite ohms or OL (out of limits), this indicates the circuit is electrically open and this section of wire is most likely bad.
In good circuits, where the wire is functioning properly, resistance should be .3 ohms or less, or .5 at the most.
-
Repeat this procedure for the other wires in the wiring harness until the bad section is identified.
If all the wires in the wiring harness are good, then the problem could lie in a section of the wiring harness between the accessory and power source that hasn't yet been tested.

Source | Rich Ellis
-
Once the bad wire has been identified, options for fixing the problem include repairing the wire by removing the bad section and splicing in a new wire, or replacing the one whole section of the wiring harness with a new one.