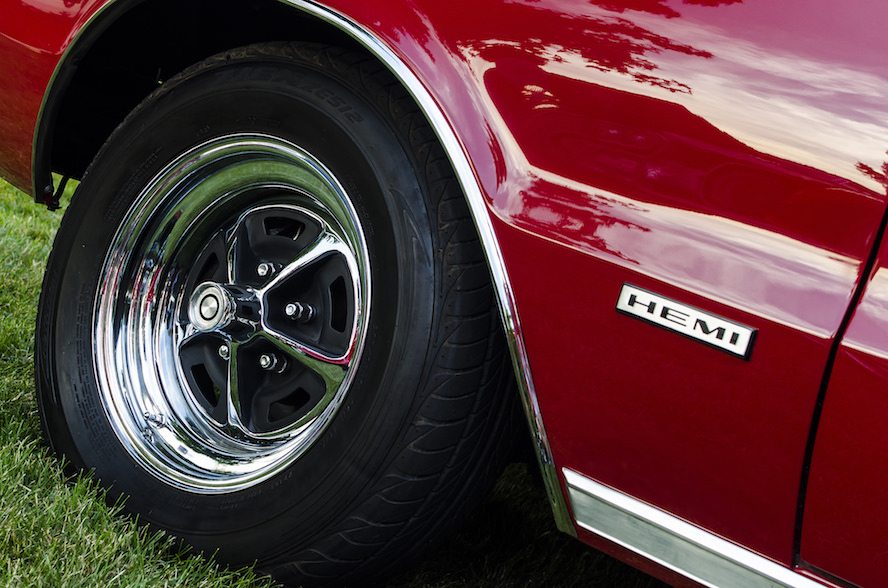
Aluminum wheels look great and provide a lightweight advantage over steel wheels. That weight advantage means less rotating mass to bring to a halt and lower unsprung weight, both of which are great.
Unfortunately, they need more maintenance than OEM painted wheels. If your aluminum wheels are oxidized dull white or looking like they're made out of brake dust, here is a step-by-step guide to restoring them to a like-new finish.

Source | Bubba73
The different types of wheels
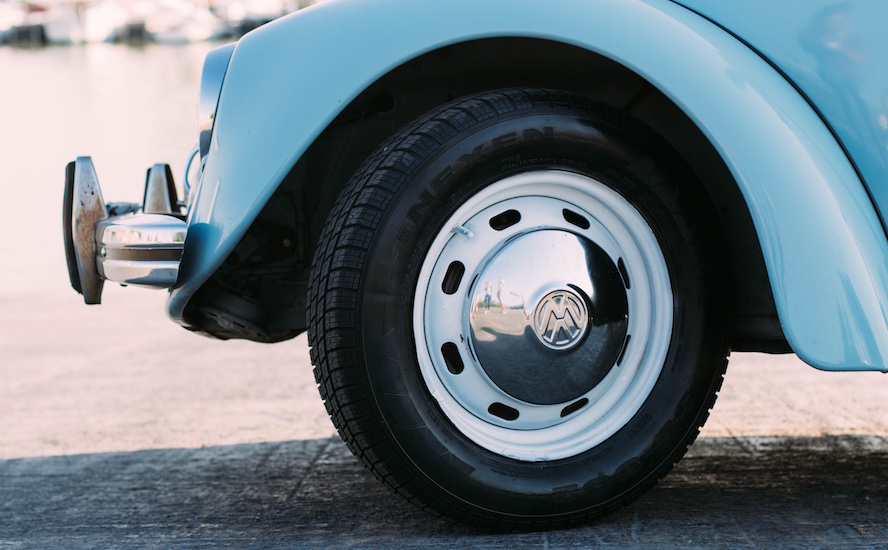
There are a few kinds of wheels, and it's important to know what you have before starting. Painted steel starts at the low end of the price spectrum, often seen as the base-model black wheels behind a hubcap, and they're cheap and durable. Then there's aluminum. Lighter than steel at the same strength (or, stronger than steel at the same weight), aluminum wheels cost more than steel, but the benefits can be worth the price. The manufacturing techniques further diversify the wheels, with gravity cast, flow formed, and forged construction, as well as one, two, or three-piece designs, welded or bolted together. For a finishing touch, aluminum finishes include bare, clear coated, painted, powder coated, or anodized. That's a lot of options, but most wheels of any type will benefit from the cleaning process below.
Of course, no discussion of wheel coatings is complete without mentioning chrome. Whether it's classic and labor-intensive dipped chrome or the modern PVD powder coat/spray process, chrome adds a clear and bright finish that looks like nothing else. It looks a lot like polished aluminum, but you can't use the same products to clean them. An easy way to be sure is to get your face close to the wheel. If the your reflection is fuzzy, like you need to put on glasses, it's aluminum. If you can see yourself clearly, as well as the background, that's chrome. Ignore the rest of these steps and just use a dedicated chrome cleaner.
Note: Wheels are easiest to restore when they are off the vehicle with tires removed. If you don't have the ability to remove the wheels, you can still thoroughly clean and polish them—just understand that the process will take longer.
This is a good project for new DIYers
-
Thoroughly clean the wheels so you can accurately assess the condition and plan your next steps.
Brake dust happens as a byproduct of using your brakes, so don't worry about preventing it—just be sure you're getting it off your wheels. Start by cleaning the wheels with standard car-wash soap to get rid of the dirt and most of the grime. You can use a wash mitt that is too old and used up for paint duty. Just remember, like the wash bucket, keep a separate wheel mitt from the paint and body wash mitt.
This should get most of the heavy grime, but hit the rest with a dedicated wheel cleaner. Be sure to read the label and make sure it's recommended for your type of wheels. Follow the directions, which usually involve spraying heavily and letting it soak for a few minutes, then rinsing. Check for stuck-on crud, and repeat if needed. Scrubbing with a soft bristle brush can remove stubborn embedded deposits.
-
Remove oxidation.
Oxidation happens on bare aluminum wheels when they are exposed to oxygen and water, similar to rust. Fortunately, oxidation is easier to remove than rust, needing only an oxidation remover, a microfiber cloth, and some elbow grease. Apply a dime-size amount to the cloth, then rub it into the wheel, using either small circles or a back-and-forth motion. Keep to a small area, about 1/6th or so of the wheel, or maybe just one spoke. Work the polish into the metal, and it will quickly turn black. That's when you should turn to a clean side of the cloth and wipe the residue off. Move on to the next section, and repeat for heavily oxidized spots. Using a drill attachment polishing ball will speed up the process. Use the same steps above, starting with a very low speed when initially applying the polish to the wheel, so it doesn't sling off the ball.
If your alloy wheels are clear coated, the polish won't turn black and won't make a difference on the wheel. If your clear coat is in good shape, skip this step above and go with a clay bar. Use it just like you would a painted body panel, since the clear coat is nearly identical. Again, be sure that this clay bar only sees wheel duty, or toss it in the trash after completing the last wheel.
-
Polish and remove scratches.
You can get fine scratches and minor blemishes out by using a rubbing/polishing compound. Follow the directions, which are generally the same as the oxidation remover above. Use a small amount on a cloth, and rub by hand or with a polishing ball attached to a drill, and wipe clean.
For deeper scratches on bare aluminum wheels, you need to sand the damaged area. Start with heavy grit sandpaper, around 300 or 400 grit, and sand the scratched area, including the surrounding inch or so of wheel. Then remove sanding marks with higher 600 grit paper, and then move to 1,000 grit and 2,000 grit. Wash the wheel again to remove any grime or aluminum dust, and let it dry completely. The last step here is the rubbing/polish compound. Assess how the wheel looks at this point. You might be able to stop there, or use aluminum polish as the final step.
Don't go after deep scratches, as getting the surface flat after removing the damage will remove too much material from the wheel and compromise its strength. Only attack the light-to-medium scratches and curb rash, and save the nasty stuff for a professional wheel-repair shop.
-
Shine and protect.
Once you've got your wheels looking great, keep them that way. A pro tip for easily cleaning aluminum wheels is protecting them with a coat of wax. A coat of wax creates a disposable protective layer, so brake dust sticks to the wax instead of the wheels. When your wheels get dirty, hit them with a blast of water, and all that grime easily slides off. The wax effect will only last two or three car washes, and it does take some time, but waxing wheels is easier than scrubbing and re-polishing every time.
Once your wheels are restored to like-new condition, you should be able to maintain the look with your regular car-wash regimen. Clean the wheels with car wash soap or wheel cleaner, then skip straight to the polish if needed. If not, go to the quick wax, and you're done.
-
Repair chipped or fading clear coat.
All of the above steps work great, if your wheels are bare aluminum. If your clear coat is peeling, cracked, or chipping off, the only way to fix that is by stripping with paint and clear coat remover. Then fix the scratches as described above. Finish by recoating the entire wheel with a new layer of clear coat specifically designed for wheels. There's a lot of safety precautions when dealing with paint stripper, so I'll let renowned YouTube mechanic ChrisFix explain this step.
Next time you see a set of neglected aluminum wheels in the salvage yard, grab them for cheap and try your hand at fixing them. Let us know how you keep 'em clean in the comments below.
Plasti Dip on wheels is cool but can be a pain to remove. Spraying a coat of WD-40 on it makes it much easier to remove.


