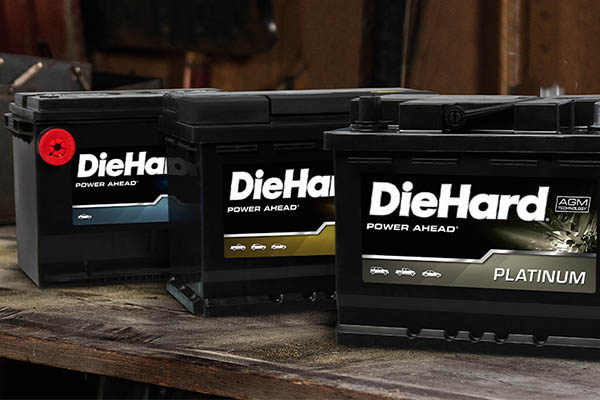
Learning all the details about how to hook up jumper cables is a necessity when your battery dies or if it's in need of a boost. Your car stopping in the middle of the road or refusing to start can be related to battery problems. However, if your battery is only discharged and needs a quick jump start to recharge before you can turn the car on and use its own charging system, then you'll find that knowing how to hook up jumper cables properly is an essential skill. Learn which battery is right for your vehicle.
PREPARATION FOR CONNECTING JUMPER CABLES
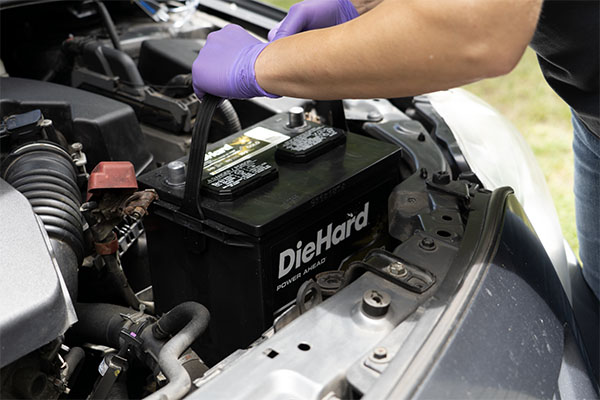
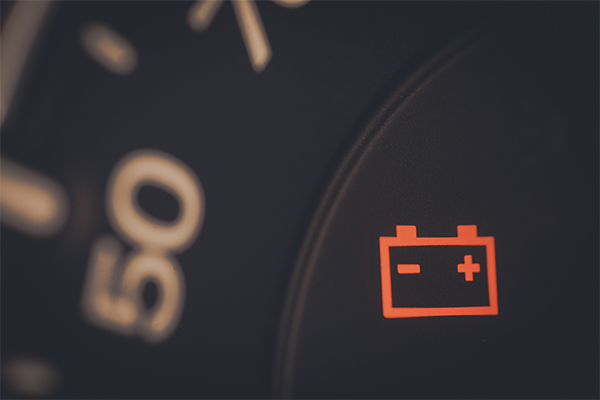
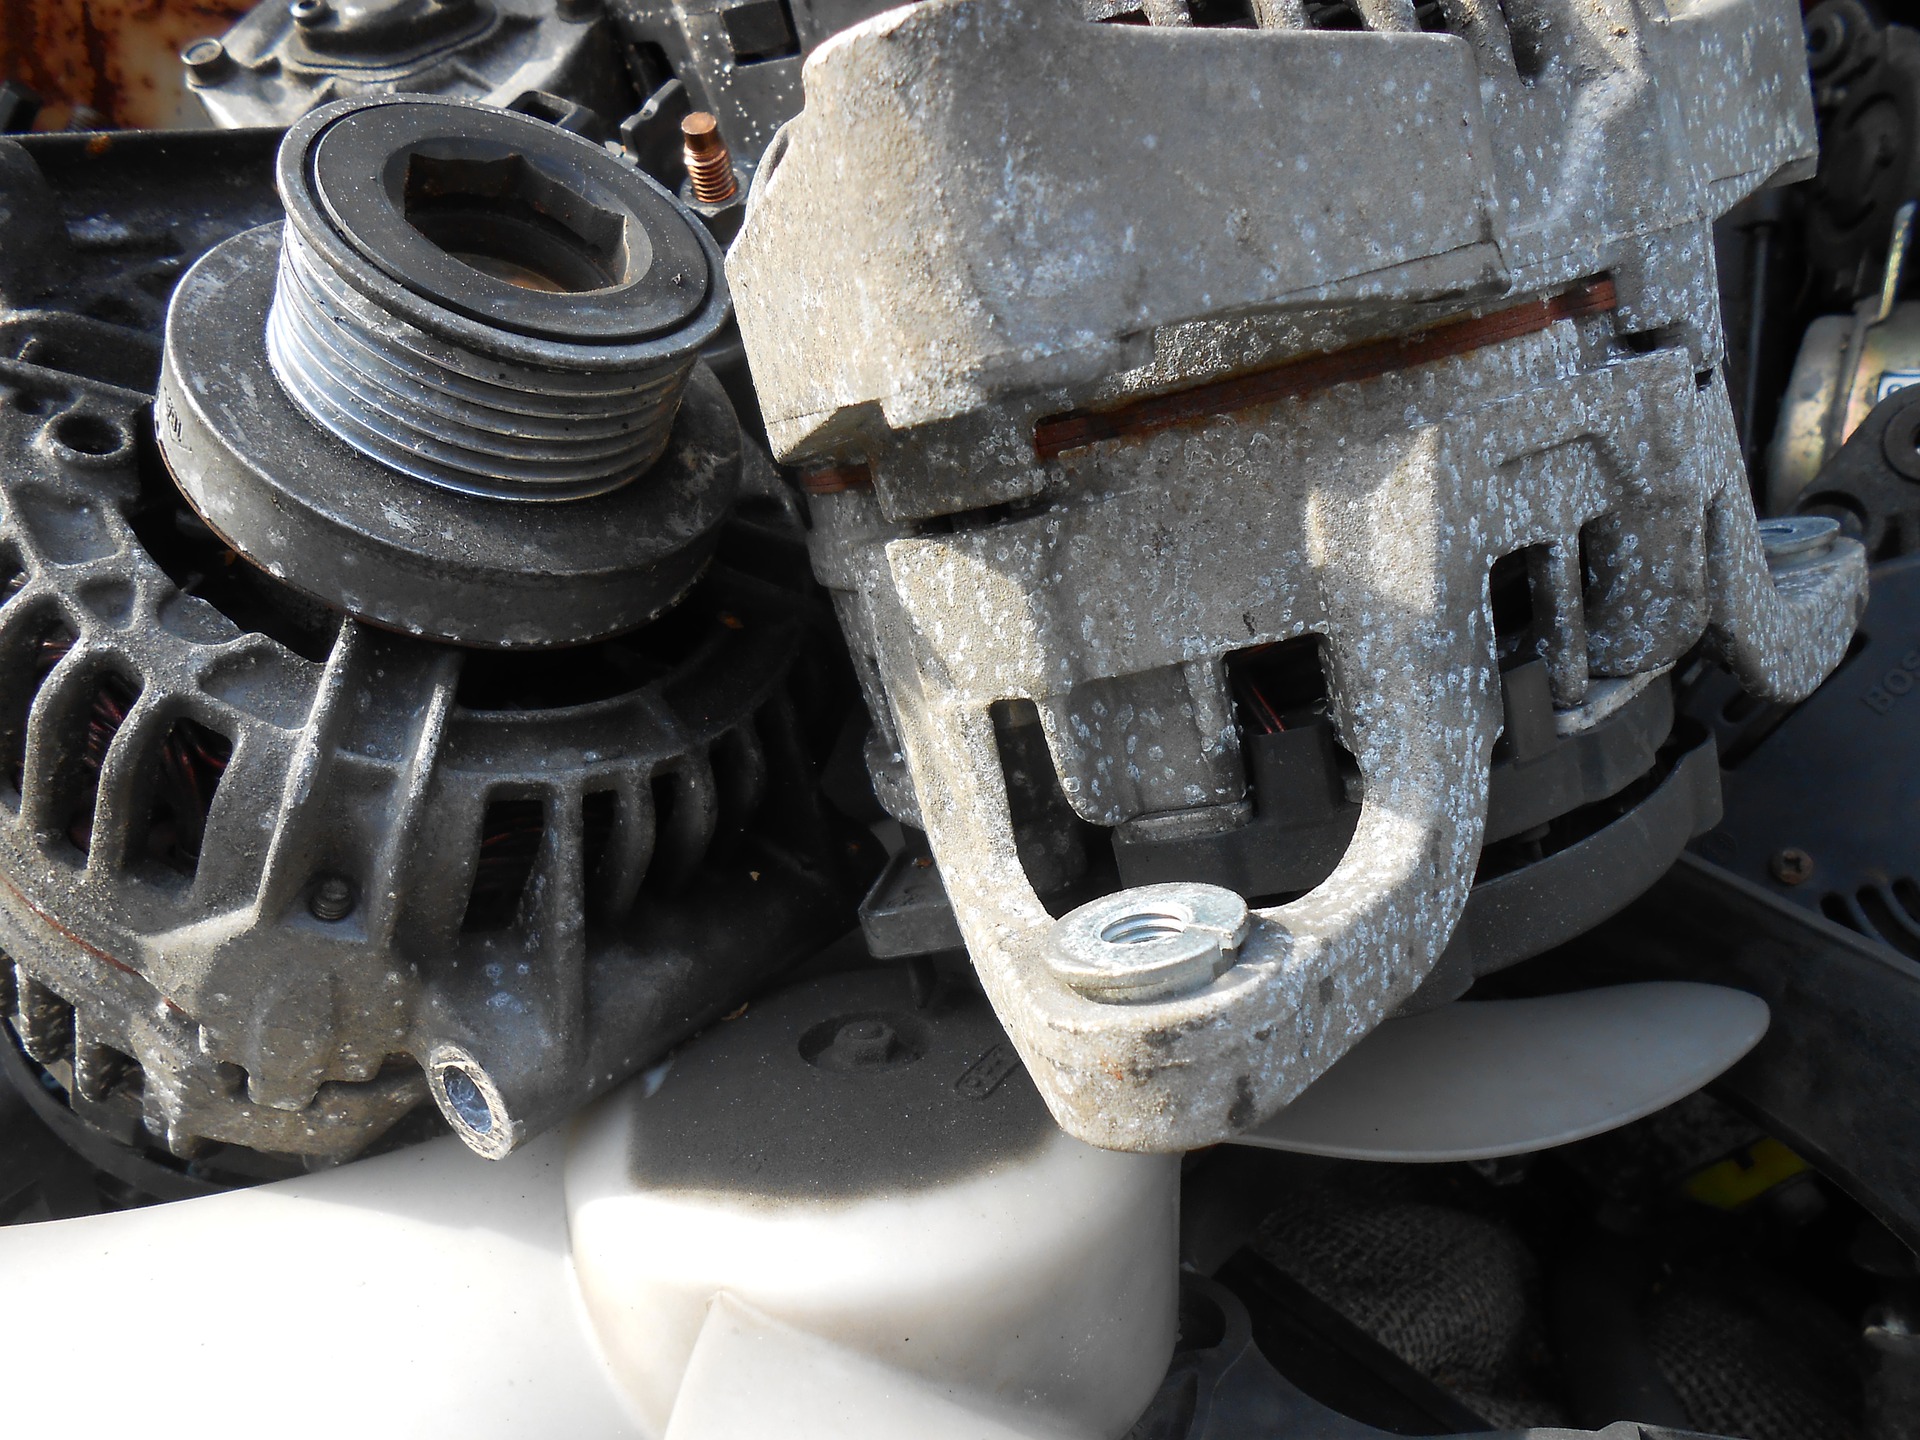
Before getting your jumper cables, you need to make sure the problem isn't something more serious. You can start by testing your battery and checking the cables that connect it to the car, ensuring whether or not the battery is the actual problem. It's also a good idea to check whether the alternator or its belt are faulty. If that is the case, a jump start won't help for long, but replacing the belt will get your car's recharging system to work again. Finally, if all else seems to check out, make sure your car is completely turned off, then proceed to find an appropriate booster car.
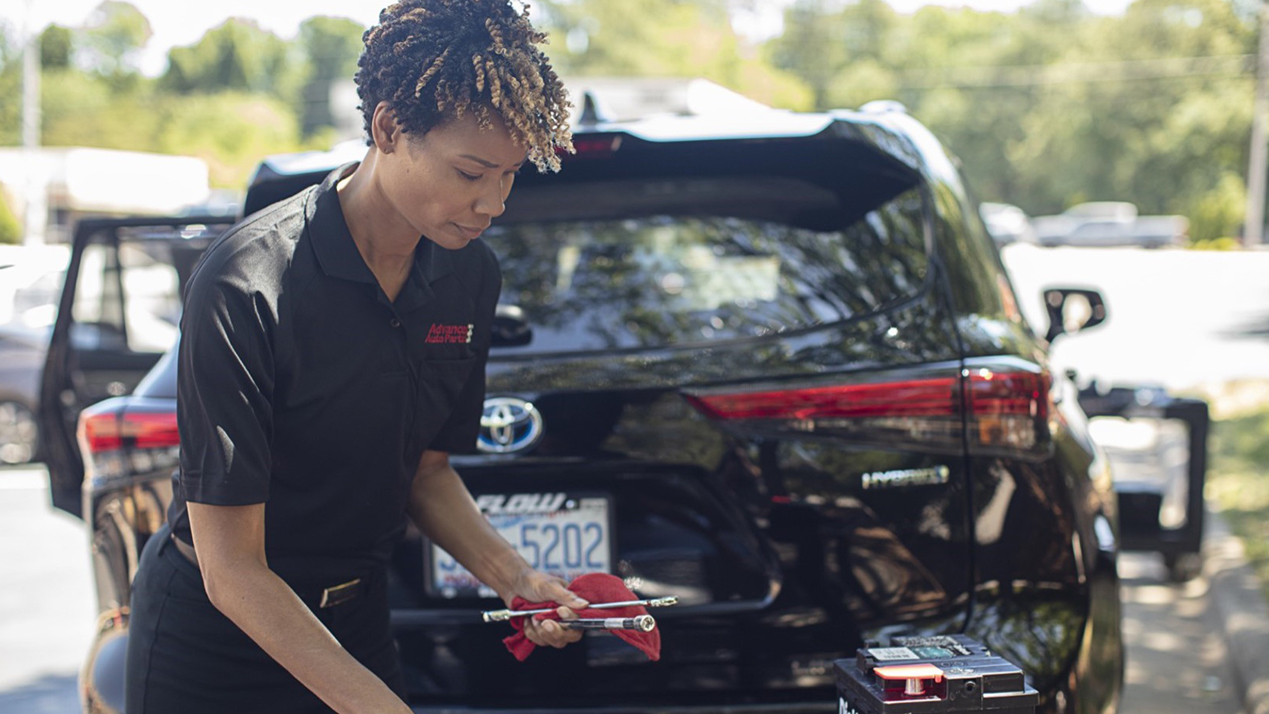
Advance Auto Parts stores offer free battery testing and installation*.
GETTING THE BOOSTER CAR TO HOOK IT UP
The jump starting process requires a booster car with a fully charged battery in order to charge it temporarily. You can get a booster car from a friend or family member willing to help out. Have them park the car with its hood as close to your car's hood as possible, but make sure the two vehicles aren't touching. Then you can proceed to connect the jumper cables and try to jump start your battery.
SAFETY REQUIREMENTS FOR USING JUMPER CABLES
Of course, there is more to figuring out how to hook up jumper cables safely than the few steps below. First of all, you need to make sure the cables don't touch any of the engine components. Also, follow the order required for connecting each of the cables — failure to do so may result in a short circuit or a dangerous electric arc. Secondly, the clamps you use to connect all the jumper cables have to be tightly secured. Make sure each of the cable ends is firmly fastened to their respective terminals before moving on to the next step. If your battery is completely flat, the booster car may need to run for awhile and rev its engine so its alternator delivers more amperage for the boost. Keep in mind that a small four-cylinder engine may have a hard time turning over a big V8, so be patient!
HOW DO YOU CONNECT THE JUMPER CABLES?
Now the question is this: how do you hook up jumper cables correctly and safely? The process is easy enough to understand, and it will only take a couple of minutes. After checking to see whether either of the batteries are affected by corrosion, untangle your jumper cables. Take the positive cable first and connect the positive terminals of the batteries with each other. Then take the negative (black) cable and connect it to the negative terminal of the booster car and to a grounded metallic area of your own car, such as the engine block. You are then ready to try jump starting your car.
Take a look at some popular battery accessories.
DISCONNECTING THE JUMPER CABLES
When you finish the jump starting process and need to remove your jumper cables, you'll follow the same order but in reverse. First disconnect the negative cable from your car, then from the booster car. Do the same with the positive jumper cable, first carefully unfastening the clamp from your battery's positive terminal and then doing the same with the clamp secured to the positive terminal of the booster car. If you follow all these instructions to the letter, you'll find that hooking up jumper cables for the first time can be a straightforward and safe process.
Need additional assistance? Find an Advance Auto Parts store close to you.
*Car battery testing and installation available on most automotive vehicles, at most locations, unless prohibited by law.


