Performing preventive maintenance and replacing worn parts at suggested intervals improves engine performance and reliability while protecting your investment.
Engines are no different from other vehicle systems in that they too have parts that wear out and need to be replaced according to vehicle manufacturer guidelines that are based on time and mileage. Waiting for parts to fail before performing a routine engine tune up is a recipe for disaster as significant engine damage could occur. Follow these steps to perform a routine engine tune up and to understand which engine components need to be examined, and possibly replaced, and why.
This is a project that needs some know-how
-
Inspect the cooling system's rubber hoses.
Look and feel for cracking, soft spots or swelling at the connection points. Replace the hoses based on inspection results or according to vehicle manufacturer guidelines. Check hose clamps carefully, as wear and rot tends to be concentrated near clamps.
-
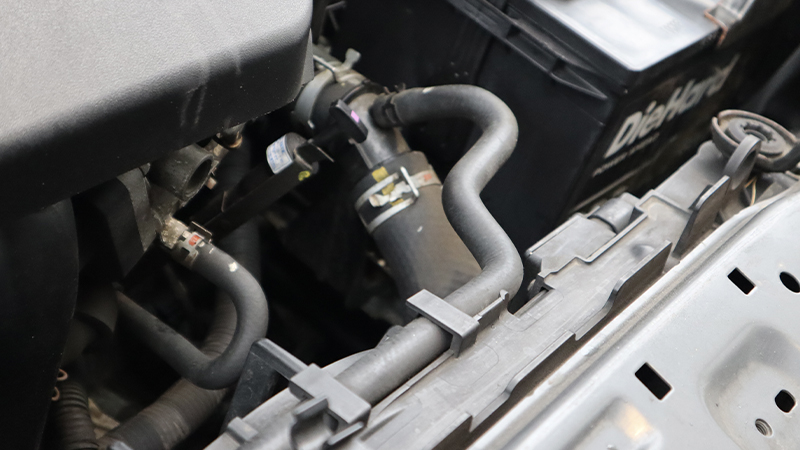
Inspect all the vacuum lines on the engine for cracking, dry rot, tightness of fittings and overall condition.
A vacuum leak can be enough to cause a rough-running condition or trigger a trouble code in the engine computer. If you're in doubt about a vacuum line's condition, you can spray carburetor cleaner along its length while the engine is running. If there's a leak, the vacuum will pick up the carb cleaner and suck it in, and you'll hear a difference in the engine's idle.
-
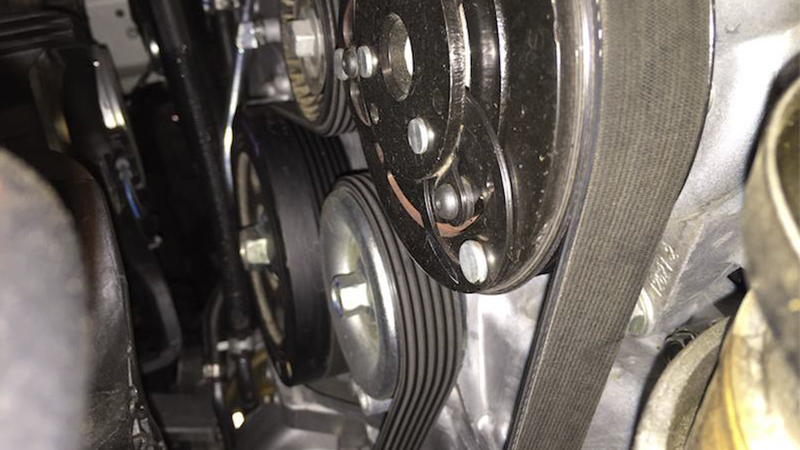
Visually inspect the vehicle's rubber serpentine belt, or V belts on older vehicles.
Look for cracks or fraying on the belt's surface and between the belt's teeth. Replace the belts based on inspection results or according to vehicle manufacturer guidelines.
-
Inspect and replace the air filter regularly.
This filter traps airborne contaminants and prevents them from entering the engine. As a result, it needs to be replaced regularly to help ensure engine performance. Remember to clean out the air filter box and make sure its intake hose fits tightly. Clean out any bugs, leaves and debris in the cowling area (by the wipers) while you're at it.
-
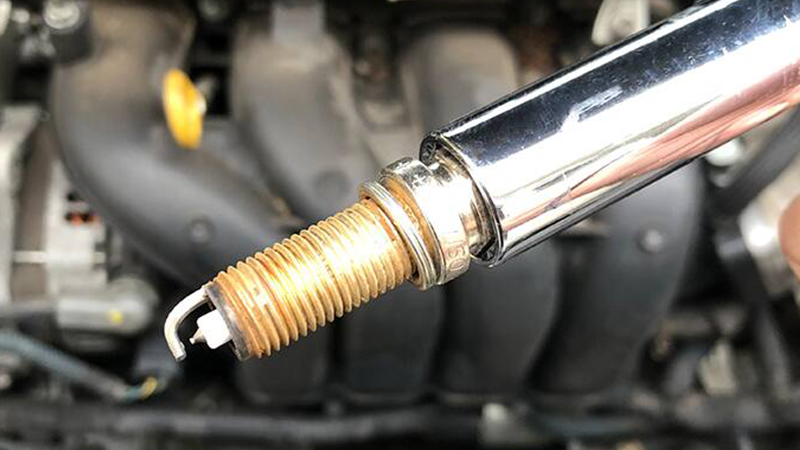
Replace spark plugs and, if equipped, spark plug wires.
Spark plugs wear out and need to be replaced based on vehicle manufacturer guidelines. In many of today's vehicles, that's usually around the 100,000 mile mark. Spark plug wires wear out, too, thanks to the high-voltage and high-heat environment they operate in, and need to be replaced similarly.
-
Inspect and replace the distributor cap and rotor, if equipped.
The same heat and voltage responsible for wearing out spark plug wires are also exacting their toll on your vehicle's cap and rotor. Look for oxidation on the cap's contact points and center button, or "carbon tracking" along where the rotor spins and makes contact.
NOTE: Many newer vehicles no longer use a distributor and plug wires. In these cases, you will want to replace the coil-on-plug units, which are located directly on the spark plugs themselves. COP units are usually fairly inexpensive and not too difficult to access.
-
Replace the O2 sensor.
Think of the oxygen sensor's responsibility in terms of telling the engine when to breathe. A worn sensor can lead to decreased fuel mileage and performance. Follow vehicle manufacturer's guidelines for replacement intervals. Remember that there's likely to be more than one O2 sensor, usually with one located farther downstream by the catalytic converter.
O2 sensors can be tough to loosen and remove, since they are subjected to so many heat-up/cool-down cycles in their service life. You may find it easier to remove the O2 sensor when the engine and exhaust are still a little warm. Remember to use an anti-seize compound when you replace the sensor.
-
Replace the PCV (positive crankcase ventilation) valve based on vehicle manufacturer guidelines.
Older vehicles have a PCV valve and it functions in a one-way direction to vent crankcase gases back through the engine.
-
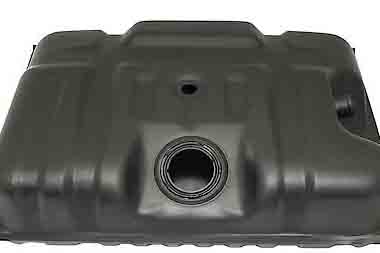
Replace the fuel filter.
This filter removes debris from the vehicle's gas supply and stops it from reaching the engine where it can clog carburetors or fuel injectors and lead to poor performance, hard starts, or engine failure. Check your vehicle's owner's manual for the location of the fuel filter (many are in the tank and inaccessible).
Review the maintenance schedule included in or with your vehicle owner's manual for recommended guidelines on when to service various vehicle systems.