Source | Advance Auto Parts
What keeps your engine's moving parts protected from total failure is no more than a thin film of oil molecules. Regular oil and filter changes are the single biggest thing you can do to keep your vehicle running down the road for a long time to come.
To start, buy a good pair of latex or nitrile gloves to keep your hands clean. When choosing an oil type, you have a few options; you can go conventional, synthetic blend or full synthetic (there’s also high mileage variations). First, stick with your car’s recommended oil viscosity, which is printed on your engine’s oil cap or in your owner’s manual. Conventional oil gets the job done, but synthetic oil lasts longer and performs better under heat and cold. Read more about the differences between the two oils to see what works better for you.
Don't forget to swap out your oil filter, too. Oil filters help remove contaminants from the oil, which could otherwise damage and shorten the lifespan of your engine. Remember to recycle both your used oil and your old oil filter.
This is a good project for new DIYers
-
Raise your vehicle and secure it on jack stands. Put blocks behind your tires for additional safety. If you can slide under your vehicle without needing to raise it, then go for it. You may be able to just pull two wheels up on a curb to have enough clearance.
-
Run the engine for a couple minutes to get the oil warm (but not too warm). Doing this helps to get any contaminants in the oil circulating and off the bottom of the oil pan. Raise your hood and open the oil cap on top of your engine to let the old oil drain faster.
-
Get under the car and position your drain pan under the oil plug (account for the initial stream of oil shooting out further than directly under the plug).
-
Using your wrench, loosen the plug a few turns. Then finish loosening the plug with your hand, quickly pulling it away when the oil starts to drain out. Be careful of hot motor oil (gloves help in this case).
-
Wipe the drain plug while the oil drains and inspect it for bent or broken threads. Replace the sealing washer if cracked or worn, or use a new metal crush washer if needed.
-
After the oil has drained (give it 10-20 minutes for a good drain if you have the time), wipe away oil residue from the oil pan and put the drain plug back in. Start threading by hand and then snug it down with the wrench. Don’t overdo it, though, or you might damage the threads. Your owner’s manual will have the exact torque required.
-
Reposition your drain pan by the oil filter and remove it using your oil filter wrench (or hand if it will budge). Some wrenches work from the end, while others wrap around the filter.
-
If your filter still won’t budge, puncture it with a screwdriver at its lowest point to drain, then use the same screwdriver to spin off the filter. A little more oil will come out when you spin off the filter, so have your shop towels handy.
-
Clean the mating surface on the engine, checking to make sure the old filter gasket has not been left behind. Then, apply a film of clean oil to the top of the new filter gasket. Spin the filter on using only your hand. Go three-quarters of a turn after you feel the gasket make contact with the engine after spinning it on. Don't overtighten the filter! A too-tight oil filter will deform the soft rubber gasket and cause it to leak.
-
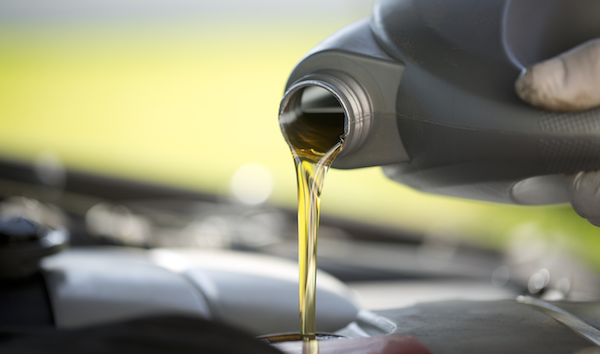
Double check the filter and drain plug for tightness, then fill your engine with the recommended viscosity and amount of motor oil. (Again, your owner’s manual will provide this).
-
Determine your oil level using the dipstick, then check for any leaks. Start the engine and check for leaks again. Bring used motor oils to Advance for proper disposal or recycling.
Find satisfaction in knowing you’re taking good care of your car. Your car will be sure to return the favor!


