Source | Gerard McGovern
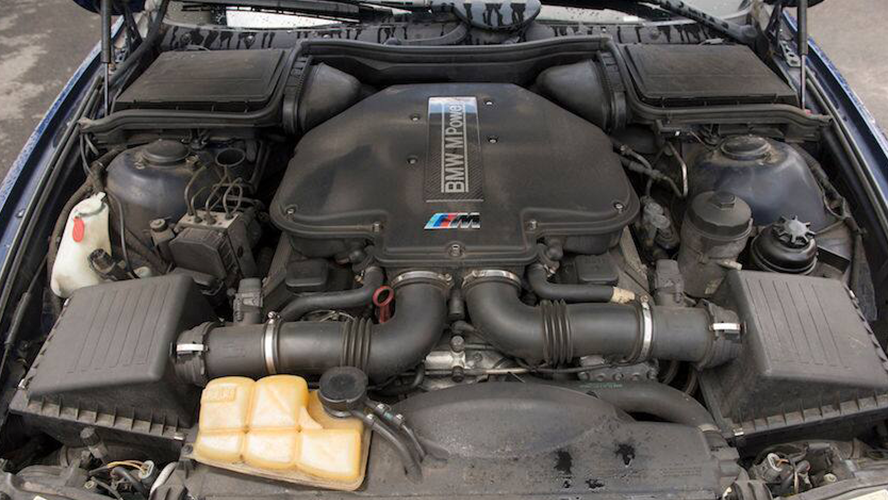
Do you clean your vehicle? The answer's probably yes. But do you clean your engine bay? If not, that's like taking a shower, but never brushing your teeth. Don't be that person; wash your engine, too. Now you might be thinking that no one sees your engine bay except you and the occasional mechanic, so who cares, right?
Well, like with the rest of your vehicle, cleaning prevents damage and keeps resale value high. A car engine bay covered in oil and grit is allowing premature wear in the pulleys and bearings, or hiding serious issues like gasket leaks. A clean engine bay allows the engine to stay cooler, operate efficiently and keep your value high.
This is a good project for new DIYers
-
A quick pre-rinse does several things. It knocks off any of the loose dust and grit, makes it easier for the engine degreaser to spread around and prevents spots from the soap quickly drying out. In short, a pre-rinse is essential.
Wait until the engine is cool. It doesn't need to be cold though — you just don't want to introduce a bunch of cold water to hot parts. Pop the hood and let it cool for an hour. This is when you'll put down the drip pans and absorbent pads to stop the chemicals and gunk from going down the gutters.
Find a local recycling center that accepts both the used pads and the oily water from the drip tray.
-
Disconnect the negative battery terminal or cover the battery with a plastic bag. Water conducts electricity, and you don't want it to connect and make new temporary circuits. If you have a classic ride, cover the alternator, carburetor and distributor with plastic bags. On a modern ride, cover the alternator and go easy with the water around the coil packs and fuse box.
-
Now it's time to spray a liberal application of engine degreaser. Why use a degreaser instead of regular car soap? Your average car-wash soap is fine for grit and dirt but just won't cut it on oil and grime. Go heavy on the engine degreaser on the typically nasty parts, like the starter and oil pan and anything else oily.
Follow the directions on the bottle, but usually you will let it sit for a few minutes to get the most grime-lifting action. You can use a wash brush here for the seriously filthy areas. It has soft bristles that won't scratch the paint or plastic.
-
Rinse with low-pressure water again and take a look at your progress. Some engines that have never been cleaned in 300,000 miles will need the degreaser again. If not, it's time to get busy with the automotive soap.
-
Use an automotive car-wash soap to finish cleaning the engine bay the same way you would clean the exterior. Use an automotive wash mitt, get it soapy in the bucket and scrub up the engine bay just like you would a rear quarter panel, then rinse.
-
Rinse with low pressure again and remove the plastic bags over the sensitive parts. If they need cleaning, professional detailers will remove the plastic fuse box cover or distributor cap and clean it by hand, where the electronics won't be affected. Once clean and dry, just bolt them back on.
-
Use a dedicated plastic cleaner to polish out fine scratches and restore shine to the engine bay plastics. Apply with a terry cloth and wipe off with a clean microfiber cloth. For the metal bits, a metal polish will brighten them up. They are all a bit different, but in general, grind a bit into the metal surface until the polish starts to turn darker, then wipe off with a clean cloth.
Now step back and enjoy your work.
If you are using a power washer, use the low-pressure setting and rinse everything in the engine bay. Low pressure is better than high pressure here, as you want to clean off the crud, not blast it into the small crevices between components.


