Is it time for your ride to have fog lights? We've covered the science behind how fog lights work, so now here's a look at the hands-on side. Unfortunately, most fog light kits don't come with instructions. With just a wiring diagram at best, you're left with a pile of wires to figure out on your own. This guide should fill in the gaps, but know that the following info applies to most vehicles and adjust accordingly based on your vehicle.
The steps below cover upgrading a base model not equipped with fog lights by using the factory fog light, bezel, and wiring kit. If you are using a universal fog light kit, the only changes are that you can skip step 10, and you get to choose where to mount your fog lights. See the guide in the link above for suggestions on mounting universal fog lights.
This is a project that needs some know-how
-
Disconnect the negative battery terminal.

-
Lay the wiring harness in the engine bay, approximating the layout you want. The wiring needs to be routed so it will avoid spinning parts or the hot exhaust areas.
-
Remove the interior panels under the steering wheel. The left side is usually a fuse access panel that pulls off by hand, while the panel below the steering column needs bolts removed. Be careful with these steps, as there are lots of delicate connectors involved, and the plastic can become brittle on an older vehicle.

-
Choose a location for the on/off switch. It should be somewhere easy to reach but not in the way.
-
Locate a nearby ground. Look for other ground wires or a bolt going through metal. Remove the bolt and slide in ground connector before re-tightening the bolt.

-
Locate a positive connection. The interior fuse box cover usually has a helpful diagram, and it may list a spare accessory location. If not, use a voltmeter to find an empty fuse location that only has 12V power when the engine is on, and plug in the positive connector. This step is crucial, as you want the switch to power on with the engine and power off at shutdown so you don't accidentally leave the lights on and drain the battery.

-
Run wiring from the engine bay through the firewall.

-
Connect the on/off switch wiring to the engine bay wiring, then use the cable ties to bundle the extra length of wire and tuck it out of the way. Put back the interior panels.
-
Run the fog light connections down to where the fog lights will be. There is often space behind the headlights, but you may have to remove a fender liner to gain access from the other side.

-
Use a plastic trim-removal tool to carefully pull off the plastic covers from the grille or bumper (depending on vehicle). This piece covers the fog light housing when no fog lights are factory equipped. Reach in and locate the wiring harness connector on each side.
-
Connect the positive lead to the positive battery terminal. The ground can be bolted to the frame or engine block.
-
Connect the fog lights to the wiring harness.
-
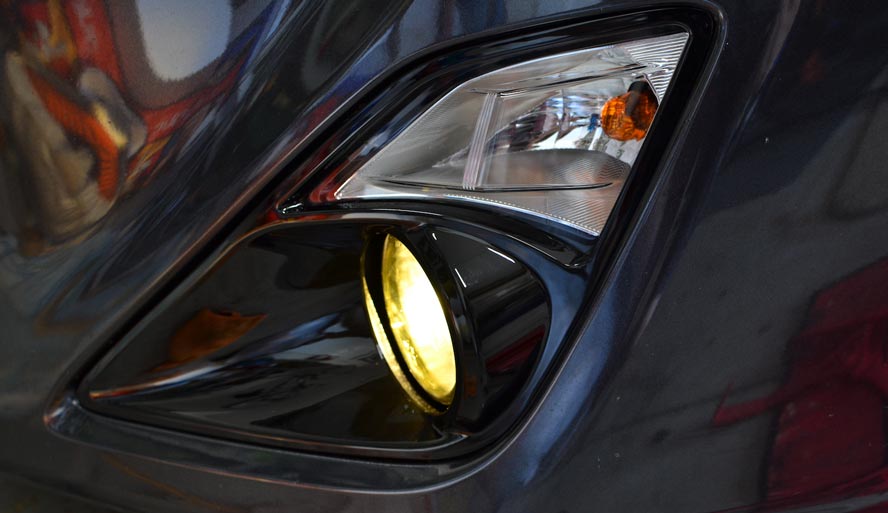
If everything checks out, bolt in the fog lights. If there is no “top" or arrow indicating orientation, use DOT wording or brand logo to find the right side up. Then twist the adjustment screw to aim the lights.

-
Attach the included exterior trim bezels around the fog lights. Use cable ties in the engine bay to keep everything tucked neatly out of the way.
Modern firewall grommets are extremely stiff, making running wire difficult. Grab an old, straightened coat hanger and duct-tape the wiring to one end. Push the coat hanger through the grommet, then fish the wiring through to the interior.
Even though the fog lights aren't bolted in yet, reconnect the negative battery terminal and perform a test to make sure the fog lights work.