Diagnosing problems with and replacing your vehicle's water pump
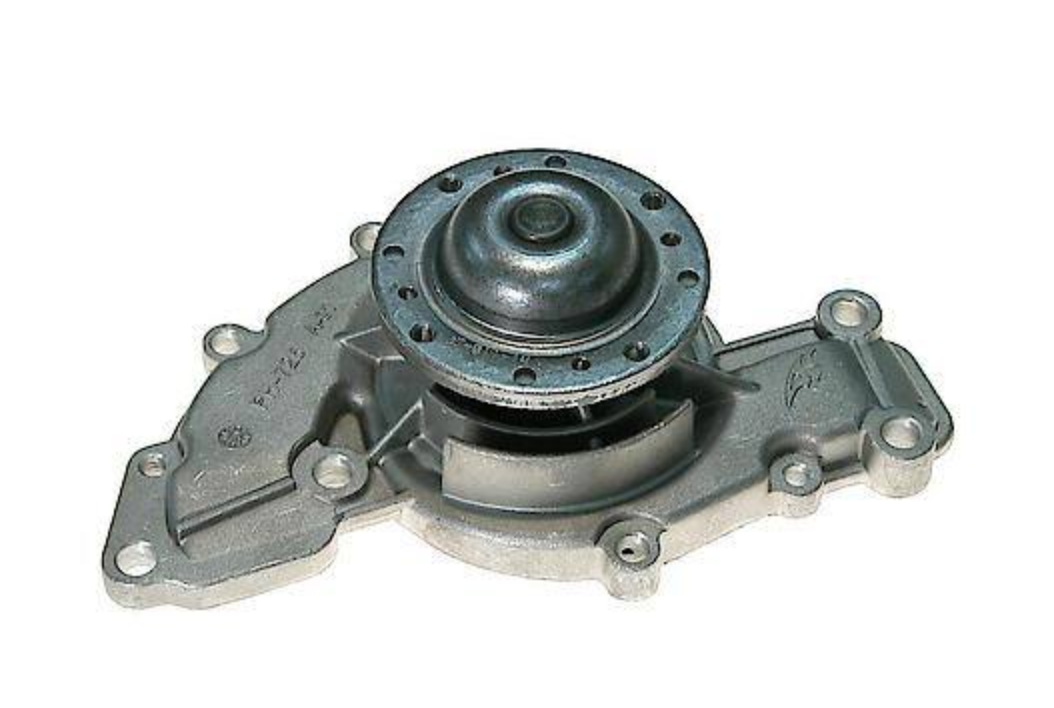
In order for coolant to work properly it needs to constantly flow through your engine. Making it flow is the job of your vehicle's water pump. Water pump failure can lead to your engine overheating, which can result in engine failure, making it critically important to monitor your water pump health.
Telltale signs of impending water pump failure
If you notice any of the following symptoms, your vehicle may be experiencing a water pump failure:
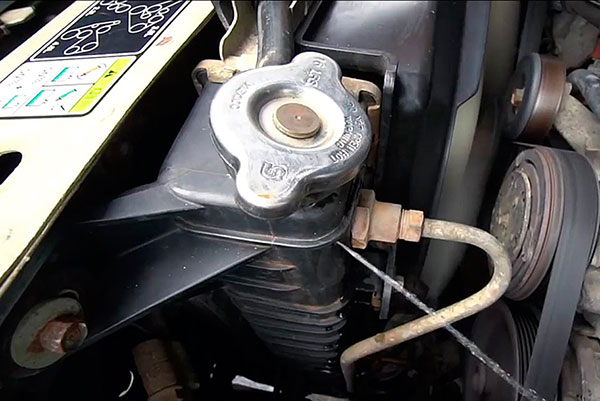
- Low coolant level in the reservoir (visually inspect the whole cooling system if this is the case)
- A gravelly, growling sound from the engine area
- A whining that changes pitch with engine speed
- Coolant leaking from the pump, either slowly and creating a crusty buildup around the pump, or quickly, resulting in a drip.
Note: Automotive water pump replacement can be an average job or a long, involved project, depending on your vehicle. Specialized tools needed to complete this task may be required. Please also consult your repair manual before attempting this procedure. This article covers basic steps for replacement. If you have a modern vehicle, the steps may be more involved. Check out our guide to replacing a water pump on a modern vehicle for more detailed advice.
This is a project that needs some know-how
-
Begin with a completely cooled engine, then disconnect the negative battery post.
-
Drain your coolant into a catch pan by loosening the petcock on the bottom of the radiator.
-
Replacement pumps usually come with the gaskets needed for the job. Refer to your repair manual and familiarize yourself with the pump type and location before beginning.
-
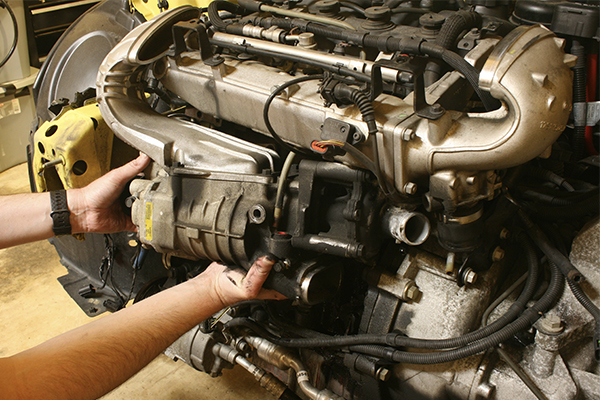
The water pump is sometimes well hidden beneath the exhaust manifold. Your vehicle’s repair manual will tell you which components you'll need to remove to get to the water pump.
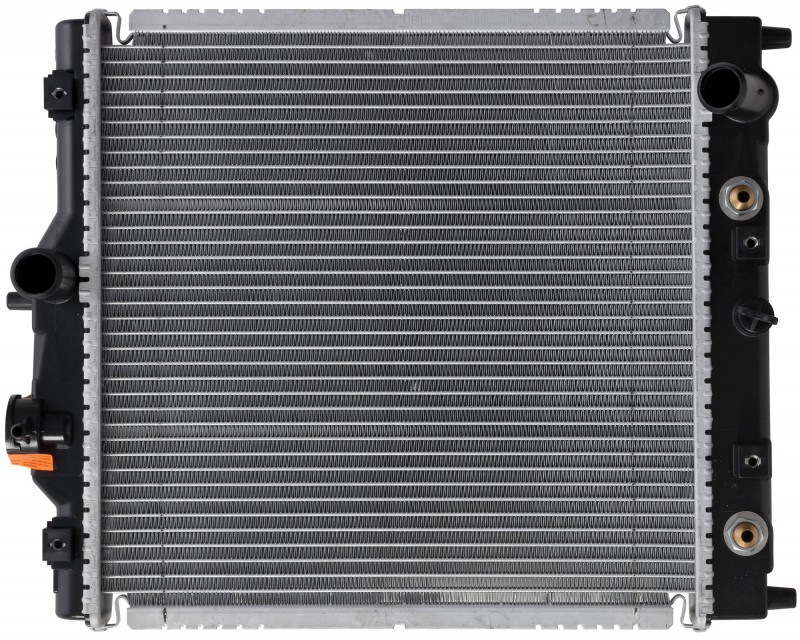
On some engines, you may need to remove the radiator, shroud and hoses to access the water pump. You may also need to remove the fan, pulleys and harmonic balancer, which will require a specialized puller.
-
Remove the old water pump. Pay attention to the length of the bolts as you remove them because they might not all be the same.
-
Use a scraper or Brillo pad to make sure all surfaces, including the pump mounting surfaces, are clean and free of old water pump gasket material and adhesives before reassembly. Coolant leaks may result if mating surfaces are not clean.
-
Test-fit the water pump and visualize assembly before proceeding.
-
Use RTV silicone water pump gasket sealer and/or a gasket if your repair manual recommends it. Take your time with this step as leaks can result if done improperly. Use a gasket scraper or putty knife and prep the facing surface thoroughly before going any further. You don't want to have a poorly-seated gasket and have to redo the job to repair any leaks.
-
Install the replacement pump. Refer to your repair manual for proper refastening sequence. Torque all bolts to spec.
-
Reinstall all removed components. Refer to your repair manual for proper coolant refilling method and coolant mixture. Be sure to bleed the system to remove any pockets of air, which could result in improper operation and overheating.
On a job where multiple assemblies may have to be taken apart, put the fasteners from each assembly in a separate Ziploc bag and label it. That way you'll be sure all fasteners, hose clamps, etc. go back where they're supposed to!
Since you'll be rerouting the serpentine belt, this is a good time to also inspect the belt and its tensioner. If the belt needs to be replaced, chances are the tensioner will as well.
