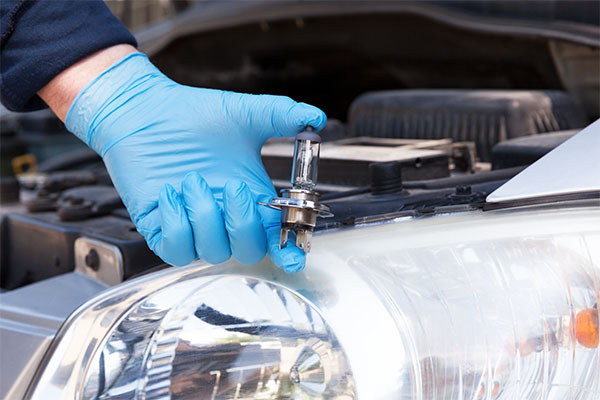
For years, sealed-beam headlights were the industry standard, and if a headlight burned out or was damaged, you'd just replace the whole unit. In the '80s, Euro-style halogen lamps and plastic lenses started becoming more prevalent. These headlights were great for designers, who could incorporate them into more-aerodynamic styling, but they came with drawbacks.
On the plus side, today's headlights require a simple bulb replacement that's an easy DIY fix when it's time to replace or to upgrade to brighter light. On the downside, exposure to UV rays, road grit, and other factors causes the plastic covers to gradually degrade and lose their clarity.
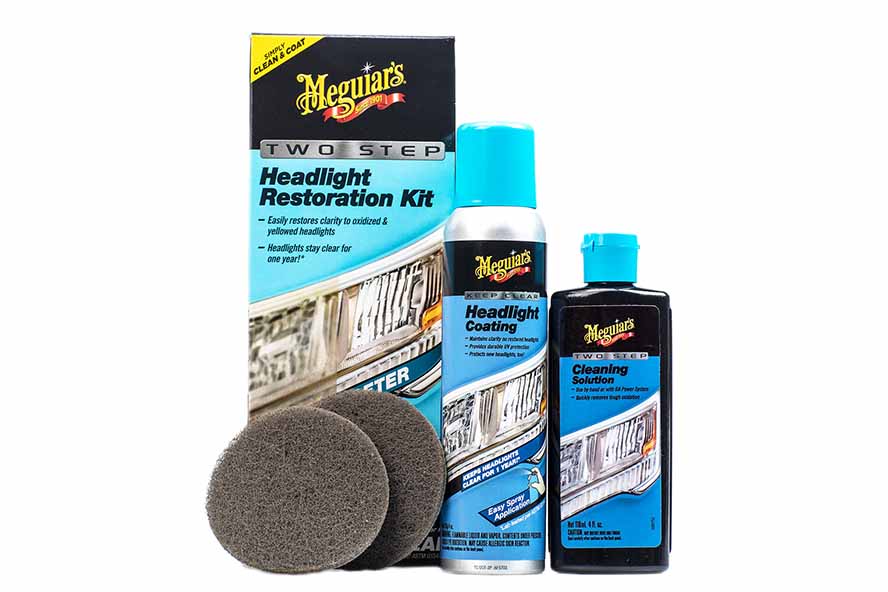
You've probably seen it before when a vehicle's headlight lenses become cloudy, exhibiting a milky or yellow color. In addition to being a cosmetic problem and detracting from the vehicle's value, the discoloration is also a hazard, as the cloudy lenses prevent light from reaching the road, where it needs to be. Even headlights that you think look pretty good at first glance can benefit from the improvements delivered by using a headlight restoration DIY kit. The results delivered by this 30-minute, no-tools-required job will surprise you. While instructions may vary slightly, for this job, we'll be referring to the Meguiar's Two-Step Headlight Restoration Kit.
Here's how to restore headlights.
This is a good project for new DIYers
-
Choose a location that's not in direct sunlight and pick a dry day when it's above freezing.
-
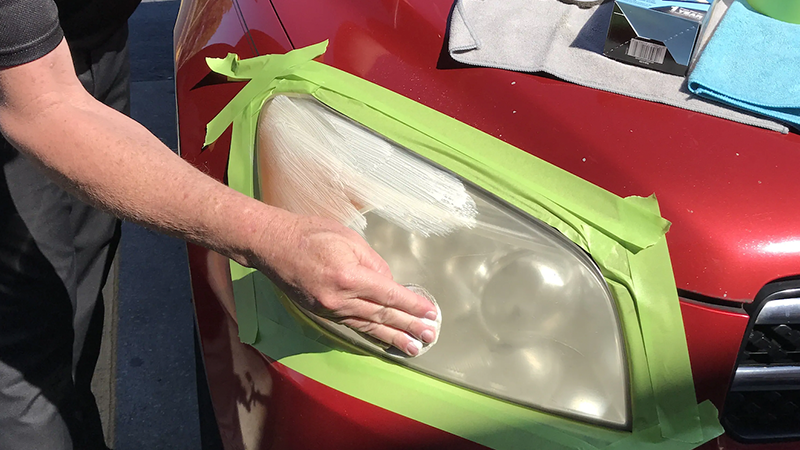
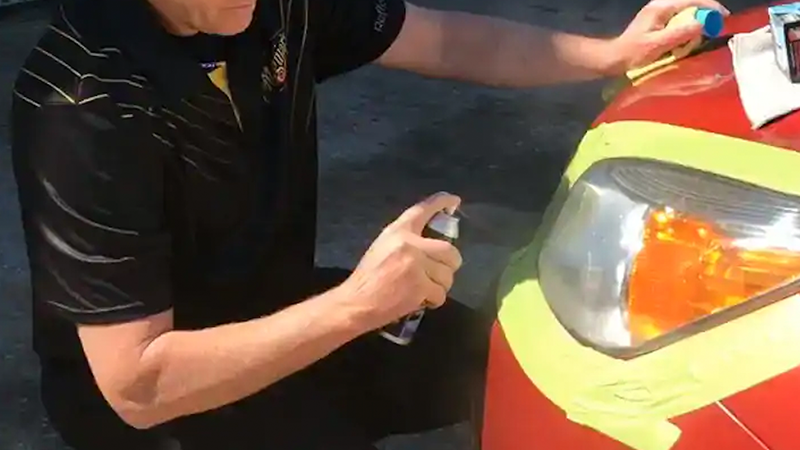
Using painter's tape, mask off the vehicle's painted surfaces that surround the headlight lens. This will help protect the vehicle's finish from the sandpaper used during the headlight restoration DIY job. The kit's compounds are formulated not to harm a vehicle's paint.
-
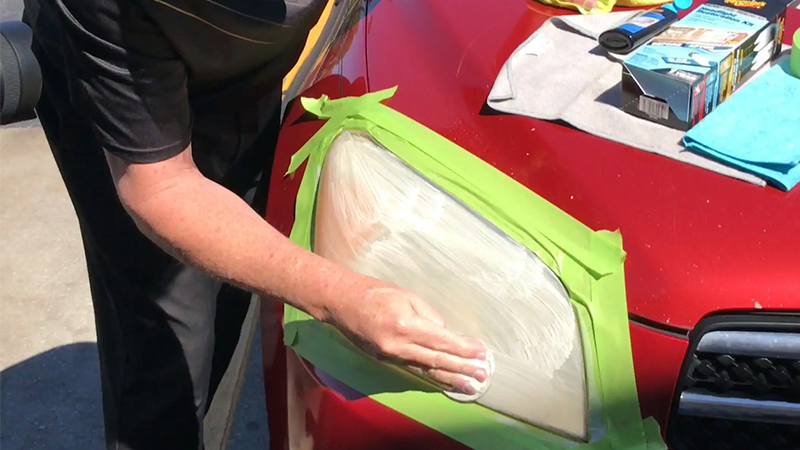
Use the cleaning compound and pads to prep the surface. Squeeze a quarter-sized drop of the solution on the cleaning pad, and use a circular and back-and-forth motion to clean the entire lens.
-
Check your progress by wiping the lens with a clean towel, and reapply the cleaning solution as needed. You'll know you're done with this step when you see a frosty appearance over the entire headlight lens.
-
Wipe the lens clean with a damp cloth and allow it to dry completely.
-
Repeat the cleaning process on the other headlight.
-
Use the headlight coating solution. Once the headlight is totally clean and dry, apply one coat of over the whole headlight. Make sure you overlap your previous passes so that you don't miss any spots.
-
Wait 3-5 minutes, and then apply a second coat. The second coat will be dry to the touch in just a few minutes, but you're not quite done yet.
-
Repeat on the other headlight.
-
Here's the easy step: let it cure. The headlight needs to cure in a place that's free of moisture and water for 24 hours. By that time, your headlights should be crystal clear!