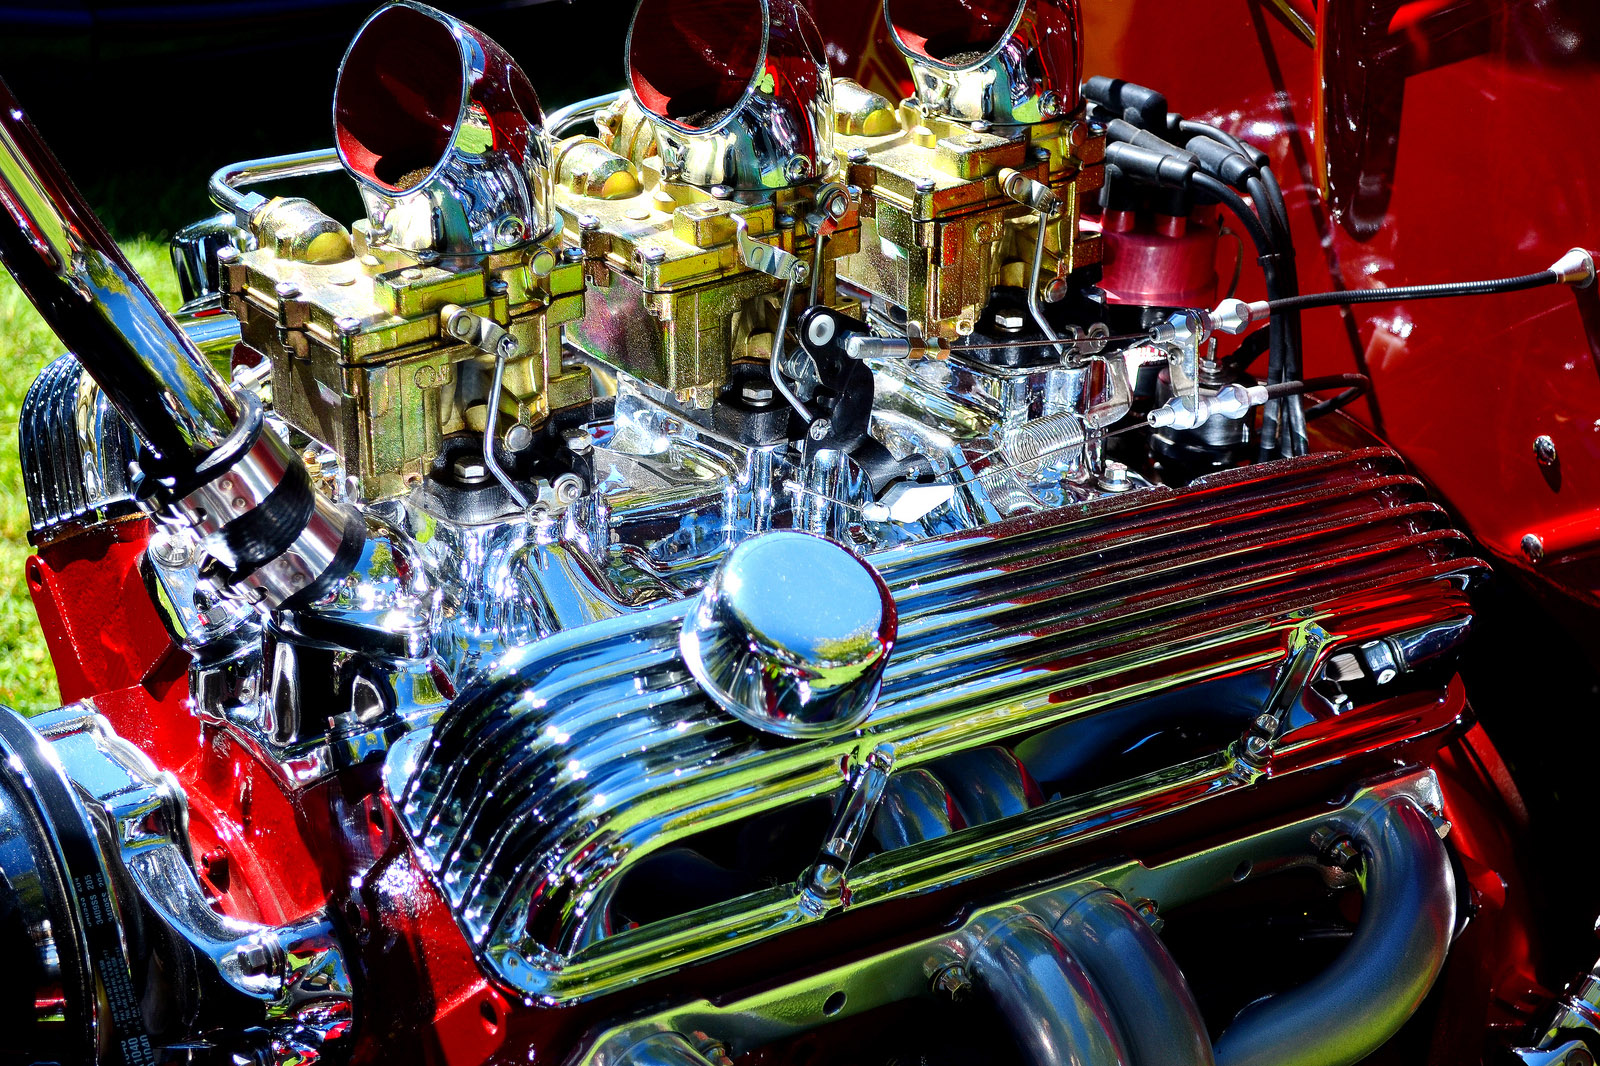
When you're planning on upgrading your older car's engine from carburetion to fuel injection, your plan needs to start with a fuel system upgrade to support fuel injection. Fuel injection operates at much higher fuel pressures than a carburetor does (An average of 55 pounds per square inch PSI for fuel injection compared to 6 to 10 PSI for a high-performance carburetor.) They also require a fuel pressure regulator, two filters, and a fuel return line going back to the fuel tank.
This is a project that needs some know-how
-
Fuel line size depends on expected horsepower output. For HP ratings over 600, half-inch supply should be used. Return line only needs to be 3/8 inch.
-
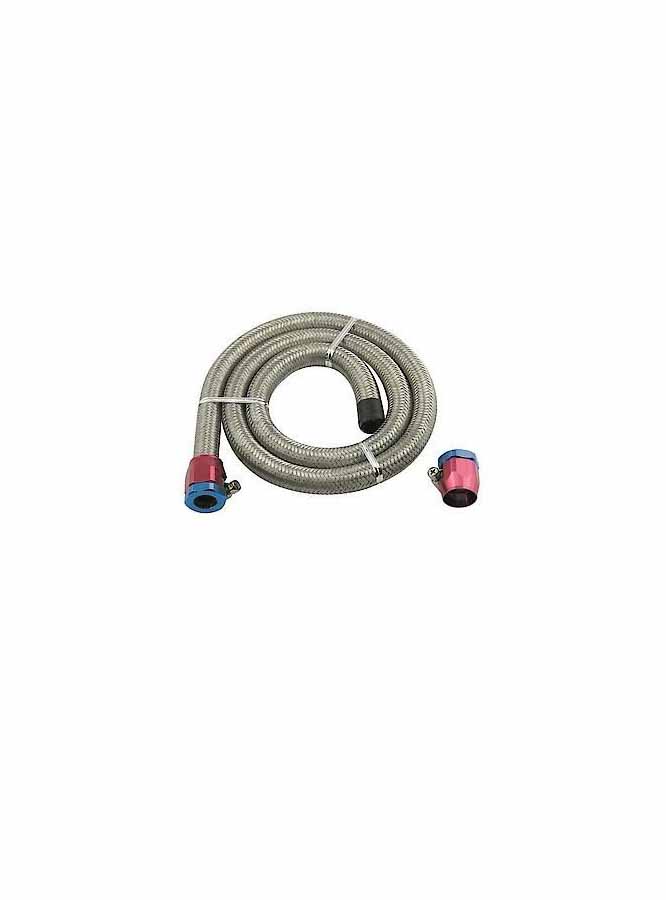
All rubber fuel hoses must be replaced with new fuel hoses for fuel injection. Older fuel hoses can't handle the pressure.
- An empty tank makes this project much easier.
-
Park the car on a flat and level surface like that in your garage and set the parking brake. Place the jack under the front crossmember and raise the car sufficiently for you to be able to slide under and work comfortably.
If you have ramps, use them up front as you normally would and skip to the second step.
-
Place the jack under the frame rails and raise the rear wheels off the ground. Place the jack stands under the axle housing as close to the rear wheels as possible and carefully lower the car onto them.
-
Inspect the steel fuel lines between the engine and tank and replace any rusted or weakened lines. Route the 3/8-inch fuel return line from the fuel tank up to the engine, leaving slack in the hose and routing it away from pinch points and hot exhaust components. Support the hose with hose straps or zip ties.
-
Place a small board on the jack pad and raise the jack so it supports the fuel tank. Disconnect the fill and vent pipes from the tank. Loosen the bolts on the tank straps and slowly lower the tank after disconnecting the fuel sensor wire and fuel line(s).
-
Clean any loose debris from around the fuel tank's sending unit. Remove the fuel gauge sending unit by carefully knocking loose the locking collar and carefully removing the assembly from the tank. Clean the strainer with gas or solvent.

-
Drill a hole in the sending unit cap being sure not to drill where there are obstructions for the return line hose barbs if needed and install the hose barbs in the cap. Be sure to use a gasket on both sides.) Attach a six inch piece of hose to the inside barb and reinstall the sending unit assembly. Now raise the tank back into place and tighten the straps.
-
Mount the new fuel pump somewhere under the car where it will be protected from most flying debris and any heat but still be accessible. Cut a piece of fuel supply line no longer than 18 inches and install between the fuel pump and tank with the pre-filter installed in-line. Most fuel pumps require that they be mounted as close to the tank as possible for proper operation. Some also have height requirements..
-
Mount the relay either near the battery or the main power distribution block and wire according to the included instructions. Route the switched output wire with a ground wire to the new fuel pump. Avoid hot spots and pinch points. Secure the wires to the frame and/or the brake and fuel lines with zip ties.
-
Attach the power and ground wires to the fuel pump using solderless connectors. Connect the main power to the relay to the junction block/fuse panel or the battery, and the relay ground to a good ground or the battery. The switching lead needs to come from a switched source that is on when the engine is starting and running. The ignition lead is the best choice here.
-
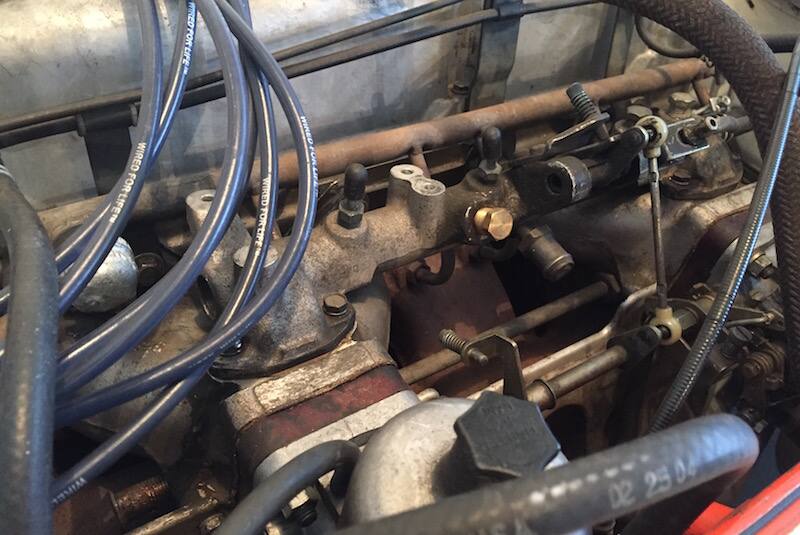
Disconnect and remove the mechanical fuel pump and install the block-off plate using the included bolts and gasket.
Before you start, here are a few notes:
Some older carbureted cars, such as the 1970 Chevy Camaro SS 350 have three-line fuel pumps that incorporate fuel return lines. These cars won't require the installation of return lines unless the steel lines are damaged or weakened. Rubber lines should be replaced.
Some older cars have an access panel under the spare tire or on the front of the tank that will negate the need for tank removal.
You're now ready to install the electronic fuel injection system of your choice.
Want to learn more about the evolution of fuel injection? Click HERE.