Do you have to use a broomstick or baseball bat to prop your hood, hatch, or trunk open? Whether you're working on your engine or loading gear for the kids' soccer game, you don't have time for it. And not only is manually propping open your hood or trunk an inconvenience, it can be unsafe.
These props - also referred to as shocks or struts - are designed like small shock absorbers, and just like their full-size cousins, they can wear out with age. They're mounted with a simple ball-and-socket design that allows the prop to pivot in place as it rises or lowers. We're going to quickly walk through replacing a hood prop so you can go back to using your baseball bat or broomstick for its original purpose.

All photos by Mike Aguilar
This is a good project for new DIYers
-
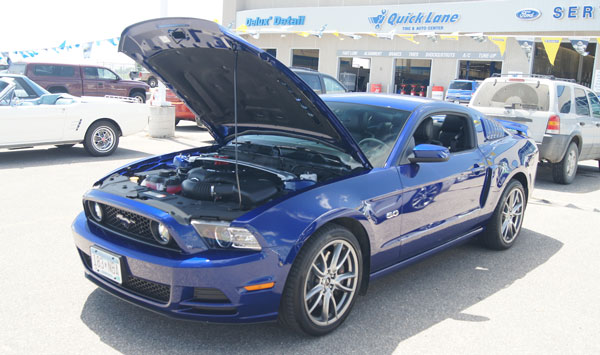
Open and prop up the hood. Take a look at the supports and make note of their orientation—i.e. body tube up or down.
-
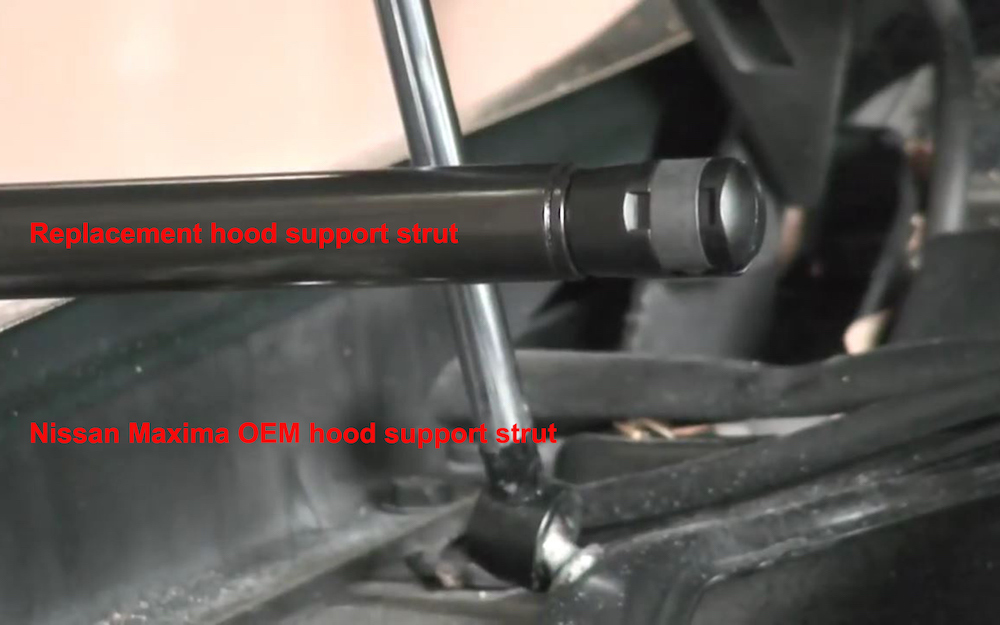
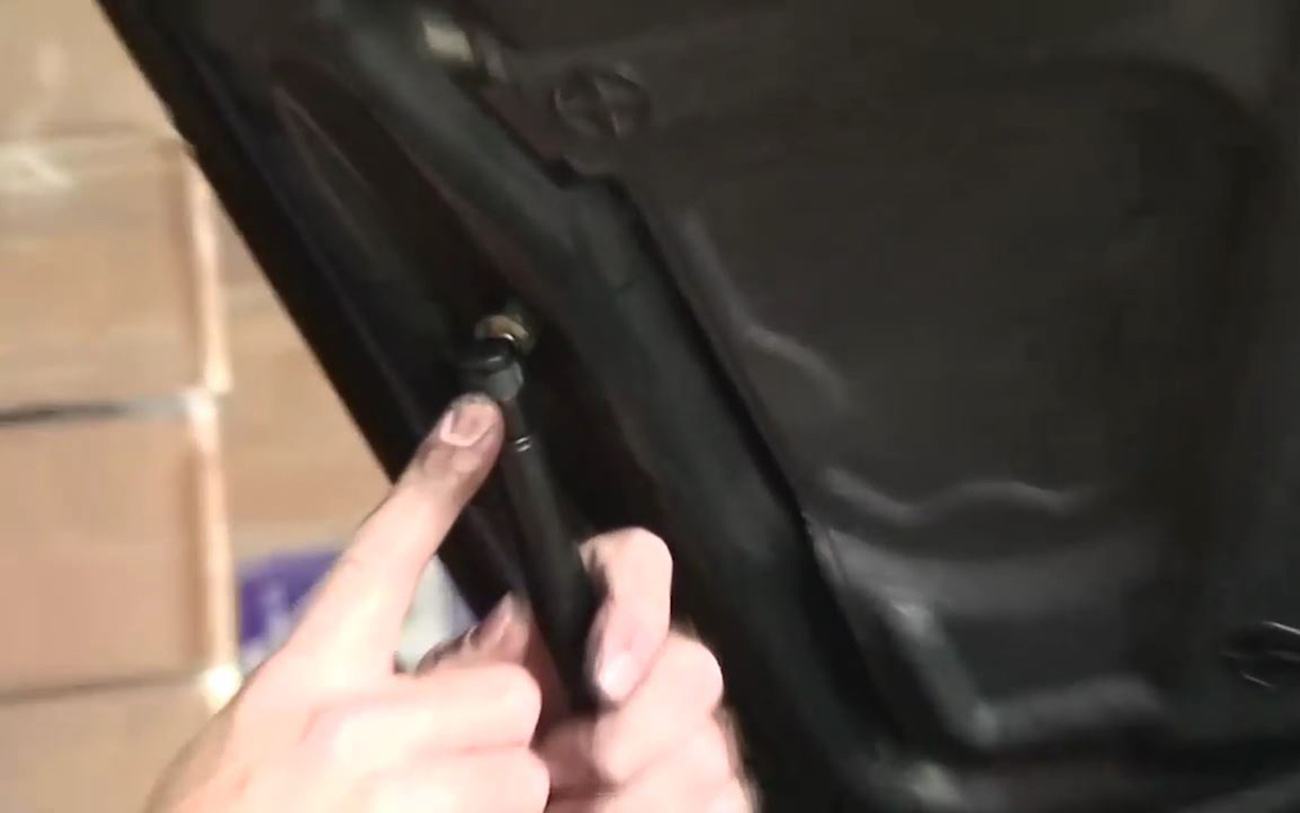
Take a look at the connection points at both ends of the hood prop. On most vehicles, you'll see a clip at each end that locks the pivot ball on the vehicle into the socket on the prop and keeps the rod from popping off its mount on the ball. This clip looks like a belt or strap wrapped around the pivot assembly (see image ).
-
Pry the clip out some with a small, flat screwdriver and pull the old support shock out.
-
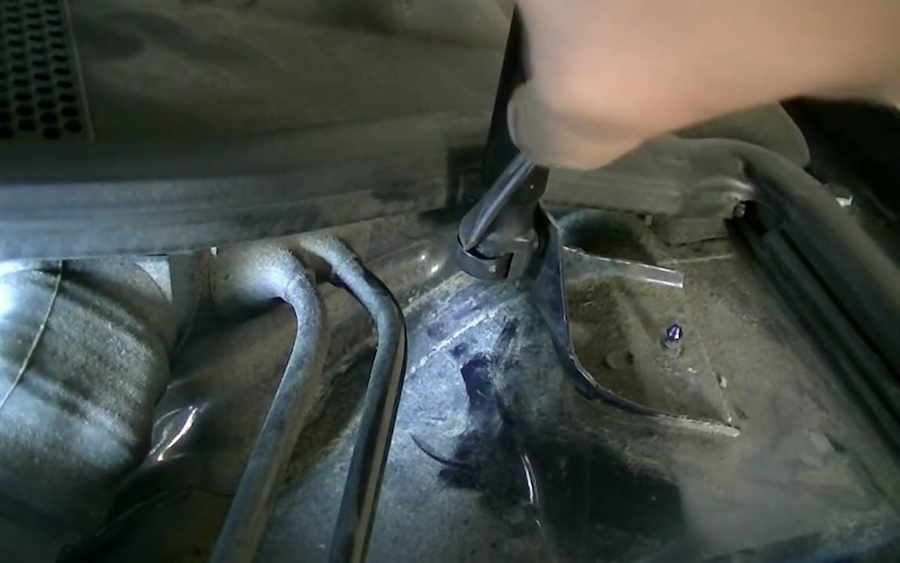
There are a few vehicles, like the Nissan Maxima, where you have to unbolt the whole assembly from the car to change it. These won't have the aforementioned clip on the pivot assembly. Use a wrench to remove the upper and lower pivot balls from the vehicle.
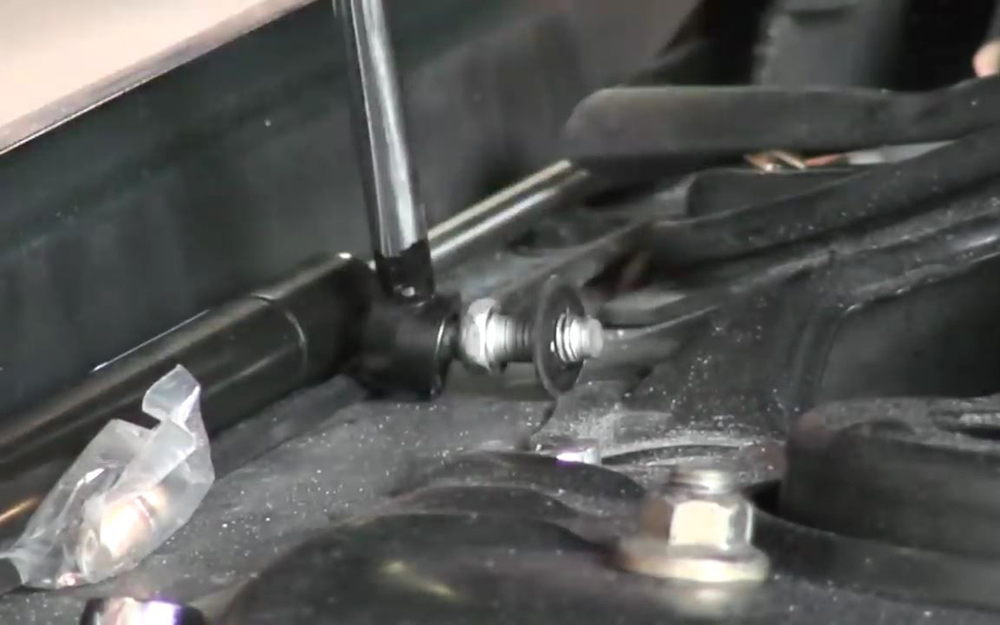
-
Thread in and tighten the new pivot balls. Most vehicle owners will skip this step.
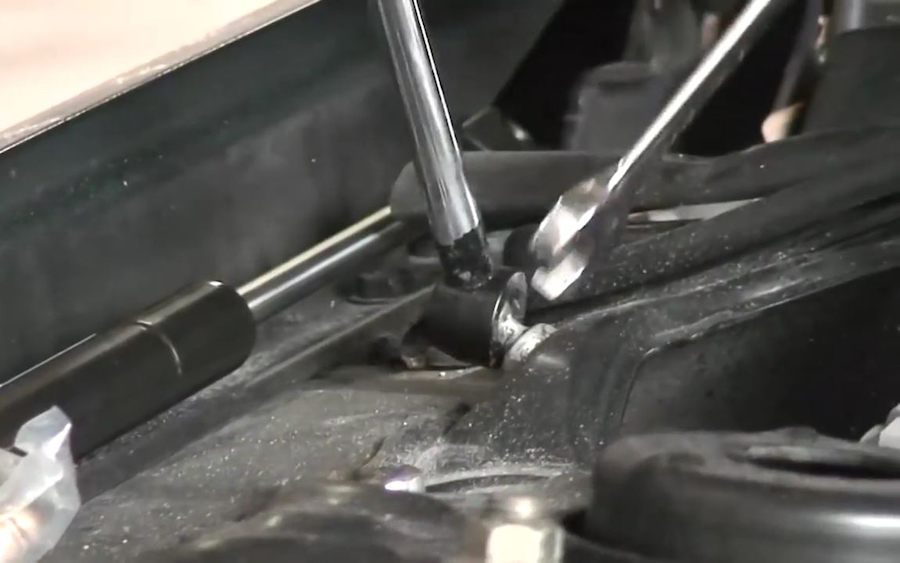
-
On the more common clip-on style, correctly orient the new prop rod and place the upper pivot socket over the upper pivot ball. Give the socket a sharp rap with the palm of your hand to snap it into place.
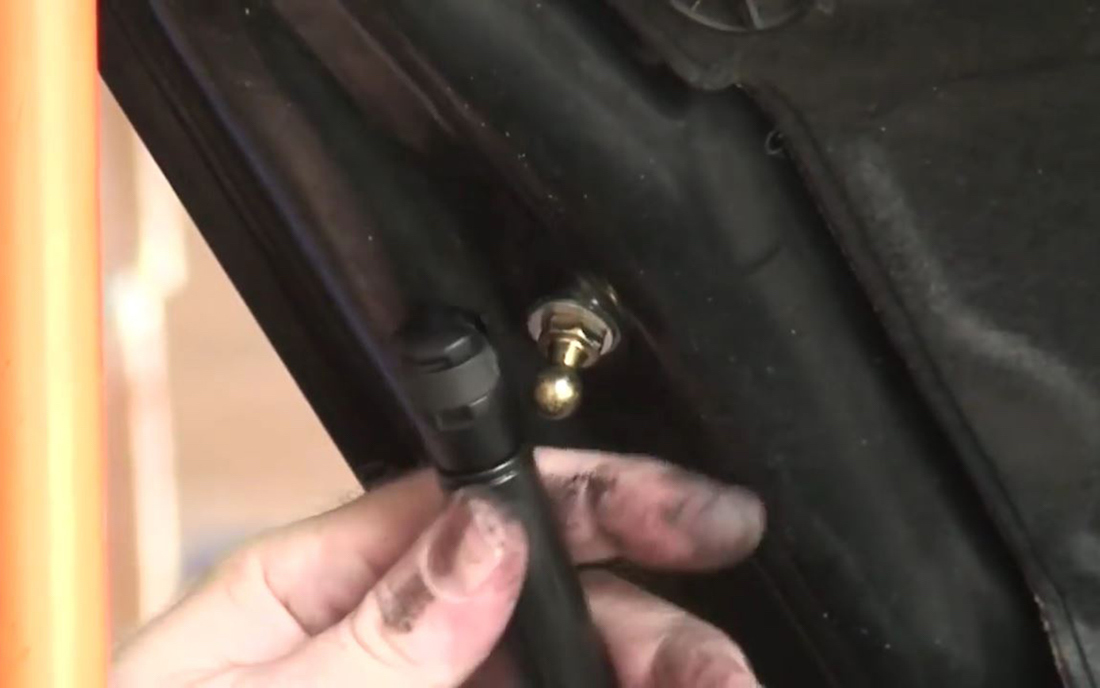
-
Raise or lower the hood, hatch, or trunk to align the lower pivot socket with the lower pivot ball and give it a sharp rap to snap it into place.
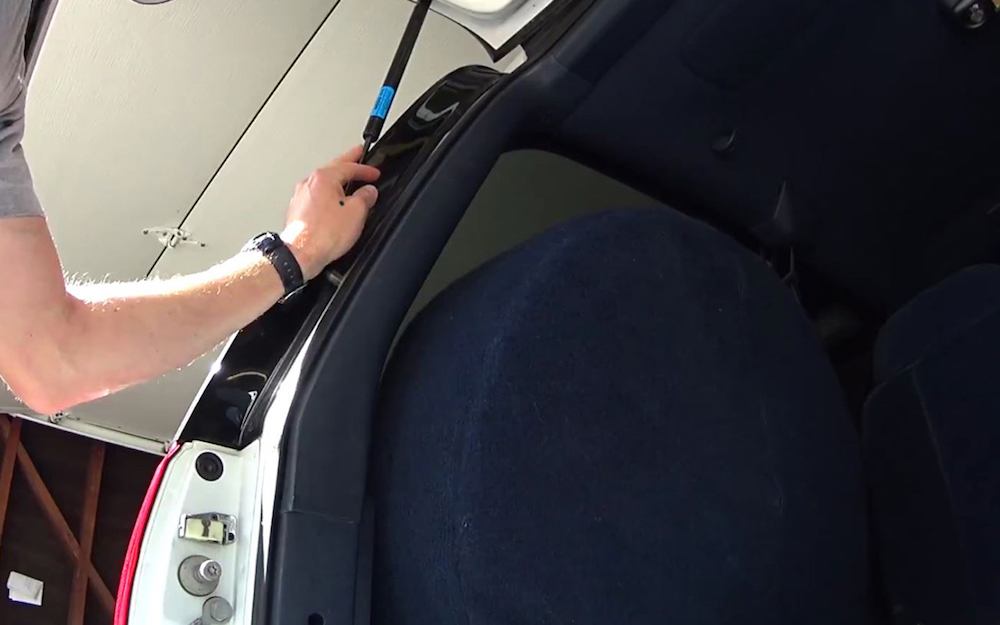
-
Check your work. The supports should be firmly locked into place, and the hood, trunk, or hatch should raise and lower with ease and only come down when you pull it down, not by itself.
This job is easier and safer if you have a helper to hold the hatch, trunk, or hood open while changing the prop rods.

