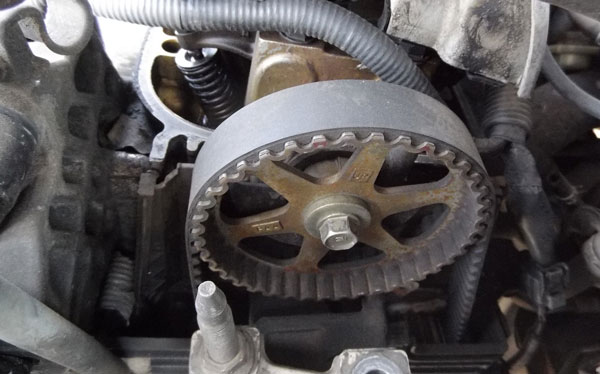
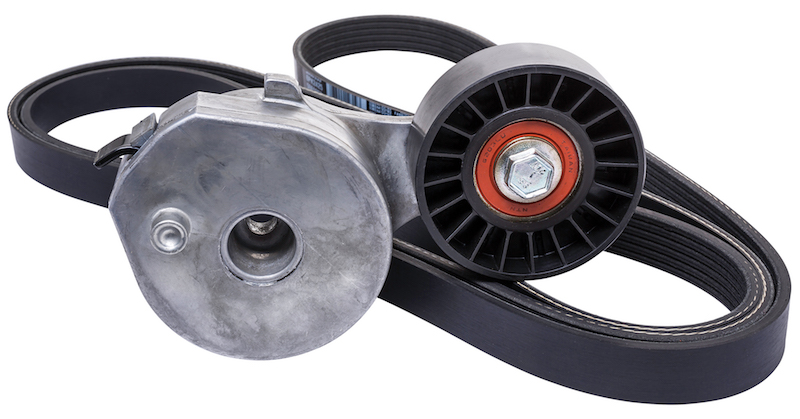
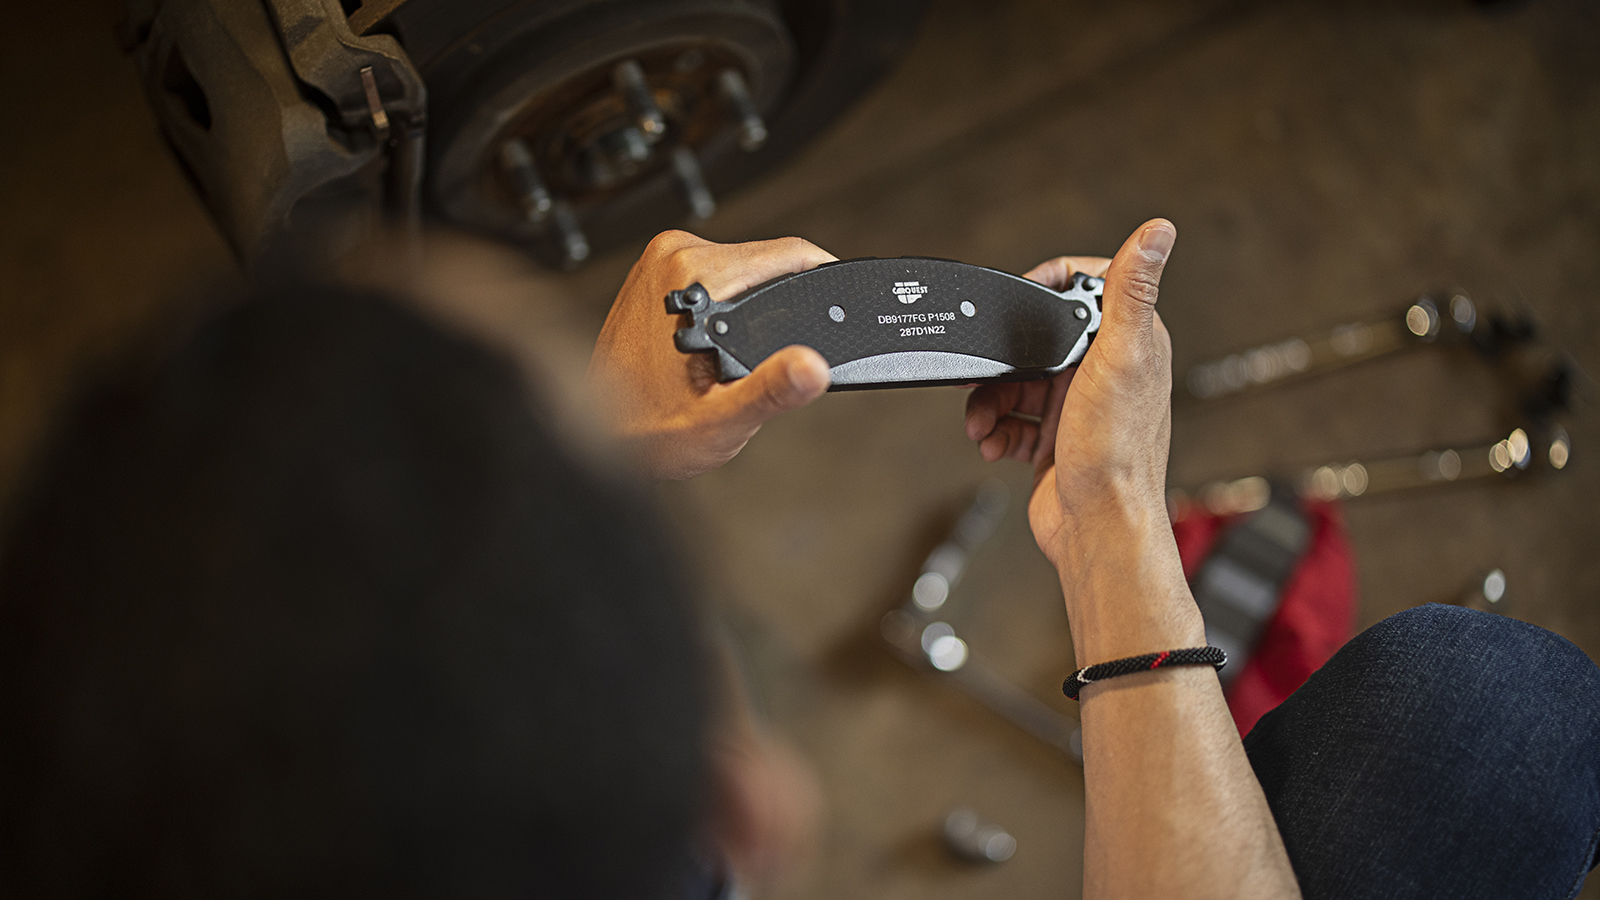
The timing chain is a feared DIY job, but it doesn't have to be. With patience and some free time, even a beginner can get this maintenance done. If you've got a Saturday free, you can save nearly $1,000 by doing it yourself.
Similar to a bicycle chain, the timing chain is a critical component connecting the crankshaft and camshaft, allowing them to rotate together. This synchronization is what allows valves to open and spark plugs to fire on time. Usually a timing chain (unlike a timing belt) will last the life cycle of a vehicle, but on an engine with high miles, it's possible for it to stretch and slap. A worn timing chain will show some obvious engine problems. You might notice misfires and reduced performance, metal shavings in the oil, or a loud rattle from the front of the engine.
This is a challenging and technical project
-
Disconnect battery, chock the wheels, and set the parking brake.
-
Drain the engine fluids. On most engines, the oil, coolant, and possibly the power steering fluid will need to be drained. Collect in drain pans and store for recycling later.
-
Remove the air intake and set aside. Remove the serpentine belt. Remove the upper radiator hose and disconnect hoses running to/from water pump. Remove the electric radiator fan and shroud. Have a pan underneath to catch any spilled coolant.
-
Remove engine accessories that are in the way, like the power-steering pump, reservoir, alternator, or air-conditioning compressor. You only need to remove accessories that are covering or blocking access to the timing chain. Note that you may not need to remove them entirely. For example, unbolting a power-steering pump and setting it aside while keeping lines connected prevents spilled fluid. Use zip ties to safely secure parts out of the way.
-
Remove the water pump. The bolts likely have thread locker and will be difficult to remove (this is where air tools can really come in handy). With all the bolts pulled, remove the water pump by prying against the water pump housing with a screwdriver or pry bar.
-
Remove the crank pulley. This is best accomplished with an impact wrench, but can be done by preventing the pulley from spinning while using a breaker bar.
-
Use a harmonic balancer puller to remove the harmonic balancer. Rent one for free from Advance.
-
With all the accessories out of the way, remove the bolts from the timing chain cover. Then use a flat-head screwdriver or pry bar anchored against the block or head and pry the cover off. Use a flat putty knife or razor blade to scrape off the old gasket and clean the sealing surfaces. Make sure that the mating surfaces are as free from gasket residue as possible. This is an important step.
-
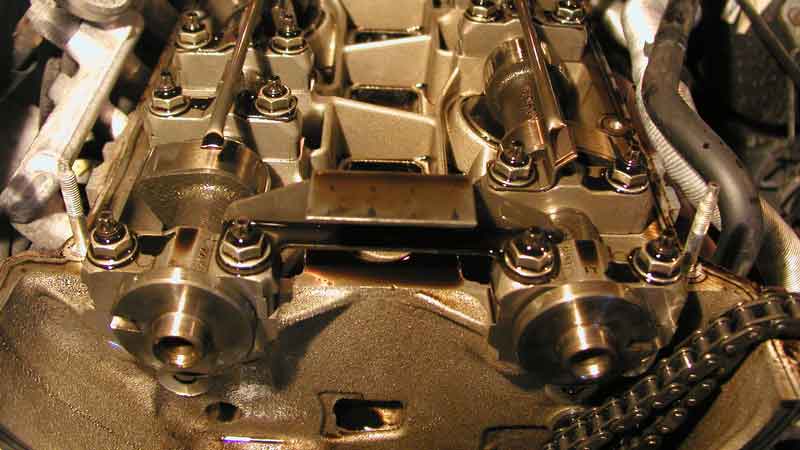
Adjust the engine to top dead center by rotating the crankshaft. You can do this easily by looking closely at the camshaft and crankshaft sprockets. There is a small indicator on each sprocket, and your goal is to line them up. The cam sprocket on top should be right at the 6 o'clock position, facing the crank sprocket's indicator at the 12 o'clock position. Put the crank bolt back into the crank bolt hole and use a socket to rotate the engine until the indicators line up.
-
Remove the chain tensioner and bolts using a socket. Then remove the cam sprocket bolts, the cam sprocket, and the timing chain.
-
Use a gear puller to remove the crankshaft sprocket. If you don't have a gear puller, you can rent one for free. Just make sure the pulling arms are evenly distributed on the gear, so it pulls straight off rather than at an angle (also an important consideration when removing the harmonic balancer).
-
Inspect the crank and cam sprockets, comparing them to your new parts. You should have the same diameter, thickness, number of bolt holes, and position indicators. If everything looks good, it's time to reassemble.
-
Put the cam sprocket on and check alignment with the crank sprocket. If the indicators aren't lined up, use a pry bar to slowly move the cam sprocket until it's properly aligned.
-
Drape the timing chain over the cam sprocket and hold it in place with one hand while working the chain around the crank sprocket with your other hand. Then push the cam sprocket into place and finger-tighten the bolts. Check alignment again, and check to ensure even tension on both sides (left, right) of the chain. If everything looks good, torque down the bolts with some thread locker.
-
Bolt in the chain tensioner. Add a few drops of fresh motor oil to the chain and gears.
-
Ensure the new gasket lines up with the holes on the timing chain cover. Use spray adhesive or gasket glue to make it stick to the cover.
Changing a timing chain is not outright difficult but is considered a complex job due to the large number of steps involved. If you can handle tasks like replacing tie rod ends and bleeding brakes, then odds are this is your next step. You should have a good selection of metric and English-size tools, as covered in our Tools 101 and 201 recommendations, and be sure to have a vehicle-specific repair manual handy. Specific tools will vary according to your make and model, as a mid-'90s Mustang needs 5/8" and 11/16" sockets, while a mid-'90s Camaro demands 10mm and 15mm sockets.
Note: You probably want to replace the water pump at the same time. The timing chain and water pump are both labor-intensive jobs in the same area of the engine, so knocking out both now can prevent having to do many of the same steps again later.
Keep bolts in a plastic sandwich bag and use a marker to identify what they go with: “Steering pump bolts." Set aside somewhere safe.
The crank sprocket is an extremely tight press-fit connection, but there's a trick if you don't have a hydraulic press. Put the crank pulley in your oven at 250 degrees Fahrenheit for five minutes. Then, using a heat-proof glove, slide the sprocket onto the crank. As it cools it will contract, making a perfect fit.
The timing-chain cover has a lot of bolts that need to be torqued to spec evenly in order to prevent warping and causing an oil leak. Before final assembly, make sure you understand where all the bolts go (you may also need to tighten them in a very specific order). Use thread locker on the timing chain bolts and hand-tighten, then use the same on the water pump bolts and hand-tighten. Then you can torque them all at the same time.
From here, reassembly is the reverse of the above instructions. Just remember to torque to proper specs, clean anything filthy before reassembling, and add all your fluids back. Reconnect power, bleed the coolant, and fire up. Use the timing light to confirm a successful job, and adjust the timing as needed. Finally, take a test drive to Advance to recycle the used fluids.
Still need help? Some projects may be too challenging or time consuming to tackle at home, and that’s why we partner with trusted, professional shops that are ready to get you back on the road. Use our directory to find a qualified technician near you.
