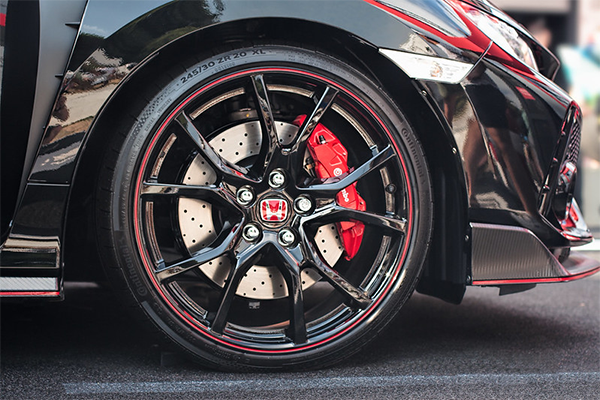
Everyone knows how bicycle handbrakes work: You work the handbrake lever, and rubber pads make contact with the wheel's rim and slow the bike down via friction. You can think of your disc brakes much the same way.

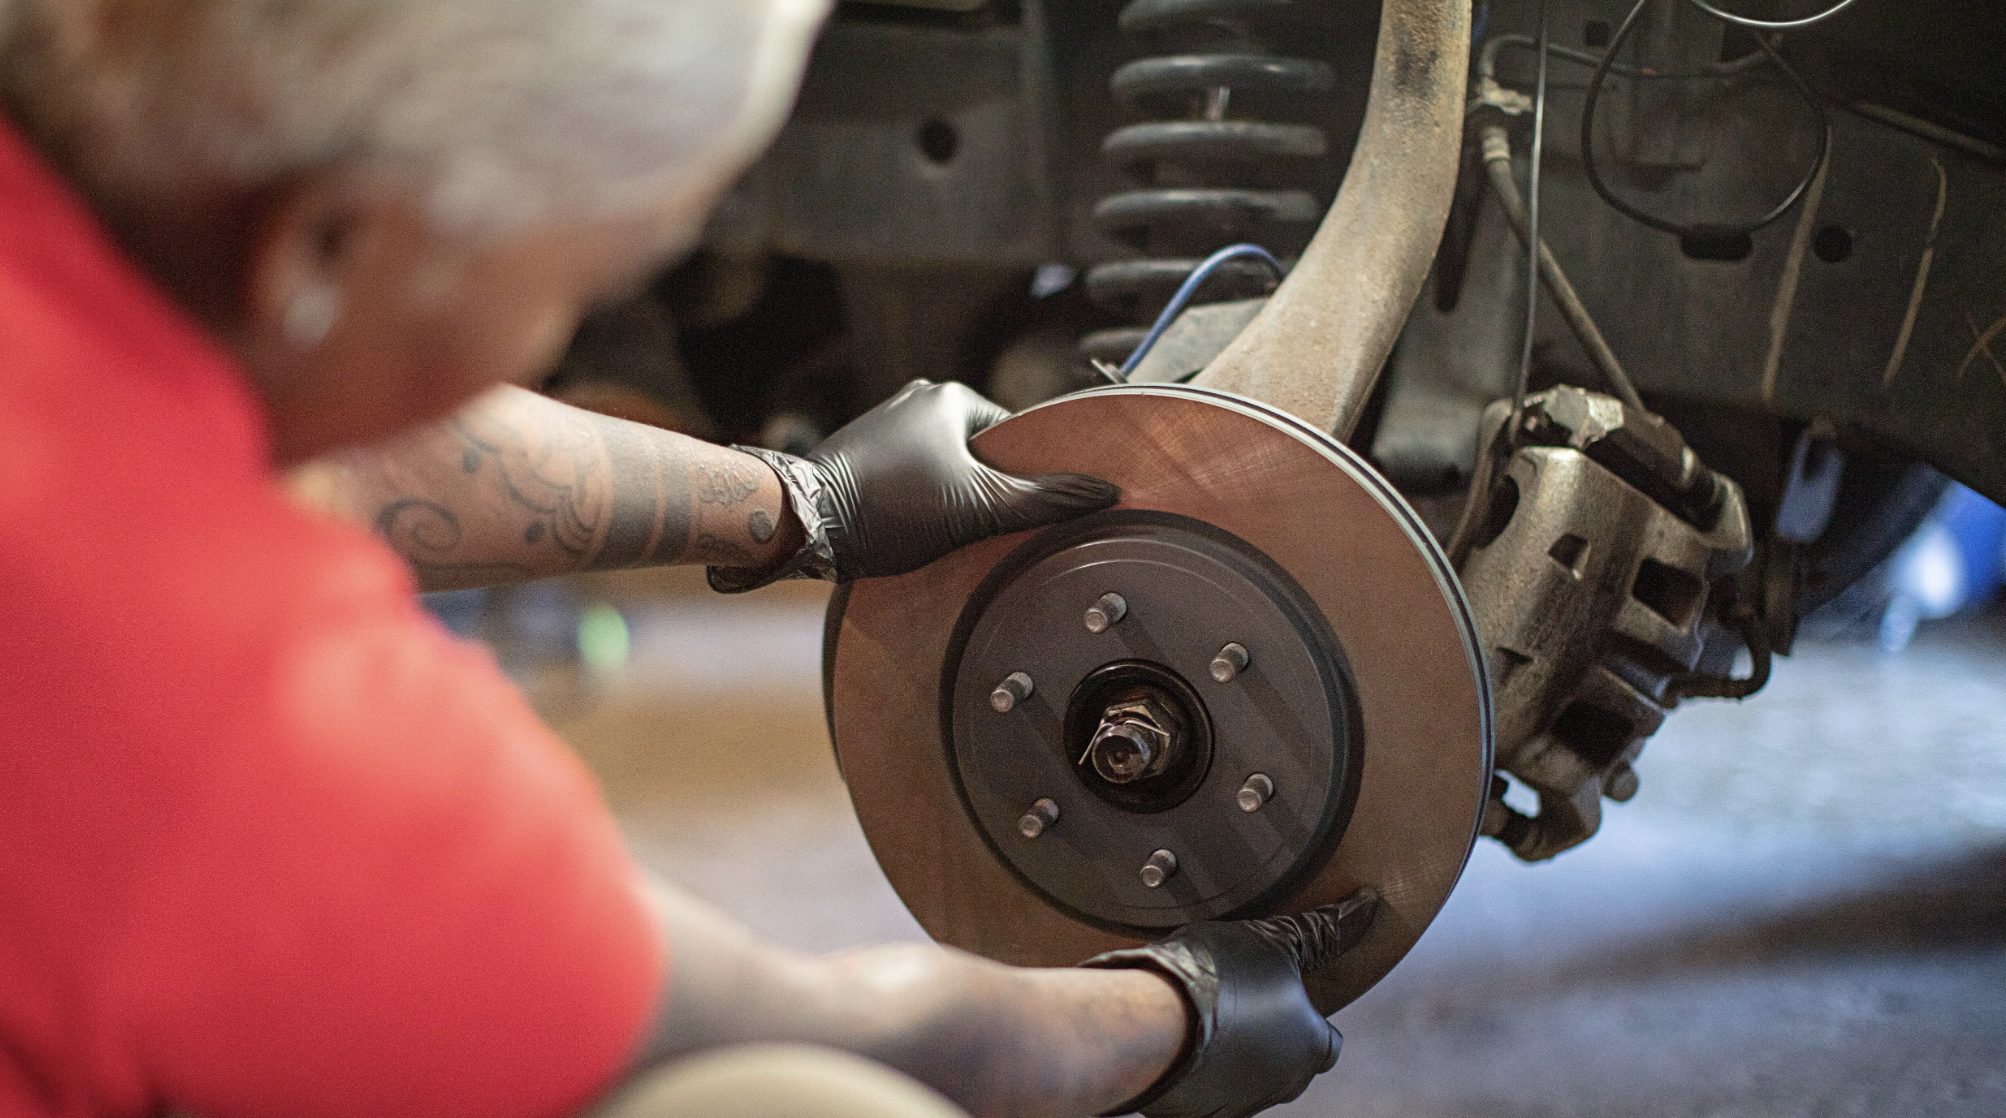
Your wheels are bolted to smooth iron discs (called rotors), and a caliper encloses part of the disc. When you step on the brake pedal, hydraulic pressure from the master cylinder travels through the brake lines and activates a piston in the caliper. This piston's action presses semi-metallic or ceramic brake pads against the rotor and slows the vehicle down.
Brake rotors may be hardened, polished iron, but they still wear over time and all have a minimum safe thickness spec, determined by the manufacturer. When a rotor is below minimum safe thickness, it can't disperse heat properly, and heat buildup is the enemy of the rotors and the entire braking system.
Excessive heat buildup can cause brake fade and, in extreme cases, can cause water droplets in your brake fluid to boil, lengthening stopping distance and leading to a "spongy" brake pedal underfoot. Worse, excessive heat can cause brake pedals to warp; pulsation and vibration on light braking are a sure sign of a warped rotor. Squealing, grinding or a pull to one side while braking are also trouble signs.
For years, machine shops would resurface and "turn" a rotor that was damaged or worn, but today the price of rotors for many vehicles has dropped to a point where it's just as cost-effective to replace them. In fact, many shops now recommend rotor replacement as part of a routine brake job.
The good news is that replacing rotors is a fairly simple job on most vehicles, and there's no reason you can't take on this job yourself.
What you'll need to replace brake rotors
- Brake rotors
- Jack and jack stands
- Manufacturer-approved brake fluid
- Brake cleaner
- Basic hand tools
- Heavy wire or bungee cord
- Caliper spreader or C-clamp
Let's get started
- Slightly loosen the lug nuts. Set the parking brake, chock the wheels, raise the vehicle, and support it securely on jack stands. Then remove the wheels.
- Remove the fasteners holding the brake calipers in place. Some models may require a specialized tool for this.
- Remove the caliper and bracket, and suspend it from the upper control arm or frame using the bungee cord or wire. Don't let the heavy caliper dangle by the brake line hose. The bracket will need to be removed before you can remove the rotor. Now you can remove the rotor, which should pull straight out from the hub easily. If your vehicle has the style of rotors that incorporate the wheel bearing, figure on replacing the wheel bearing and races in this process (and use the appropriate grease for this job).
- Use the C-clamp or caliper spreader tool to recess the brake piston back into the caliper's bore. If you use a C-clamp, just put the clamp's jaw on the old brake pad and the screw on the back of the caliper, then tighten. It's a good idea to open the brake bleeder valve during this step, to prevent too much pressure from backing up into the brake system. Note: Some vehicles use a rear caliper piston that screws back in rather than just being pushed back in. This style can be identified by notches in the piston. Advance Auto Parts has the loaner tool needed to screw in this type of piston.
- Install the new rotor, and wash it with warm water and mild soap first to remove any oil or metal particles left over from the manufacturing process.
- You can now slide the caliper and new pads over the rotor; if it slides over the rotor too tightly, the brake piston isn't fully retracted in the bore.
- Tighten the connectors for the caliper and bracket to factory torque spec. Pump the brakes a number of times to move the pistons back out of the caliper and fully engage the pads with the rotor. If you haven't opened the brake lines, you shouldn't need to add fluid or bleed the brakes; still, check for a spongy brake pedal and purge the lines if necessary.
Driving on warped, thin brake rotors or worn brakes is dangerous for you and for other drivers on the road. Keep your vehicle well maintained for safety, and that includes brake work.
Share
About the Author(s)

Jerry Renshaw is a veteran journalist, gearhead and guitar player, and cultivated his mechanical skills by 30 years of turning wrenches to keep one piece of junk or another on the road. He's owned everything from a Chevette to (three) minivans to a fire-breathing Dodge muscle truck, and is constantly keeping up to speed on what's going on in the automotive world.