You probably know that an illuminated Check Engine light (CEL) means that the powertrain control module (PCM) has received a reading from a sensor that is out of spec, registering a trouble code. You also probably know that it's a fairly simple matter to plug a scanner or code reader device into the vehicle's diagnostic connector under the dash and access the trouble codes that have been stored (a service that your nearest Advance Auto Parts offers for free).
The introduction of standardized OBD-II diagnostics across all makes and models has taken a lot of the guesswork out of troubleshooting. Where it gets tricky, though, is the need to be able to read between the lines and interpret what the trouble code actually means.
Sometimes it's easy to misdiagnose a problem just on the basis of the code and start replacing parts unnecessarily.
As part of our Check Engine Light series, we're taking on common trouble codes and breaking down what they mean and how to address them.

P0107 — Manifold Absolute Pressure Sensor/Barometric Pressure Circuit Low Input: What It Means
First, let's talk about what the manifold absolute pressure (MAP) sensor is and what it does.
As an engine runs, a vacuum exists in the fuel system and intake manifold. The MAP sensor monitors the atmospheric pressure outside the engine, compares it to the vacuum in the intake manifold (which increases with load and/or throttle position) and sends this information to the PCM. The PCM then calculates air density entering the engine and adjusts fuel metering and ignition timing.
The P0107 code means that the reading from the MAP sensor is lower than normal parameters. At minimum, the reading should be 0.5 volts, and anything else means that the sensor is faulty or there's a problem with the wiring.
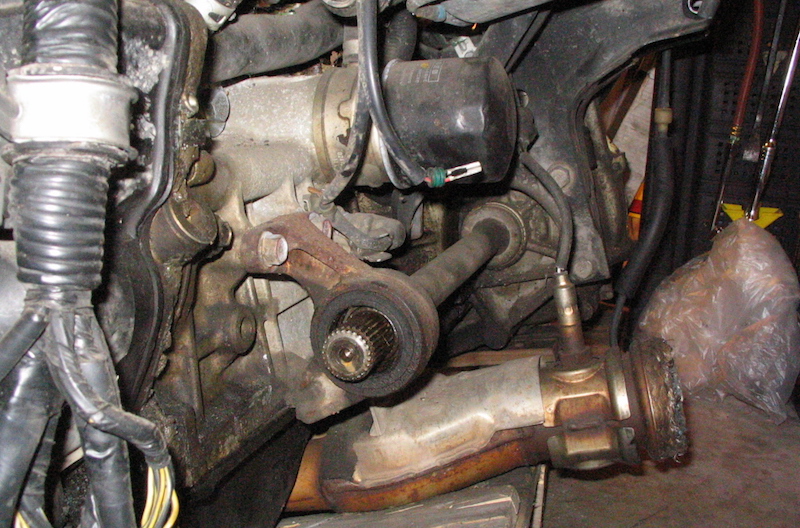
The good news is that on most vehicles, the MAP sensor is pretty easy to access. It's typically mounted on either the intake manifold, the firewall, the fender well, or possibly under the dashboard. In most cases, though, the sensor is on the intake manifold not far from the throttle body.
Symptoms
Since a bad reading from a MAP sensor will affect fuel delivery, the problems you encounter might include:
- Surging
- Rough running
- Rough idle and stalling
- Rich-running condition and black exhaust smoke
- Lean-running condition
- Poor fuel economy
- Hard starting or no-start
- Detonation, misfire
What Happens If I Ignore It?
If you ignore a P0107 code, chances are your vehicle will get to a point where it just won't start at all. The PCM might also put the engine into limp-home mode, where power is automatically cut back and speed is limited to about 30 mph in order to avoid further damage to the engine — if the issue continues, you could also be looking at damage to the catalytic converter too.

Source | Advance Auto Parts
Diagnosis and Repair
The first thing you should do with a trouble code like this is to use a scanner to clear the code(s) from the PCM then road test the vehicle to see if the P0107 code returns. You may also encounter these related codes (as well as P0068 and P0069):
- P0105: MAP sensor circuit malfunction.
- P0106: MAP sensor circuit, range or performance malfunction.
- P0108: MAP sensor circuit, high input.
- P0109: MAP sensor circuit, intermittent failure.
If the code does return, start with a thorough visual inspection around the sensor itself. The sensor is usually connected to the intake manifold with a vacuum line, so examine the rubber vacuum line for kinks, dry rot, cracks, swelling, softening, hardening or loose connections. These lines do tend to age and weather from long exposure to high temperatures, oil and fuel.
Check the sensor's electrical connections are tight, clean and not corroded or damaged. It's also important to note that problems with the throttle position sensor or even other vacuum lines can mimic the symptoms of a bad MAP sensor and can even cause a P0107 code. Rather than just indiscriminately replacing the MAP sensor, it's best to go through the process of troubleshooting it.
The MAP sensor uses a three-wire connector, and your first step should be to check for reference voltage.
Make sure that your multimeter has a minimal impedance of 10 megaohms, to protect other sensitive electronic circuits and processors under the hood.
Here's how to check the reference voltage:
- Turn the key to ON but don't start the engine.
- Set the multimeter at 10V on the direct current scale.
- Backprobe the sensor — you should get a reading of around 5 volts.
- If you don't get a 5-volt reading, check for reference voltage. If reference voltage is present, look for open circuit — if not, problem is at or before the PCM.
Now, check for signal voltage:
- Unplug the vacuum hose at the sensor.
- Connect a handheld vacuum pump to the sensor, but don't pump yet.
- Using the red probe on the multimeter, backprobe the signal on the electrical connector (ground the black probe to the negative post on the battery or any metal surface on the engine).
- You can backprobe at the connector with a T-pin rather than stabbing the probe directly into a wire, which can damage the circuit.
- With the ignition key ON but engine off, voltage should read 4.5-6 volts.
- Use the vacuum pump to build about 5 in-Hg of vacuum. The voltage should now read about 3.75 volts.
- Now use the vacuum pump to build 20 in-Hg of vacuum — the voltage should drop to around 1 volt.
Replacing the MAP Sensor
If your troubleshooting indicates the sensor has failed or is faulty, replacement is pretty straightforward. On many vehicles, the sensor is easy to access; on others, it might require removing a component or two.
- Disconnect the battery's negative cable.
- Disconnect the sensor's electrical connector and remove the MAP sensor (usually held in with a couple of screws or Torx bolts).
- Detach the sensor's vacuum line from both the sensor and the manifold.
- Using the old line as a guide, cut the new vacuum line to length.
- Reconnect the vacuum line to the sensor and manifold.
- Reconnect the sensor's electrical connection.
- Install the sensor.
- Reconnect the battery negative cable, clear the code if necessary, and road-test the vehicle.
Is this a problem you've encountered in the past? Let us know in the comments.
Share
About the Author(s)

Jerry Renshaw is a veteran journalist, gearhead and guitar player, and cultivated his mechanical skills by 30 years of turning wrenches to keep one piece of junk or another on the road. He's owned everything from a Chevette to (three) minivans to a fire-breathing Dodge muscle truck, and is constantly keeping up to speed on what's going on in the automotive world.