Whether you're shopping for your first classic car, handing down a beloved vehicle to a high schooler, or looking to upgrade your current ride, adding modern stereo tech to an older car can bridge the generational gap. It may seem like a daunting task to add Bluetooth, Apple CarPlay or Android Auto, USB, and app functionality into a 30- or even 50-year-old automobile. In reality, however, you're just a few steps away from making it happen.
Source | Getty
1. Find a stereo that fits your needs
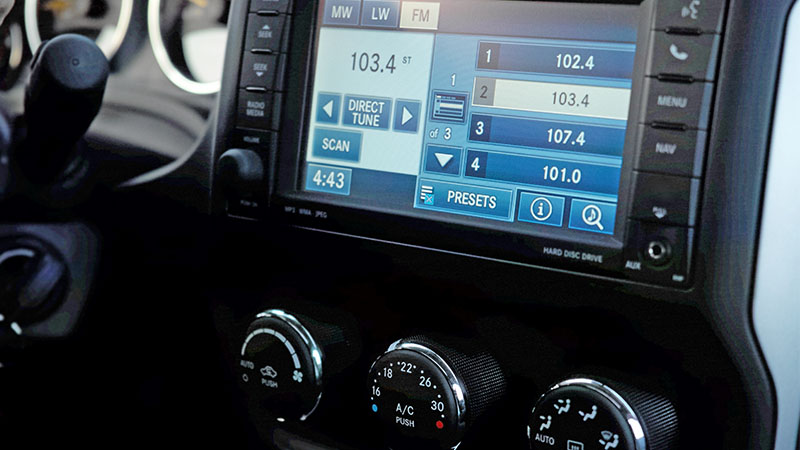
Maybe you want to stream Bluetooth audio to your car stereo, but you don't really need navigation or the more complicated features of Android Auto or Apple CarPlay. There are many stereo-head units on the market in the $70-$200 range that will fit the bill perfectly. If you want to get a bit fancier, look for a head unit that supports your type of smartphone (Apple or Android) and go from there. Some units even feature navigation screens that retract into the dash when not in use. But know that the more complicated and feature-packed your stereo is, the more expensive it'll be.
2. Find a stereo that fits your car
The ease of this depends on how 'classic' your vehicle is. A common industry standard in place since 1984 called DIN car radio size, makes it easy to fit any stereo to any car. Your car will have either a single DIN slot for the stereo head unit (roughly 7 inches by 2 inches) or a double DIN slot (roughly 7 inches by 4 inches).
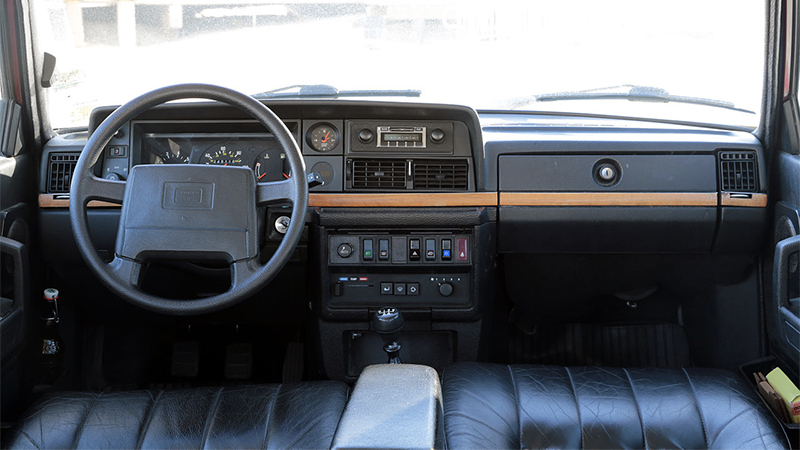
It's possible to mount a single DIN head unit in a double DIN slot with the use of a spacer, but those with single DIN slots won't be able to swap to double DIN head units. In addition to choosing the right stereo size for your car, you'll want to be sure you get a matching faceplate to cover the mounting screws and make the installation look clean and tidy. Often, stereo manufacturers will include a standard faceplate with the head unit, but for some cars with unusual dash opening shapes (Volvo 240s, for example), you'll want to be sure you have a vehicle-specific trim plate, too.
For cars older than 1984, you'll find many have slots that will work with DIN or double DIN stereos. You'll need a mounting plate that's specific to your make and model, but it should install in a similar manner to more modern cars. For those with older cars with non-standard stereo installation locations or sizes, you'll need to be a bit more creative, mounting the stereo in a different location. Many owners choose to mount a modern stereo in the glove box to preserve the vintage look, as well as providing a place to mount the new equipment without having to cut or modify the dashboard.
If you're not comfortable with the level of creativity and possible fabrication installing a stereo in a classic car, there are many custom audio shops that will gladly tackle the project for you. Don't expect to get the job done at a major chain store, though.
3. Find the right wiring harness
It might be a bit intimidating to think about wiring a car stereo into your older vehicle, especially if you've never done something like this before. Fortunately, there's a whole industry built around making this as easy as possible, with adapter harnesses for almost any car you can think of available. One of the most popular brands is Metra.
When looking for the right wiring harness, you'll want to keep in mind that there are two harnesses offered for most cars: the into-the-car harness and the into-the-stereo harness. You'll want the into-the-stereo harness for a stereo upgrade, as this is the part that plugs into the car and interfaces with the stereo. Your new head unit will have its own plug with wires coming out of it. To get them working with each other, you'll need to connect the head unit's plug and wires to the wiring harness that plugs into your car.
4. Wire it up
If you're handy with a soldering iron, that's the best way to connect your new head unit's plug to your into-the-stereo wiring harness before plugging it into your car. Soldering the connections will ensure you have the most durable, vibration-resistant connection possible. Do your soldering outside the car, preferably on a clean work bench, to ensure you don't cause any unintended damage.
Pro Tip: Be sure to slip some heat shrink tubing onto each wire before you solder them so you can safely insulate and protect each joint once you're done.
If you're not into soldering (and don't want to learn just yet), you can always use crimp connectors to join the two harnesses. Just follow the instructions on the crimp connector package to ensure you get a good conductive joint. No matter whether you choose to solder or crimp, connecting the wiring harnesses to each other is usually as simple as matching each wire color. Be sure to reference your head unit's manual, however, as well as the labeling or instruction that come with your car-to-stereo wiring harness, as some models may use non-standard wire colors.
5. Remove the factory head unit
Many factory head units are installed with anti-theft features to keep thieves from walking away with your stereo. That means you'll need a special tool, usually a couple of prongs with special shapes, to insert into the sides of your factory head unit, before it will release and slide out of the dash. It's sometimes possible to make a DIY stereo-removal tool. However, the proper tool is usually cheap to buy, and having the right tool to remove your stereo will make the job much easier and quicker.
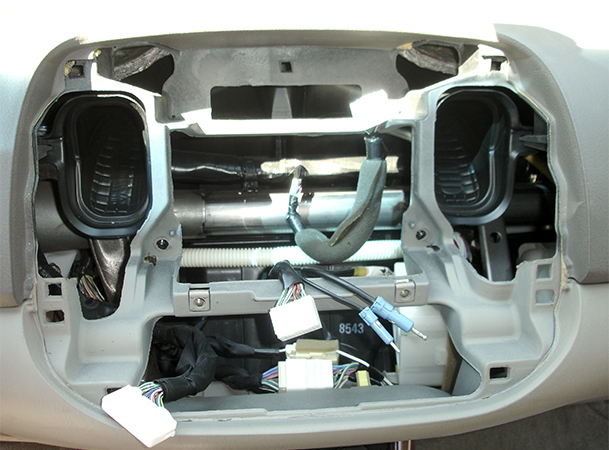
6. Plug in the harness, antenna, and any other accessories for your new head unit
The main plug for your new stereo is the one you just finished wiring up, so plug that in. The antenna for AM and FM radio will also be clearly labeled and will be the only connector of its type (typically a round cable with a single prong sticking out of the center). Other accessories, like subwoofers, satellite radio, or CD changers, will have their own specific plugs, and may or may not be compatible with your new head unit.
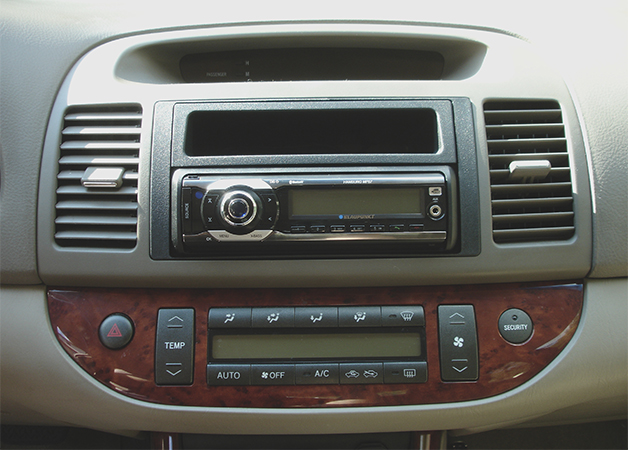
7. Install the head unit
Once you're all wired up and plugged in, slide the head unit into the dash until it's securely in place. Many head units will simply lock into place with a click as it reaches full insertion. Others may require screws to hold them in place. Install any trim surrounds or faceplates necessary to give your installation a finished, professional look, and you're ready to go.
Once you've got the new head unit installed, you'll be streaming tunes from your phone or music player in no time. Just follow the instructions supplied with your head unit to pair them up, and you're off and running.
Now that your new head unit is working smoothly, you may realize you want a bit more sound than your stock speakers can give you. You may even want more total power than your new head unit can supply, which means you'll want to install an amplifier. All of this, and more, is possible, no matter the age of your car.
Have you upgraded your ride with stereo tech? We want to hear your experiences in the comments!
Share
About the Author(s)

Nelson Ireson is a reformed lawyer with a decade's experience driving, writing about, photographing, and shooting video of all kinds of cars. When he's not working with cars, he's often working on one—and it's probably Swedish.


")
.jpg)