You can't change your cabin air filter if you don't know where it's located. So where is it, anyway?

Source | Ryan Gsell/Flickr
Cabin air filter location
On most vehicles, the cabin air filter is located behind the glove box and is pretty easy to access. Just open the glove box, take everything out of it, and remove the little arm that supports it when it hangs open, usually on the right side of the box. After the support arm is removed (it hooks over a small pin), there are usually two small plastic tabs that can be squeezed inward to release the entire glove box for removal.
With the whole glove box removed, you should easily be able to see the faceplate for the housing of the cabin air filter. There should be a couple of plastic latches that hold the faceplate on; just remove those, and the air filter will come right out. Be careful not to scatter dust, dirt, and debris around when you remove the old one, and inspect any seals and gaskets. You might find it necessary to vacuum out the chamber for the filter. Installation will be the reverse of the removal steps.
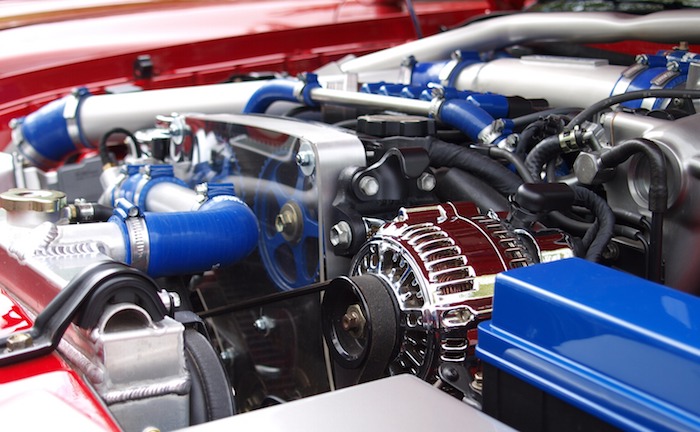
On some vehicles, the cabin air filter might be accessible underhood. In these instances, your owner's manual should give you the straight story on where to find it and how to change the filter. On some vehicles, the cover might be held on with plastic latches (like many engine air filter boxes), while others might have screws, wing nuts, or other fasteners holding it in place.
Regardless of where your cabin air filter is located and how it's secured, just be sure that you install the new one with the proper air flow direction. Pretty soon, you and your passengers will be breathing nice fresh cabin air from the HVAC system again.

