Let's say you found your dream classic in a real barn find, or maybe it's a cheapo neighbor's car that's been sitting in their backyard for a decade. After getting it home, your next goal is to get it started. When an engine hasn't been run in five or more years, it's a bit different than when it sits overnight. Before you cause even more damage, here are the steps you need to take to properly fire up an engine that's been sitting for years.
Inspection & Cleanup
In a true barn find, mice and other critters find creative ways to turn a car into a home. Check for nests and hives in the engine bay, grille, and wheel wells. They're a fire hazard, so remove them and leaves and debris by hand, or blast them away with high pressure air. Check inside for critters and nests, looking into and under upholstery and in the trunk. Wear gloves and other personal protection like safety glasses and a dust mask, because this job is gross. Rodents especially like wiring, and can chew up a wiring harness for headlights or other important bits just as a hobby.

It's not uncommon for rodents to chew through wires, like on this fuel injector harness.
Then look for any obvious damage. The previous owner might not know the maintenance history at this point, so look underneath for obvious signs of damage like a speed bump that removed the oil pan at high speed. Then check for leaks, which should stand out as dark streaks on the dry and crusty engine block. It's not critical to fix a leak before starting, but components like missing coolant hoses and vacuum lines should be swapped before the engine fires. Since you're in there, have a look at the brittle electronics and vacuum lines, and replace any before firing up. Finally, take a breaker bar to the crank pulley and try and rotate the engine. Just a little movement will let you know the engine isn't locked up and is worth your time.
Fix the Fuel
If the vehicle sat for two years or less, you might be alright here by adding fresh gas to the tank and adding a fuel stabilizer. Any time over two years, you're looking at draining the tank. Fuel systems aren't effective at keeping out oxygen, which slowly degrades gasoline. We tend to think of gas as just one liquid, but the refining process means gasoline is a measured amount of hundreds of compounds. Left to sit, additives can evaporate, condensation adds contaminants, altering everything from the emissions to the octane, and eventually changing the fuel into something the engine can't burn.
The easiest way to get rid of that junk is to buy an affordable siphon, run the inlet tube into the tank, set the drain tube into an empty gas can, and get to pumping. Dispose of the gas at your local hazardous waste center. If you're rural and too far from one, give it a try in your power equipment. Then refill the tank with fresh gas. Alternatively, if you think there is rust, sediment, or contaminants in the tank, your best bet is to manually clean the tank by taking a couple hours to drop the gas tank, thoroughly clean, and refit and refill. If the tank is bad and the gas sitting too long, the fuel lines are likely bad as well, so flush or replace them.

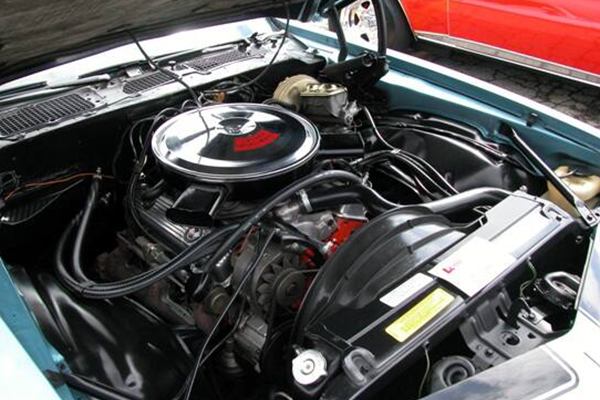
The air cleaner assembly has been removed to better access the carburetor on this '72 el Camino
Nasty old fuel can also wreck a carburetor and fuel filter with deposits and sediment, resulting in a stuck float, stuck accelerator pump or other problems that might make starting difficult. Once you've dealt with the fuel, there's a good chance you might be looking at a carburetor rebuild as your next step. Even if you manage to get it running after priming the carb and blasting some starting fluid into it, a rebuild is probably going to be a good idea.
Oil Change
Your project vehicle probably wasn't stored in a climate controlled environment, otherwise the job would be a lot easier and you wouldn't be reading this. Climate controlled storage is way more than just keeping it comfortable for people. Temperature swings cause condensation (think dew on the grass at sunrise when it didn't rain overnight). That temperature swing happened inside the engine, too, causing repeated assaults by moisture and oxygen, a recipe for rust and corrosion, and contaminants in fluids like the engine oil. While it's possible to start an engine on 30-year-old oil, you'll want to change it out before driving it any distance, so you might as well get it changed pre-startup.
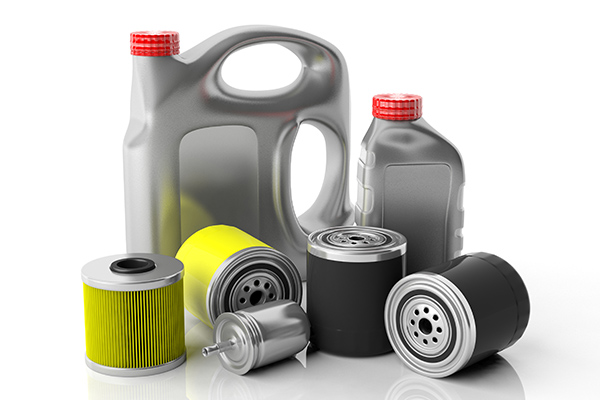
It's easy, takes little time, and fresh oil will give peace of mind that you aren't running contaminated oil over compromised parts. You've probably got this, but just in case, here's a how-to, a look at selecting oil, and in-depth info on additives and oil filters.

Pro Tip: Pulling a wheel not only give you more room for fluid exchanges, it also allows more natural light for better visual inspections.
Coolant Change
Like the oil system, you'll next need to drain and refill the cooling system. You need to change your coolant in a daily driver for similar reasons to changing oil; the coolant becomes contaminated, and the miles use up the additives, leaving you with a cooling system with limited ability to prevent boiling off or freezing. Old coolant is not only limited in primary function, but it's actually corrosive and damages your engine as it circulates.
Start by checking the condition of the radiator hoses, and replace any that are split, cracked, or dry rotted. Drain the coolant at the radiator, even if it looks good, as you don't want debris circulating through the system, potentially damaging the water pump. Measure the appropriate coolant mix, or buy pre-mixed, and fill to the full cold line. Once the engine is running and idles properly, bleed the system to get out air pockets.
If you have a vehicle that's sat for a long time that you're not sure is worth the effort, you can fill the cooling system up with water to make sure the engine runs is fine. Once you know you have a running engine, you can then flush and fill.

While you're inspecting internal engine components, go ahead and swap out the old spark plugs
Internal Inspection
When checking all these components, you may be wondering about the condition of the engine internals. Without popping off a cylinder head, you can take a look inside an engine with an inspection camera. Technically a video borescope, modern inspection cameras use a tiny video camera at the end of a flexible tube. The light on the tip lets the camera see into dark places, and displays it on a screen. This is a handy tool to inspect for corrosion or internal engine damage, plus your inner 12-year-old will find other uses for it, like poking it up your nose.
Just pull a spark plug – this is a good time to inspect them for damage or heavy wear – and run the camera into the spark plug hole. You'll likely see minor corrosion that will get blasted off in the first minute of operation. What you don't want to see is excessive rust welding the piston to the cylinder wall, or piles of rust flakes and debris. At that point, it may be time to look into further disassembly rather than prepping for startup.

A fogging oil like Sta-Bil can help break up corrosion in engines that have been sitting
Fogging Oil
Gravity drains oil off of pistons, rings, cylinder walls, connecting rods and other important internal parts. Improper storage means corrosion from temperature swings, and metal-on-metal contact if you try firing it up like this. Fogging oil is usually used to properly store classics, boats, and power equipment for the off-season. A quick blast of the aerosol oil into the cylinder creates a tough layer of water repelling oil that protects engine internals during lack of use.
Odds are, your barn find didn't get that loving care before sitting a decade, and the protective benefits don't last that long anyway. Still, an aerosol oil is useful in this situation. If you have dry internals, you'll need fogging oil to disperse inside the cylinder and combustion chamber.
Note: Don't use engine oil. Pouring 10W-30 into the cylinder won't do much, unless you have the ability to lift the engine and shake it around. It will likely just pool on the piston, and foul the spark plugs on startup.
Battery Replacement
Batteries are designed for a life of repeatedly charging and draining. They don't like to sit unused. The electrolyte mix is like your coffee, where if not stirred occasionally, the sugar and creamer end up on the bottom. In your cup it's just unpleasant, but in a battery it's called acid stratification and it lowers the CCA and will permanently damage the battery. If the car sat less than a year, trickle charge the battery and test it. If it looks good, continue to the next steps. If it's been over a year, odds are the battery is internally damaged and needs to be recycled and replaced. Battery swaps are easy, taking almost no time at all, and will last years in the new project.
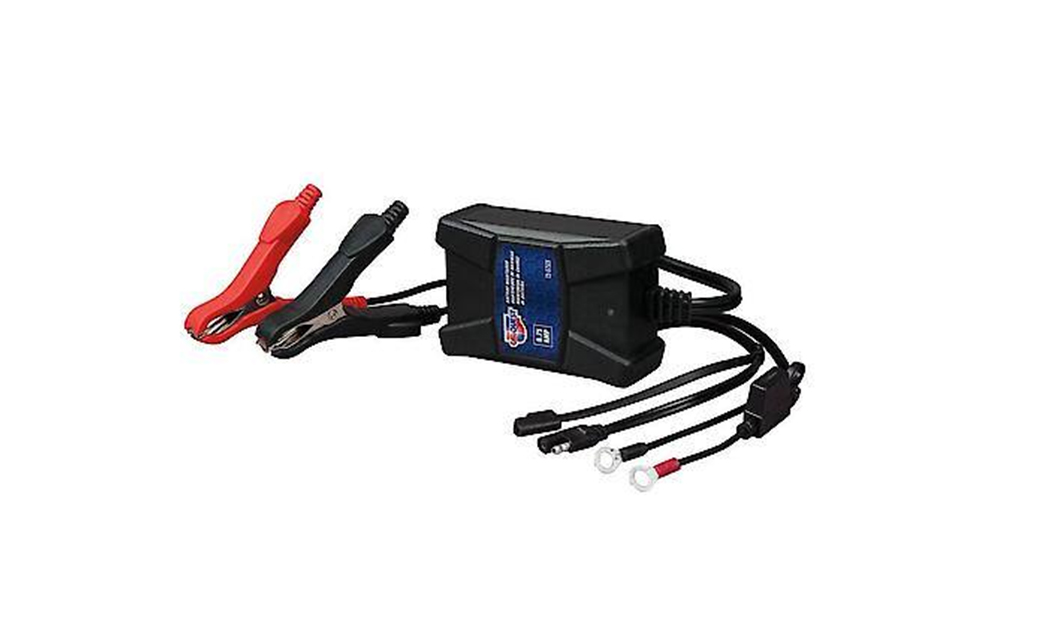
A trickle charger can safely charge a battery so that it can be tested.
Startup Prep
At this point, it's time to get ready to fire. Help out the oiling system by building oil pressure before the engine cranks. Pull the fuel pump fuse or spark plugs to prevent startup, then use a large wrench, ratchet, or breaker bar on the crank pulley to rotate the engine internals by hand. This lets you know that the engine isn't seized, and is at least in good enough condition to rotate. It also allows the oil pump to circulate oil through the passages, building oil pressure when it's been at zero. Make two rotations and you're probably good.
If the engine won't turn or is very difficult to turn by hand, you still might have a chance at getting it running. Squirt some Marvel Mystery Oil down in each plug hole and let it sit for a day or two; even on engines that seem completely frozen, MMO can sometimes penetrate down the cylinder walls and supply enough lubrication to get things going again.
Crank and Go!
Get in, and turn the key. If the engine doesn't crank, a likely suspect is the starter. If it cranks but won't run, spray some starting fluid into the intake/carb. If it starts, take a long look at the fuel pump. If the engine starts and idles fine, you're mostly done, but it's not quite ready for a road trip. It's time to maintain every other system with a complete tune up.
Start with the brakes, flushing the fluid, and seeing if the pads are worn down or the rotors are rusted out. Have an assistant step on the brake pedal while you visually verify their operation. The last thing you want is a strong running engine and no brakes!
Then drain and refill the transmission, using a new filter.

You never know what you might find in a barn find, like this unfortunate insect whose journey ended in the transmission filter
Drain and refill the differential(s), and use a limited slip additive if needed.
If it stumbles while idling and fails to rev, it's time to perform a thorough inspection of the ignition system. Have at look at the spark plugs, wires, distributor cap, rotor, and points, finally the ignition coil. All of the above are wear items, so you may be spending a few hours swapping them out.
Power on and check all the lights, especially the headlights and tail lights, giving it a final safety inspection before hitting the road. Take it slow at first, listening for anything unusual, like unexpected engine or suspension noises. Also don't go overboard on the air fresheners just yet. Keep a nostril open for weird smells that can alert you to dragging brakes, burning oil or ATF, leaking gas, or Jaguar's infamous electrical issues.
The tires are probably expired and have flat spots by now. Maybe consider an in-depth detail inside and out to get rid of all the crud. If a recent OBD-II ride, attach a code reader and scanner for an in-depth look at what the ECU sees. Don't forget the insurance and new wiper blades and fluid for safety, and finally take it out for a spin.
That seems like a ton of work, but it's manageable and worth it. That's the point of a project.
Ever start an old barn find or vehicle that sat for way too long? Let us know what worked for you in the comments below.
