Here's how to aim headlights properly
Driving a vehicle with one headlight pointed toward the ditch (or the sky, or the other lane) is worse than annoying - it's actually dangerous. A minor fender bender or even a change in ride height and stance can be enough to alter headlight aim.
Fortunately, headlights feature adjusting screws that make it easy to fine-tune the aim of the lights if you know how to use them. Some even include a bubble, not unlike a carpenter's level. Many adjusters are accessible under the hood, while some can be accessed through the headlight bezel. The difference that properly-aimed headlights makes can be amazing.
Let us show you how to adjust headlights.
This is a good project for new DIYers
-
Check your vehicle owner's manual for the location of the headlight vertical and horizontal adjusting screws. Note there’s a difference between the adjusting screws and the screws or fasteners that hold the headlights in place. The adjusting screws may have long shafts, long enough to span the entire vertical or horizontal edges of the headlight buckets.
-
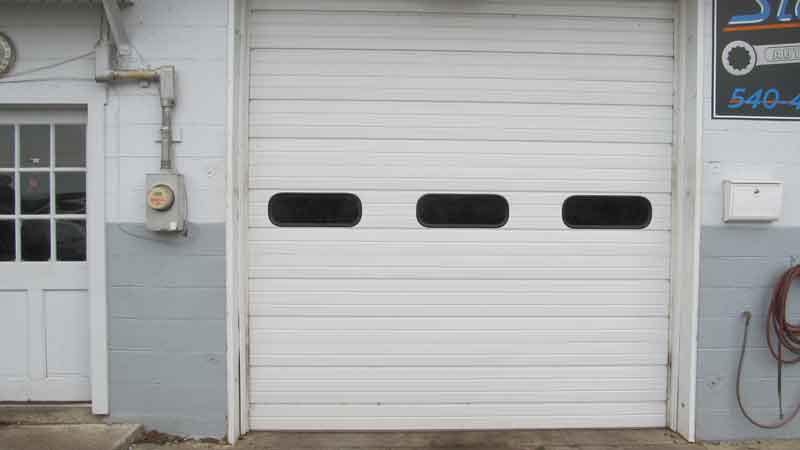
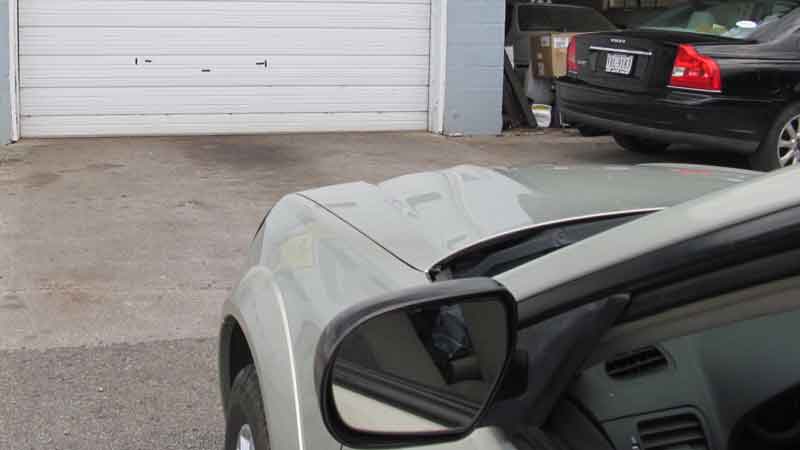
With the vehicle on level ground, park about six feet away from a wall or garage door and turn on the headlights. Use masking tape to mark the center line of where the low beams project onto the wall. Some vehicles will have a target or cross-hair in the center of the headlight, which is handy as a reference for this horizontal line.

-
Next, mark the vertical center lines of the headlight beams. Then determine the center of the vehicle and use tape to mark that as well. The vehicle's center line will be useful when it's time to determine the side-to-side alignment of the headlights.

-
Back up about 25 feet from the wall.
Note: this can vary from one vehicle to another, as Chrysler recommends a 30-foot distance and Toyota suggests a 10-foot distance. Consult your owner's manual if in doubt.

-
Use the horizontal/vertical adjusting screws to aim the headlight beams two inches below and to the right of the taped center lines.
Note: not all makes/models include a horizontal adjustment.
-
Now, you can adjust the high-beam hotspots below and slightly to the inside of the centerlines of both beams. You may find it easier to block one headlight and make these adjustments one light at a time.
-
You may want to determine what your state laws are for headlight alignment before you go much further, as requirements can vary. Also, manufacturer's recommendations can vary as well — GM calls for zero variance between the center of the beam and the headlight's centerline, while Toyota allows 1/2" variance. Chrysler allows for as much as 2-6 inches, while Nissan specs are as much as 3 1/2" variance.
For an easier time, try doing the alignment at dusk or night.
And there you go! You should have a good grasp on how to align headlights properly. If you're in need of new headlight bulbs, shop for them now.
Have you adjusted your car's headlights before? Let us know in the comments.


