Source | drivermag, Flickr
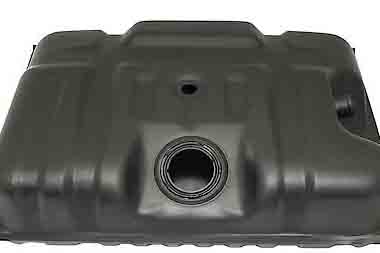
With practically every new car on the road today powered by fuel injection, keeping the fuel system clean is critical. A tiny grain of dirt can clog injectors, leading to erratic performance and lousy gas mileage. Changing your auto fuel filter every 10,000 to 15,000 miles will guard your fuel system against contaminants that can cause engine damage and burn out the fuel pump.
This is a good project for new DIYers
-
Before replacing the auto filter, allow the vehicle to cool for at least three hours. Disconnect the negative battery cable.
-
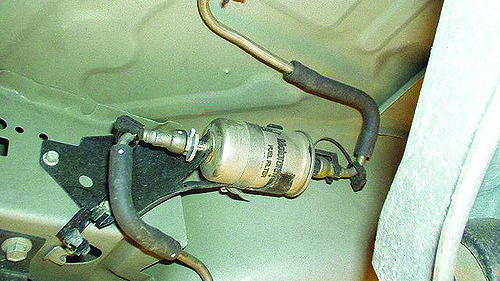
Locate the auto fuel filter, typically located beneath the vehicle or near the firewall in the engine compartment. Loosen the automotive fuel filter attachment bracket, noting the orientation of the filter.
-
Depressurize the fuel system per the owner’s manual or repair manual instructions. Carefully loosen the fuel inlet line from the automotive fuel filter. Use the specified filter wrench if necessary and a shop rag to catch leaking fuel.
-
Remove the outlet line from the auto fuel filter, being careful not to damage the hose or fittings. Catch any leaking fuel with a rag or container.
-
Drain any fuel remaining in the automotive fuel filter into a suitable catch container. Safely dispose of any drained fuel. Do not pour it back into the fuel tank as it may be contaminated.
-
Reverse steps 1 through 4 to install the new auto filter. Tighten all hose clamps or fittings and reattach the filter bracket. Check for leaks when the vehicle is first started, and recheck after a few days time.
The location of the fuel filter can vary from one make/model to the next, with some using more than one filter. Check your service manual before you get started.
Wear safety glasses and protective gloves to prevent injury from leaking fuel.
If you have to remove any fittings on the fuel line (other than a hose clamp-type fitting), use a line wrench. Line wrenches are specially designed for a positive fit around a soft brass nut and will help you avoid damaging the fittings.