Source | Sam Goodman
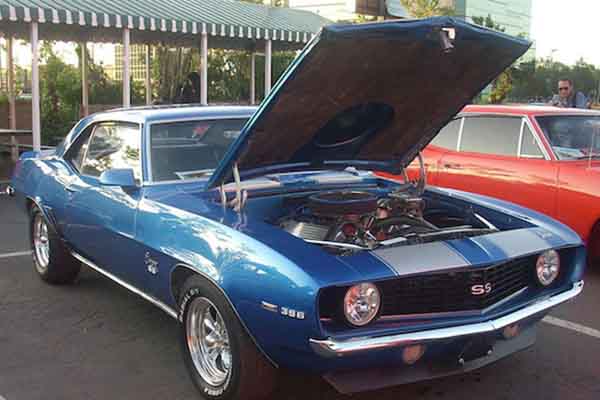
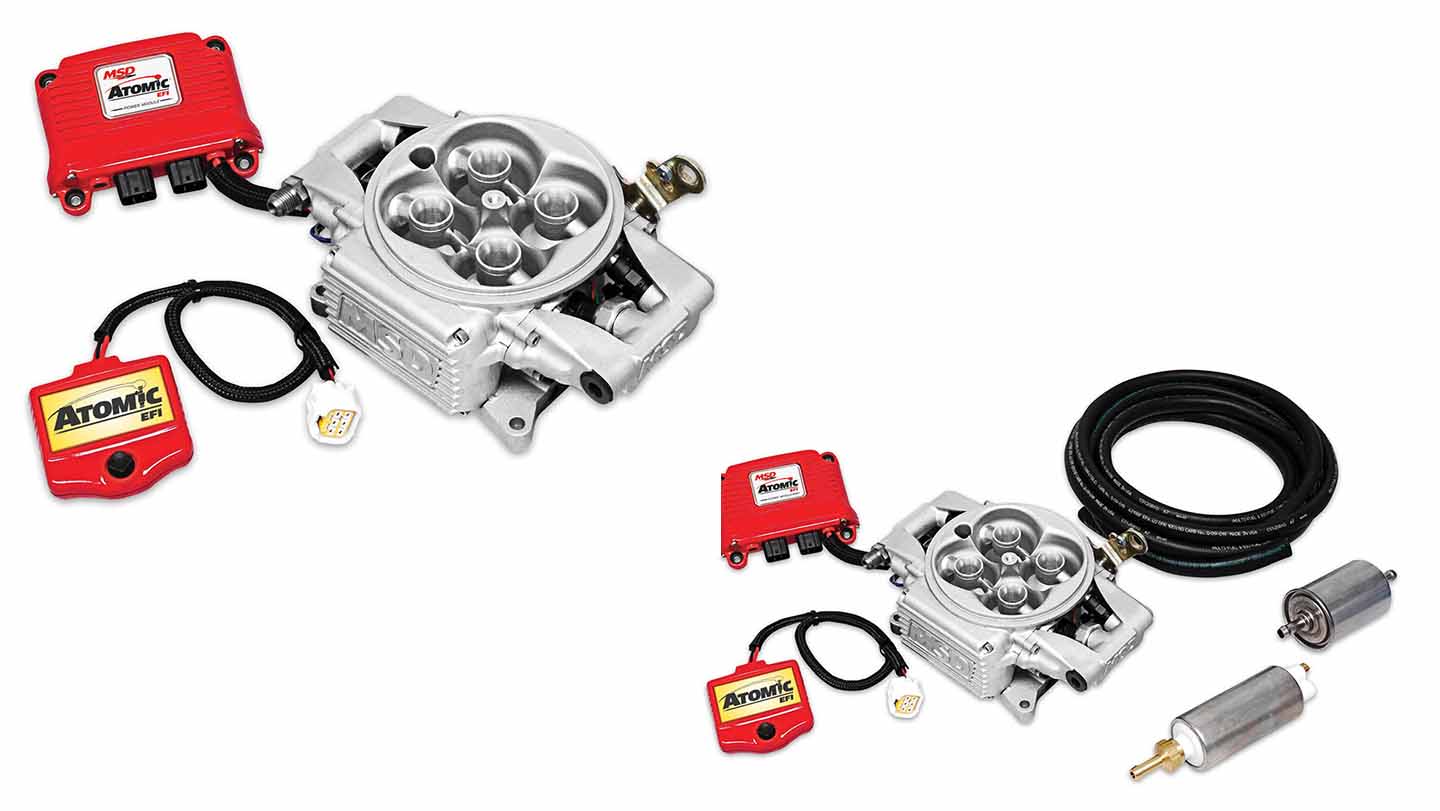
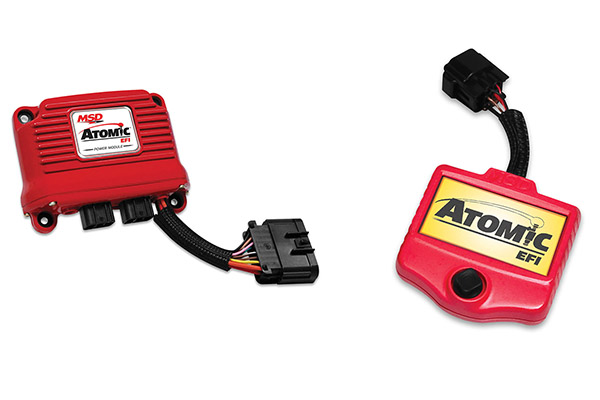
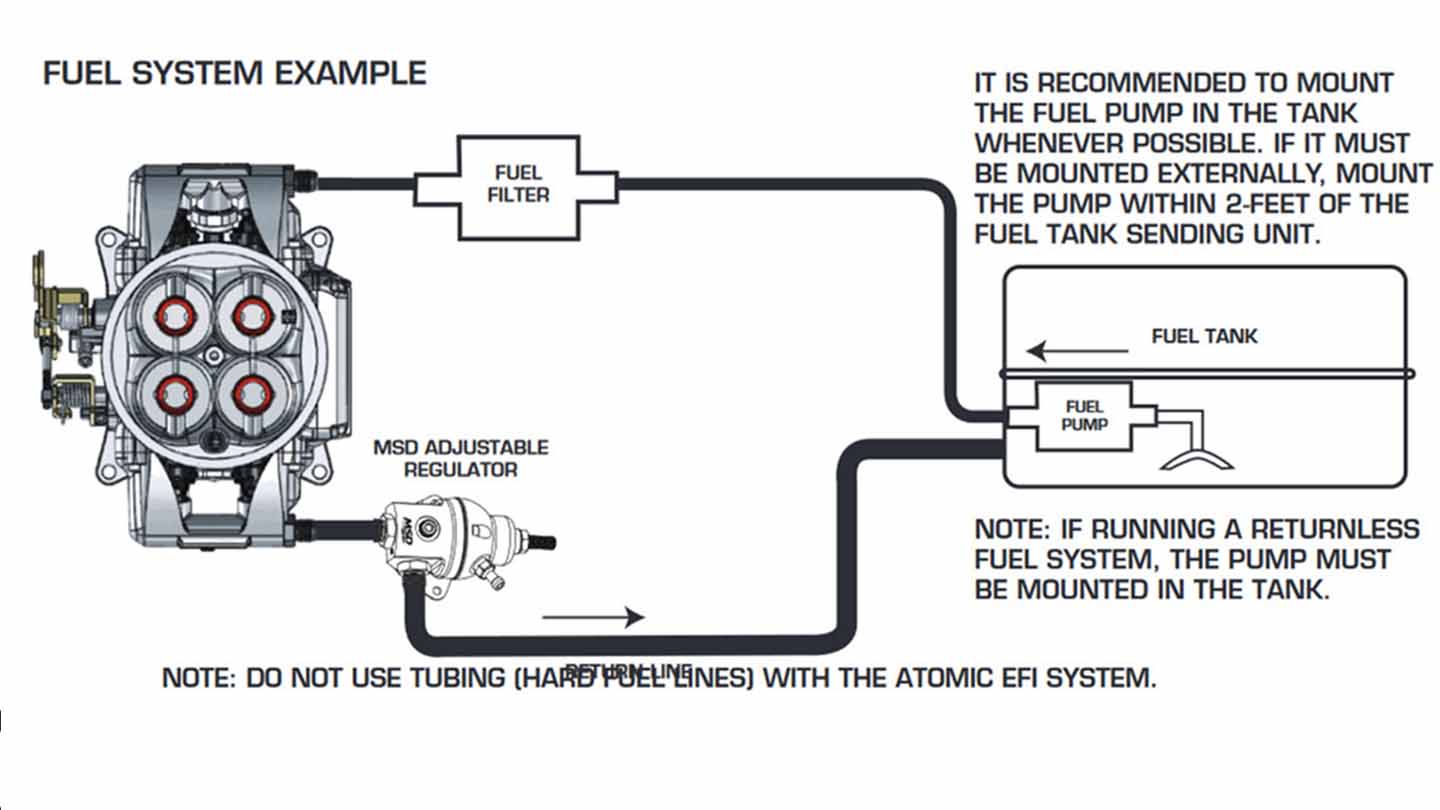
Fuel injection can help improve the fuel efficiency and performance of older carbureted engines. There are two basic types of fuel injection. The kind most in use today on newer vehicles has a single injector for each cylinder. This is a type of multi-port fuel injection and requires the installation of at least a new intake manifold and fuel rails. Throttle body injection systems are easier to install, however, requiring less than an afternoon to complete. Advance Auto Parts carries two EFI conversion kits from MSD; these are the MSD Atomic 2900 and MSD Atomic 2910. The only difference between the two kits is that the 2900 is a master kit and thus contains required fuel-system-upgrade components. These two kits support return- and return-less-type fuel systems. If you use a return-less type fuel system, MSD says the fuel pump must be installed in the tank. MSD also specifies that if the pump is installed outside the tank, it should be within two feet of the fuel-sending unit in the tank.
This is a project that needs some know-how
-
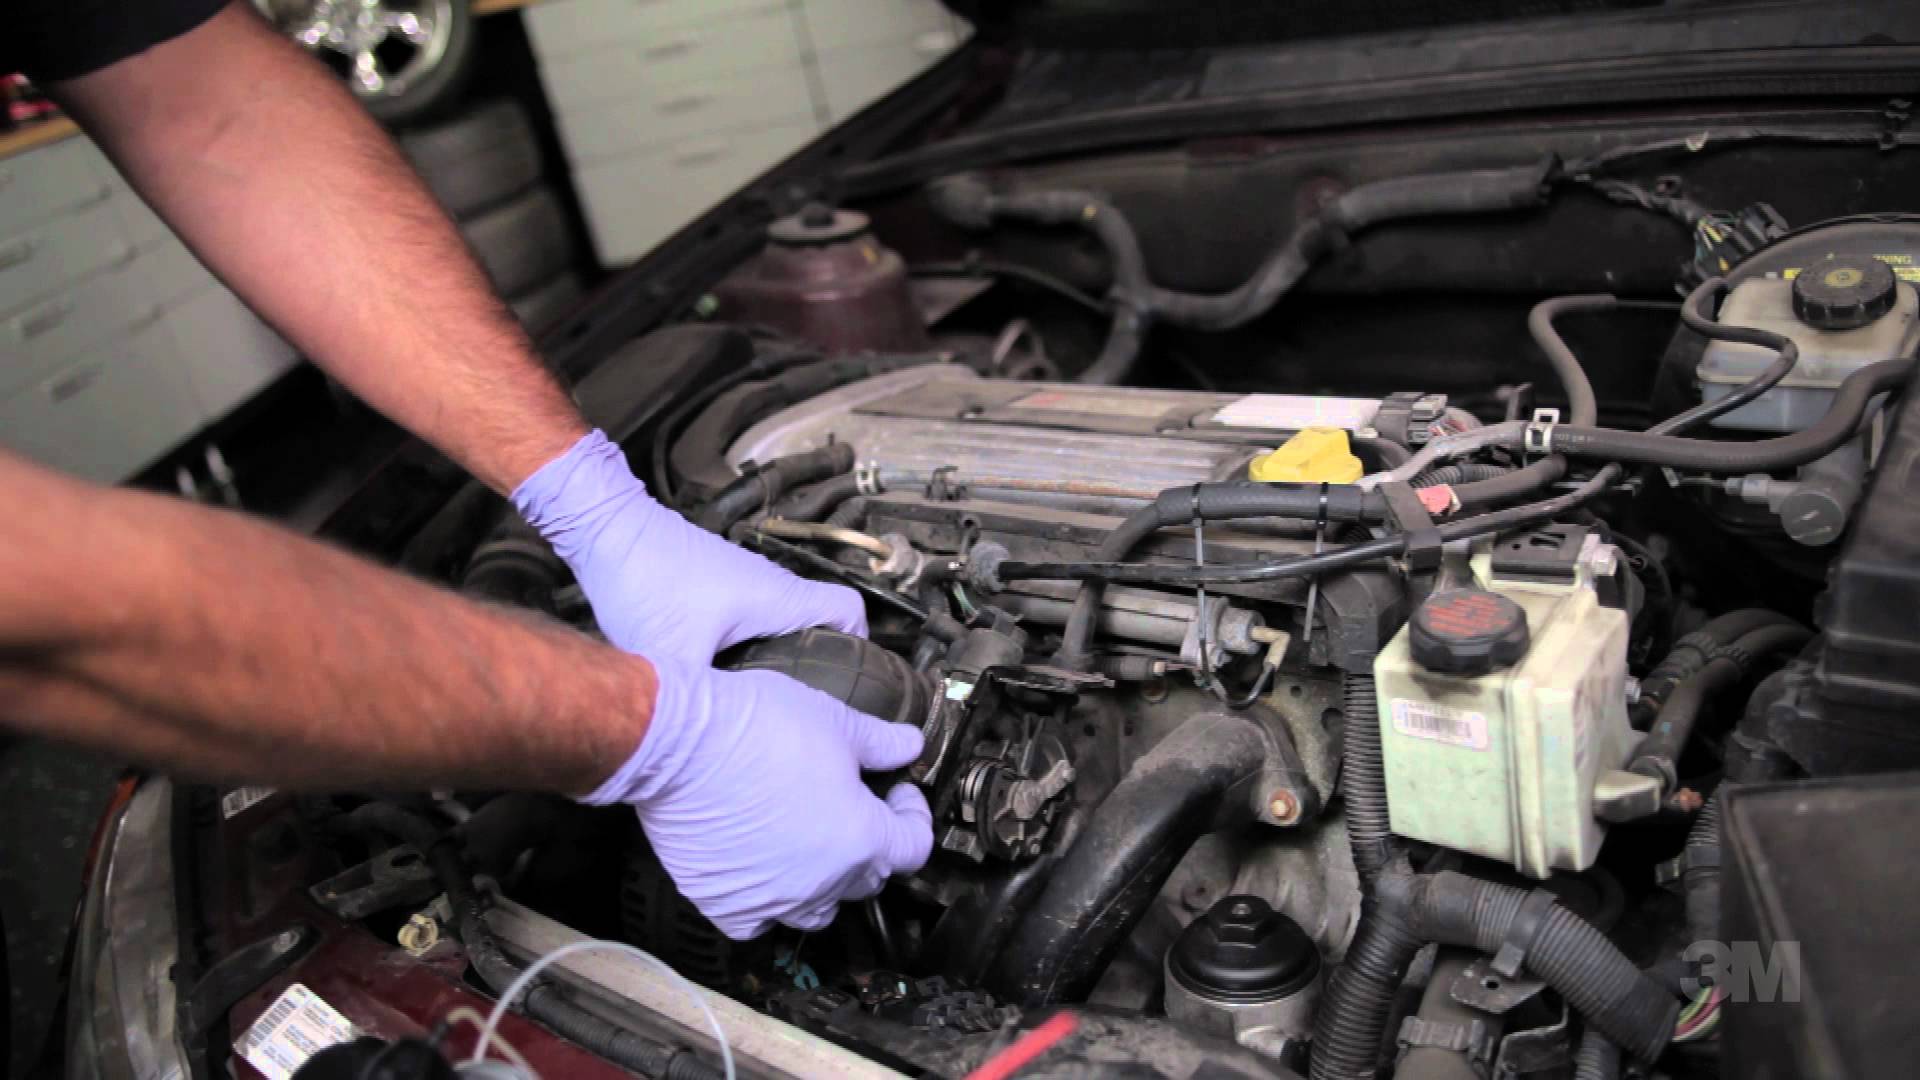
Remove and set aside the air-cleaner housing. Label and remove all vacuum lines and wires going to your carburetor. Disconnect the throttle (and kickdown if equipped) linkage from the carburetor and set these out of your way. Disconnect the fuel supply and stopper it to keep it from leaking. Remove the 4 ½-inch nuts securing the carburetor to the intake. Carefully lift the carburetor off and set it in a container to drain. Keep any linkage brackets in their original locations.
-
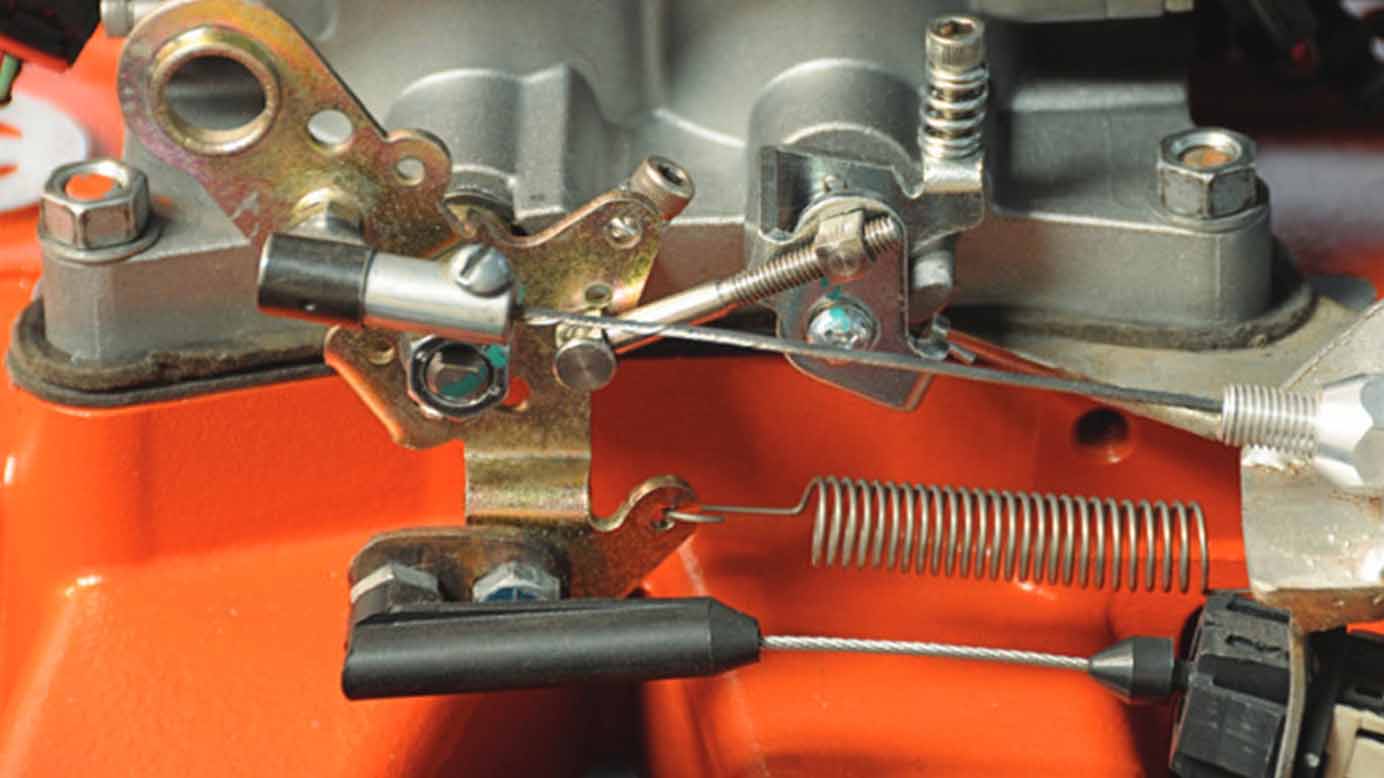
Ensure that the intake-mating surface is clean and install a new carburetor-flange gasket followed by the new EFI unit. If the carburetor studs aren't long enough, replace them with longer studs that are available separately. Tighten the four nuts evenly but don't over-tighten them. Make sure the throttle linkage opens and closes freely. If not, a spacer plate, also available separately, will be required. Reconnect the throttle (and kickdown) linkage, transferring and hardware required from the carburetor.
-
Install the oxygen sensor bung (adapter) by drilling a 7/8-inch hole 6 to 8 inches after the point where the individual pipes join, also known as the collector. This hole must be at least 10 degrees above the horizontal so condensation in the pipe doesn't damage the oxygen (O2) sensor. Weld the bung securely to the pipe, making sure there are no leaks. Once the bung cools, remove the plug, and install the O2 sensor.
-
Connect the vacuum lines removed above. You will need to install either 1/8-inch NPT or ¼-inch NPT barbed adapters into the baseplate/throttle plate of the throttle body to do this. With older cars, chances are you only need to deliver ported vacuum (versus manifold vacuum) to the distributor vacuum advance canister. Tape and secure any wires you removed from the carburetor.
-
Install the coolant temperature sensor. There is a plug near the thermostat housing on many older intake manifolds that is for this purpose. Wrap the temperature sensor with Teflon tape. Remove this plug and install the temperature sensor in its place. The two-wire connector with the yellow and black wires connects to the temperature sensor.
-
Connect the fuel lines. Most TBI kits give you two or three fuel-supply port options. The return port on the MSD Atomic units is the one closest to the driver. The MSD Atomic kits come with AN-6 push on fittings to connect to the supply and return ports on the throttle body.
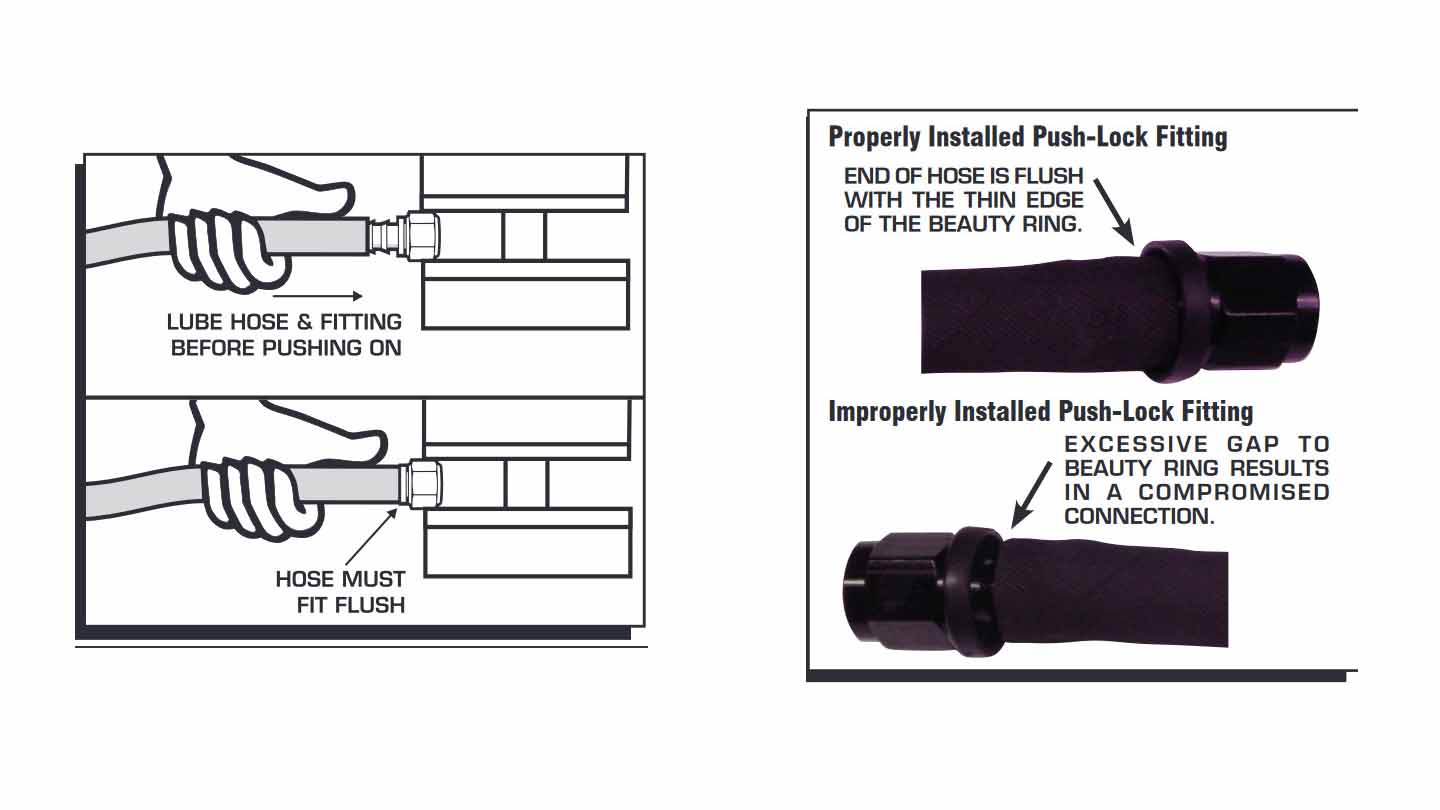
- Remove and block off the stock mechanical fuel pump as it won't supply the pressure or volume the fuel injectors need and will only rob power from your engine through friction.
- The MSD Atomic fuel injection kits require the installation of new fuel lines. It is specifically mentioned that the OEM (original) steel fuel lines must not be used.
- MSD Part 2900 is a Master Kit that includes everything needed to upgrade your fuel system, including pre- and post-filters and a special return-less fuel pump.
-
Mount the control/power module. If mounted in the engine compartment, it must be mounted where it won't be near major sources of heat or where it can constantly remain wet. If mounted in the engine compartment, care must be taken to route required wiring through the firewall/bulkhead using grommets to protect the wires. Once a location is chosen, use the supplied sleeves, rubber mounting pads, and screws to securely mount the ECU. Be sure to mount it in such a manner and location that the connectors are easily accessible.
-
Wire the power module. The large black and red wires should be securely attached directly to the battery. The ground can be connected directly to the engine block. The large orange wire needs to be safely routed to the electric fuel pump. There is a six-pin connector (red, yellow, black and white, black and red, green, and black wires) that connects to the O2 sensor installed earlier. Finally, the small red wire is connected to a switched 12V source like the coil positive lead or the ignition switch.

- If you have a CD ignition, such as those from MSD, you must NOT use the positive terminal on the coil for the switched power lead.
- The MSD Atomic EFI kit is one of the few EFI units that directly power the fuel pump without requiring a relay.
-
Finish wiring the TBI unit. The white wire coming from the throttle body unit connects to the negative side of the coil. There is a six-pin CAN Bus connector that connects the power module to the throttle body ECU. A grommet must be used if the power module is located inside the car. If the supplied CAN Bus cable isn't long enough, MSD says you must buy one of its 2-, 4-, or 6-foot extension cables for it.
Source | Sam Goodman
-
Connect the handheld controller to the power module. Verify that all wiring and fuel connections are correct and solid. Turn the ignition to the “Run" position without cranking. Listen for the fuel pump to start up and check for leaks.
-
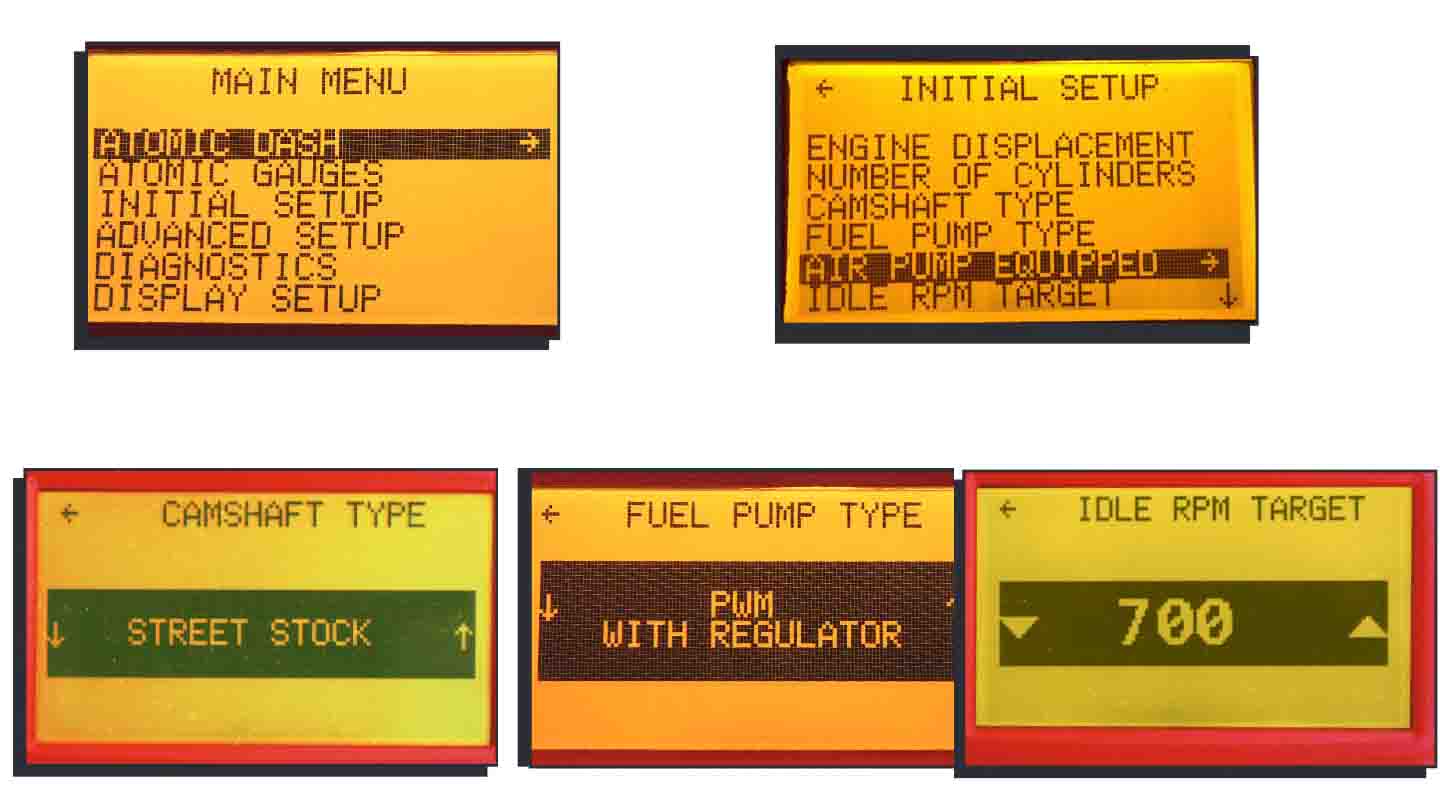
Perform initial configuration prior to engine start. On the handheld with the key in the “RUN" position, select “Initial Setup," followed by “Engine Displacement." Input the size of your engine (289, 250, 302, 305, 327, 350, etc.). Next, select “Number of Cylinders" and input that value.
-
Select “Camshaft Selection." There are three options: Street/Stock, Mild, and Performance. Then select “Fuel Pump Type." We're running a return-style with regulator with this kit. The next menu item will most likely be “NO" for most owners of classic muscle cars, as the air pump wasn't introduced until about 1975.
-
Set your target idle speed (Ide RPM Target). For most small blocks with manual transmissions, this will be about 800 RPM. For those with automatic transmissions, 750 is usually considered ideal. Finally, go to “Timing Control." Most of you will choose “NO" here if you have a stock ignition system. There is more wiring involved if you want the MSD Atomic to control ignition spark.
-
Adjust the throttle blades prior to engine start. MSD recommends for most street applications to turn the two throttle/idle adjustment screws about a half turn beyond the point where turning them moves the throttle blades.
-
Start your newly fuel-injected engine. Go through and triple-check all wiring and fuel connections first and correct any discrepancies. Let idle until normal operating temp is reached and then drive it normally for about 50 miles to allow the system to self-calibrate for your engine.
Old studs can be removed by threading two nuts onto a stud and locking them together, then turning the bottom-nut counterclockwise. New studs can be installed in the same way, except turning clockwise once the two nuts are locked together.
Some cylinder heads and blocks also have threaded ports for temperature sensors. Pick the location that your vehicle's engine offers that suits your installation the best.
Start your newly fuel-injected engine. Go through and triple-check all wiring and fuel connections first and correct any discrepancies. Let idle until normal operating temp is reached and then drive it normally for about 50 miles to allow the system to self-calibrate for your engine.
