K&N Cold Air Intake | Flickr
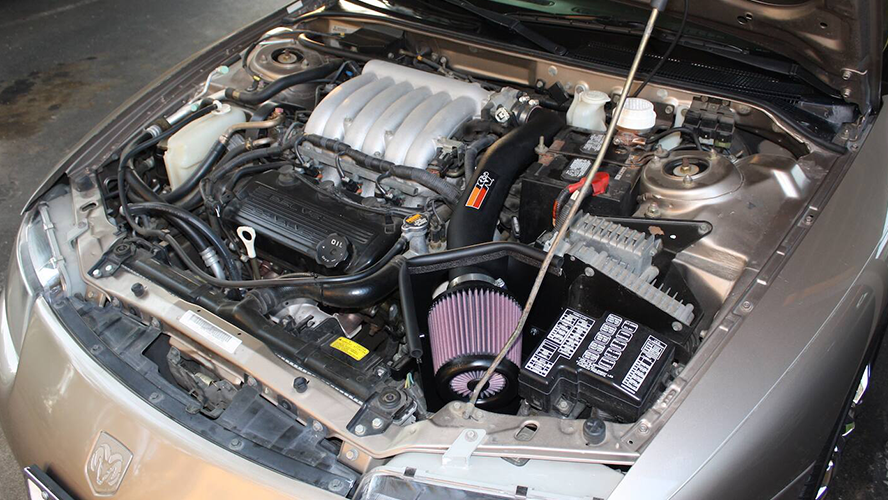
The internal combustion engine relies on air, fuel and spark to be able to perform, and an enhancement in any of those three areas can make a big difference in power and/or fuel economy. That's why a cold air intake is usually one of the first modifications drivers make when customizing their vehicles.
There are several reasons this is a great first mod. Cold air intakes are affordable, quick, easy to install and can provide a noticeable performance gain. There's also the under-hood bling factor, and the fact that many intakes are 50-state emissions legal.
Of course, enhancing the air intake for an engine isn't a new idea. It's why muscle cars from the '60s had functional hood scoops and why your dad might have flipped the top of his Buick's big round air cleaner housing to allow better flow and easier breathing.
A cold air intake works by increasing the volume of air entering the engine. It can do this through a larger, higher-flowing air filter, with a larger diameter and straighter intake tube. As air volume and velocity increases, more air enters the engine — and (theoretically, at least) colder air is denser and adds efficiency to the combustion process. The power-train control module (PCM) sees the increased air and adds more fuel accordingly, which results in more power.
Results vary by the vehicle, engine and the intake type, but you can typically expect a 5 to 15 horsepower gain by installing a cold air intake.
Remember that you can't drive the vehicle until this is done, so make sure you have all the tools you need before you get started. Various makes and models of vehicles will have differing designs for air intakes and air filter boxes, but this is a good rule-of-thumb guide.
This is a good project for new DIYers
-
Disconnect the negative battery terminal. This isn't just a step for the overly cautious — disconnecting the battery will reset the PCM so it can learn the new air/fuel ratios produced by the cold air intake.
-
Use the screwdriver to loosen the hose clamp on the factory air tube at the throttle body. Then slip the air tube off the throttle body.
-
Remove the screws holding the MAF sensor in the factory air tube. Remove MAF sensor and set somewhere safe.
-
Remove bolts holding factory air box in place.
-
Slide air tube off of throttle body, then lift out the factory air box and intake.
-
Unbox the cold air intake parts and slide the air filter onto the air tube. Use a hose clamp to secure it to the tube.
-
Slide other (non-filter) end of intake tube through the air box, until just the filter and a few inches of tube are left inside the air box.
-
Slip the silicone tube over the throttle body. Then slide the air tube into the silicone tube. Finally, set the air box into place and use the supplied bolts to secure it.
-
Attach MAF sensor to intake tube and bolt on air box lid (depending on model).
-
Reconnect the battery and start the vehicle. Let it idle for a few minutes to learn the different air volume, then go for a drive.
Before we start, it's a good idea to have plenty of lighting, so set up some shop lights or work outside on a sunny day. The smaller details are easier to see when clean, so have a look at how to clean an engine bay.
This is a great time to use throttle body cleaner. (If the vehicle has an electronic throttle body, be sure to consult the owner's manual before doing so.)
