Your car's brake system relies on hydraulic pressure to be able to work. It's impossible to compress a liquid, and when you step on the brake pedal the piston in the master cylinder puts brake fluid under pressure. That pressure is then transmitted through the brake lines and the caliper's (or wheel cylinder's) piston is activated, pushing the brake pads toward the rotor and slowing your vehicle.
Obviously, your brake lines need to be pretty solid and robust to handle that kind of pressure. Unfortunately if you live in a state that gets a lot of snow, salt and road chemicals are going to go after your brake lines (and frame, and floor pans, and rocker panels) like a school of piranha on a cow carcass. Often on an old beater or a barn find, the brake lines can be pretty deteriorated and will need to be replaced. We're going to talk about how that's done.
Before we get too much farther along, let's mention that cutting and flaring your own brake lines is often unnecessary, and you should check first to see if what's available for your vehicle. Advance Auto Parts has brake lines that are the right diameter and pre-flared for what you need, like NiCopp or Poly-Armour brake lines. They're not only resistant to corrosion, but it's a lot easier to form and bend than steel tubing. You can bend these lines by hand more than 45 degrees without creating kinks, unlike other types of brake lines. It'll just be a matter of cutting to the proper length and bending to fit—not to mention, not flaring your own lines will save you some headaches.

NiCopp Domestic Brake Line | Advance Auto Parts
Also, be aware that there are a few styles of flares and fittings. The SAE or double flare is found on American and Asian cars, while the DIN or ISO "bubble flare" is on European cars but is starting to catch on with other manufacturers. Each style of flare requires a different fitting, so be sure of what you need.

Poly-Armour European Brake Line | Advance Auto Parts
If you do need to cut and flare your brake lines, here's how. The good news? It's not as hard as you might think.
This is a project that needs some know-how
-
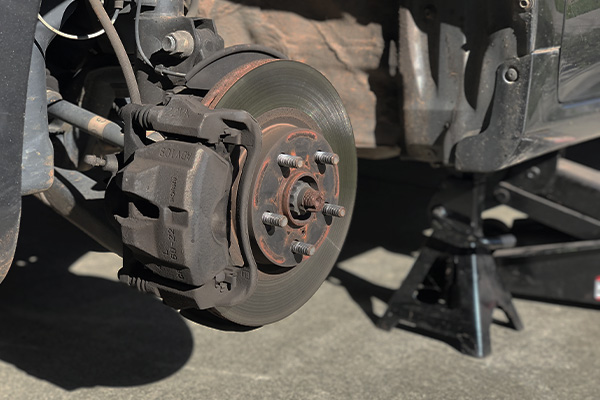
Support the vehicle securely at all four corners with jack stands.
-
Remove the old brake line at the master cylinder. It's best to hit it with a penetrant first, let it sit for a bit and then carefully remove the nut with a flare wrench. You may need to give the wrench a slight tap with a hammer to break the nut loose.
-
Remove the old brake line at any junctions and at the hose fittings that actually go to the wheel cylinders. After that, you should be able to pull the brake lines out completely. You'll want your eye protection for this, as the old lines are likely to be pretty crusty and decrepit.
-
Take measurements of how long your new brake lines should be and cut the new brake line stock to the proper length. The cutting tool has a little disc like a pizza cutter; clamp the tool onto the brake line at the desired spot and start spinning the tool around, gradually tightening it as you go. In a minute or two you should have a fairly clean cut.
-
Deburr the freshly cut ends with the deburring tool. A rough end won't allow the flaring tool to create a smooth surface for a good seal on the line and fitting. Also spray clean the inside of the line after deburring.
-
Using the old brake line as a template, make some very light bends in the new line in the appropriate places. You'll want to do any more radical bends as you install the line; a pre-bent brake line that doesn't fit properly can make the rest of installation a real headache. Instead, you'll need the line bending tool for the bigger bends; it gently forms the line around a smooth surface.
-
Put the fitting on the line. Remember that you can't put a fitting over an end that's already flared. Fitting, then flare. Fitting, then flare. Fitting, then flare. Repeat 50 times.
-
Now it's time to flare the end (unless you've bought Advance Auto Parts' pre-flared line, in which case you can skip this step). If you haven't used a flare tool before, you just clamp the line (not too tight) in the vise-type setup (mindful of how much you need to actually flare), making sure that you have the line in the appropriate hole for its size. You then attach the yoke tool and work the adapter into the line until the end of the line looks a bit like a mushroom. You may need to accomplish this step under the vehicle, which isn't exactly comfortable... but there's not much you can do under a vehicle that is comfortable, anyway.
-
Reattach the fittings at the junctions, brake hoses and master cylinder, refill the master cylinder, find an assistant and get ready to start bleeding the brakes to evacuate the air from the newly installed lines.
-
Spray down everything with brake cleaner. Check the junctions and fittings for leaks as you bleed the system, and check a few times in the next week or so after you start driving the vehicle again.
Is this a job you've tackled before? Let us know how it went in the comments.