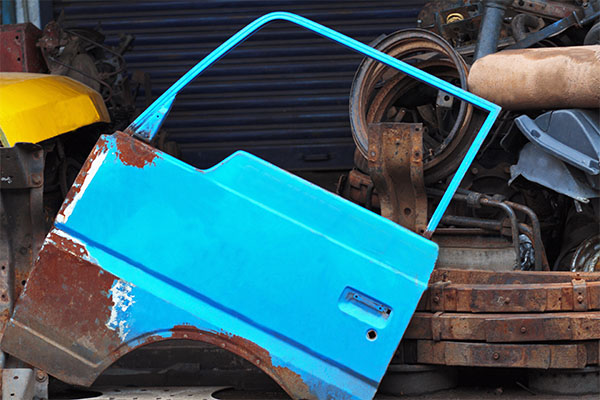
As a daily driven vehicle ages, parts wear out or get torn up. This is especially true for the fender liners, which take a beating from the elements, gravel and road debris. If your fender liners are looking torn up, you need to replace them to keep important (and expensive) components protected. Follow along as we walk you through the job.
Fender liners sit inside the wheel wells above each wheel, lining the inside with a thick layer of protective plastic. This keeps out the elements like rain and ice, and prevents debris like rocks and road treatments from contacting the suspension, steering parts, fuse/junction boxes and their associated wiring , and engine components. Fender liners are a cheap way to protect the vehicle's more expensive parts.
Fender liner failure isn't always due to road debris though, as sometimes the plastic retainers crack and let go, causing the liner to drag on the ground or contact the tire. Asphalt or a spinning tire makes for an effective grinder at high speed, quickly destroying the liner before you can pull over. Replacement is the only option, but fortunately all the parts are inexpensive.
While vehicle fasteners might be reusable, it's false economy and, like your dad used to say, "throwing good money after bad." Just like the liner, the retainers and rivets are exposed to harsh conditions, and the plastic becomes brittle and cracks apart when trying to remove them. If you do get a retainer out in one piece, you still have to get it back in later, and there's no guarantee the weakened retainer won't break next week. Replacing all of them now costs just a few dollars, and there's peace of mind knowing your new liner is going to stay in place for another decade.
This is a good project for new DIYers
-
Park on a flat surface, and set the parking brake. Use wheel chocks if you're on a sloped surface.
-
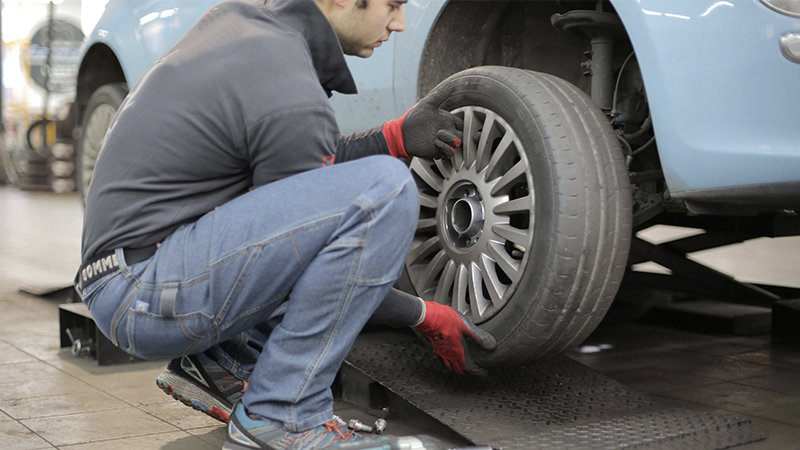
On many cars, you will need to remove the wheel, while trucks and SUVs may not require this. Check for clearance to see if you can reach all the liner retainers. If you can't, loosen the lug nuts on the wheel below the liner to be replaced. Then jack up the vehicle at the appropriate jack point. Always secure a raised vehicle by using jack stands.

-
Lay the new liner on the ground and look for all the retainer holes. This lets you know where, and how many, retainers are in the old liner on your vehicle.

Source | Andy Jensen
-
Remove the fender liner retainers one at a time. Use a flat screwdriver to get under the plastic cap. Then twist the handle a ¼ turn, as the retainers aren't threaded like screws and will pop out. Use the screwdriver to pry off the plastic base as well, then move to the next. There may be over a dozen retainers in a single liner.

Source | Andy Jensen
-
Pull the old liner out of the vehicle. Set the new liner in the wheel well, and push up into the fender.

Source | Andy Jensen
-
Starting at either end, find each hole in the liner and press an opened retainer through it. Make sure the retainer seats fully, then press the cap down. You should hear and feel the click as it seats.

Source | Andy Jensen
-
Work your way along the liner, pressing each retainer into place. At the front of the vehicle, you may have to carefully work the liner around or under any air dams or belly pans for proper aerodynamics.
-
With all the retainers in place, the liner is secured. Put the wheel on and hand tighten the lug nuts. Remove the jack stand and lower the vehicle. Be sure to torque the lug nuts to manufacturer specifications.
-
There you have it, a simple fender liner replacement that'll protect the more expensive parts under your car.

Note the orientation of the liner in relation to the any underside body panels. You will need to recreate this orientation with the new liner in order to prevent it from catching air at highway speeds and ripping off.
Check the vehicle's opposite side for a visual on proper alignment.