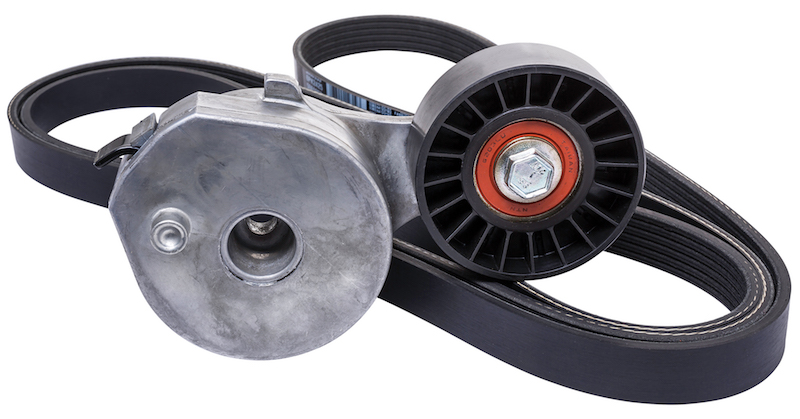
The serpentine belt is vital to your engine working right. Here's how to inspect and replace it.
The serpentine, or s-belt, has greatly simplified the operation of under-hood pumps and pulleys. This one long belt runs every engine-driven accessory, including the water pump, alternator, a/c compressor and power steering pump. With so many systems counting on it, it's important to periodically inspect your s-belt for signs of fraying, cracking, or glazing. As a general rule, replace your s-belt every 30,000 to 60,000 miles. Here are the tools you'll need and a walk through the process, step by step.
This is a project that needs some know-how
-
Take a good look at both your repair manual and your belt routing diagram under the hood before beginning. If you need to, you can go online and find the belt routing schematic, then print it out.
-
Look at the way the old belt wraps around the pulleys. Take the new belt in hand and practice matching the routing.
-
Locate the self-adjusting tensioner and know that you need to be careful when releasing tension from the belt. The back side of the belt runs against the tensioner, so it will appear more like a smooth roller than a pulley. Position the wrench or special removal tool on the tensioner, ensuring you have room to remove the tool once the tensioner is released. Release the tension. You'll notice that the tensioner tool is a flat bar rather than a ratchet—this will help you get into the tight clearance for the tensioner's roller.
-
Remove the old belt. Check the tensioner pulley for wear by using your hand to spin it before installing the new belt. Noisy, loose or overly tight tensioner pulleys will need to be replaced. Also check all pumps and idler pulleys to make sure they move freely too. Check the idler pulleys and the pulleys for the water pump, alternator, smog pump, A/C compressor and any other accessories for wobble or deflection.
-
Install the new belt. Line up all belt ribs in the pulley grooves. Be sure that the belt is not twisted.
-
Tighten the tensioner.
Double-check the belt and tensioner for correct tightness before starting your engine.


