Source I Marcus Balcher
Fix unsightly scratches and chips to your vehicle's paint with car touch-up paint.
A rock flew off a dump truck. Someone may or may not have tried to help you wash your car last Saturday with a plastic sandbox shovel. And, let's not forget the mysterious line down your passenger door. You don't even know where that came from.
Your vehicle may not be new any more, but you'd like it to look better than it does. We carry a variety of touch up paints for cars to help restore and protect your vehicle's paint. All you need to fix scratches on your car are a few basic supplies, some elbow grease, and a steady hand.
Know your paint code
Before you get started, determine your vehicle's color code for an exact match. Locate this code on your vehicle's ID tag or visit duplicolor.com and use their Find Your Color tool to match your vehicle's paint. Dupli-Color also provides make-specific videos to help you locate your vehicle's ID tag and paint code. Once you choose and purchase your touch-up paint, test it on a less visible area of your car for match.
This is a project that needs some know-how
-
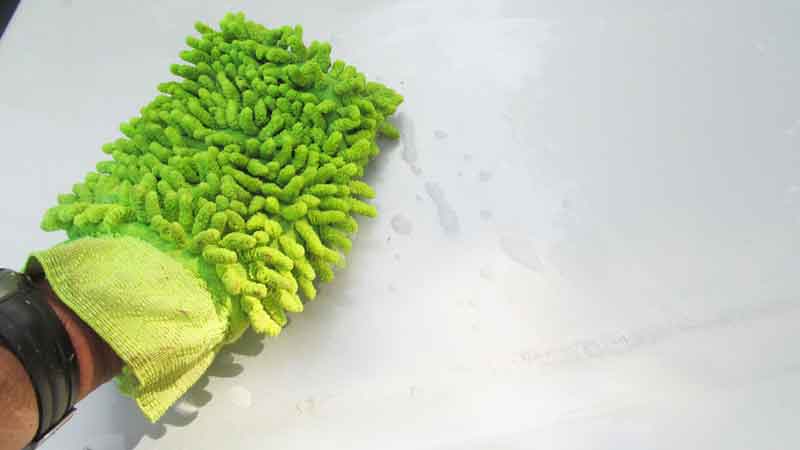
Start by washing and drying your vehicle.
-
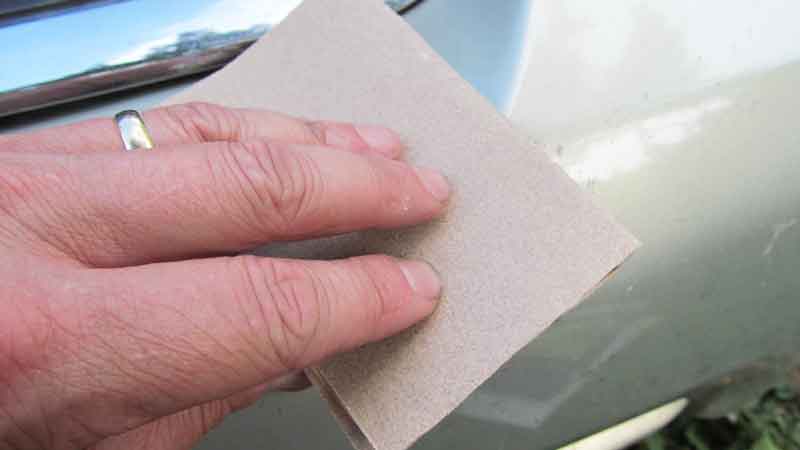
To repair stone chips or deep scratches that have penetrated down to bare metal, sand the damaged area using #200 sandpaper.
-
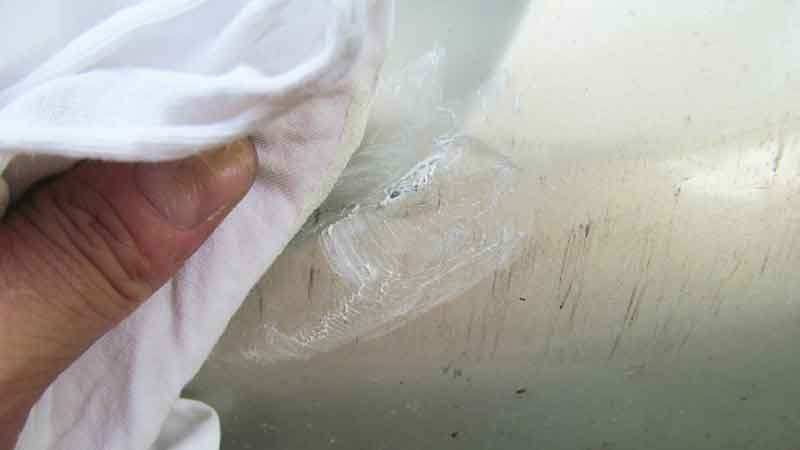
Apply the rubbing compound to smooth the damaged area.
-
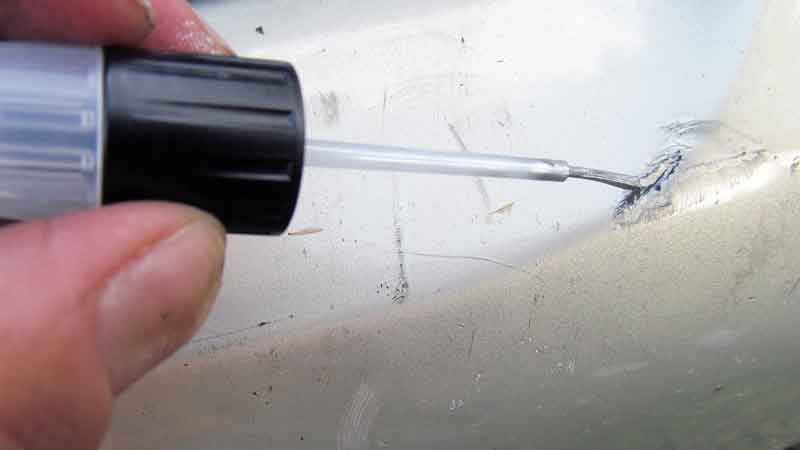
Using a small brush or spray paint, apply several coats of touch-up paint to build up the repaired area so it’s slightly higher than the paint surrounding it. Allow the paint to dry between coats. Don't get in a hurry on this—paint needs considerable time to fully dry, and drying time may vary according to temperature and humidity.
-
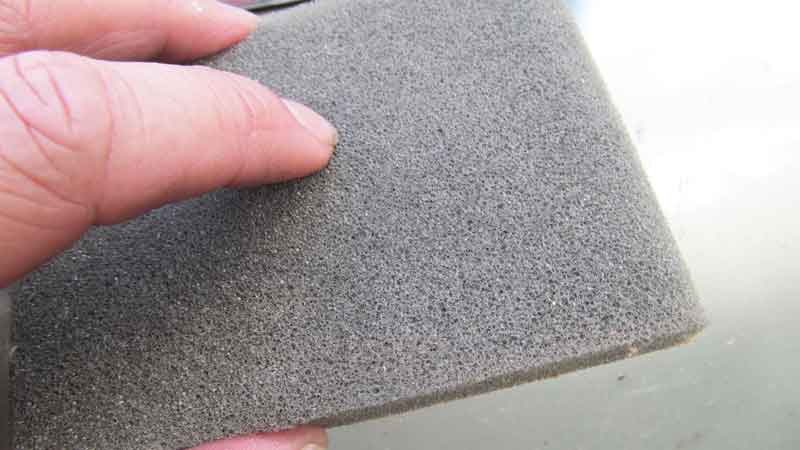
Use a small sanding block to sand the newly painted area until it's flush with the paint surrounding it. Then use #600 wet or dry sandpaper to blend the repair into the surrounding area.
-
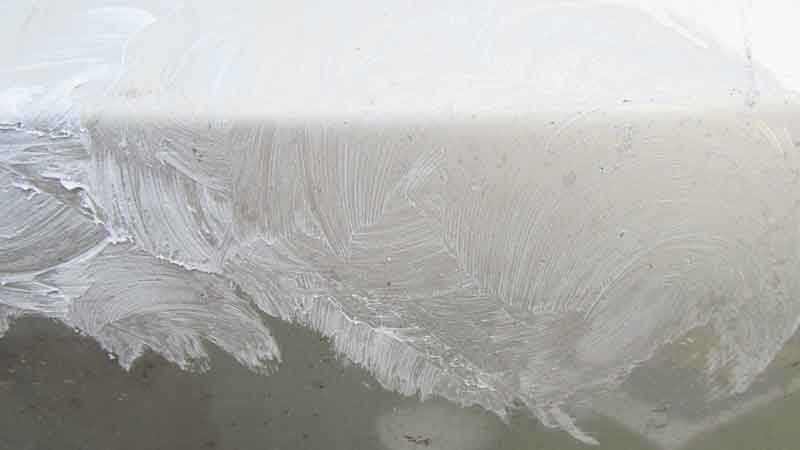
If your vehicle doesn’t have a clear coat (most modern vehicles do) use rubbing compound on the area to increase the shine. If there is a clear coat finish, use the wax remover on the paint surrounding the repair.
-
Spray the sanded area with clear coat.
-
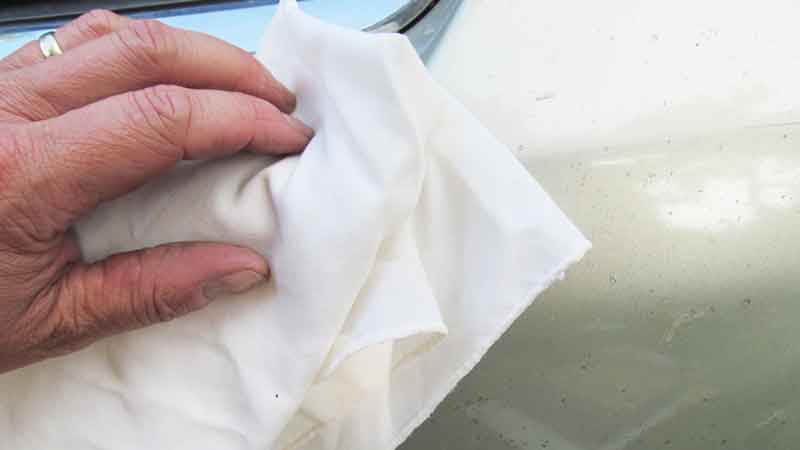
Lightly sand the clear coat with #1500 sandpaper on a soft sanding block and wipe off the dust particles with a cotton cloth.
-
Apply several coats of wax to protect the repaired area from environmental damage, and you're done!
It's important to be patient on a project like this if you want to do a great job and get your car looking as good as new.
Don’t paint in direct sunlight or when the temperature is below 50 degrees.


