What do Snoop Dogg and your ride have in common? You can get both in vinyl. While there's a big difference between rapping and wrapping, the latter seems to lead to more consistent work, with thousands of vinyl wrap jobs happening every week. Just like paint, it's not cheap and you do need to protect it. Here's what to do.
Wrap vs. Paint
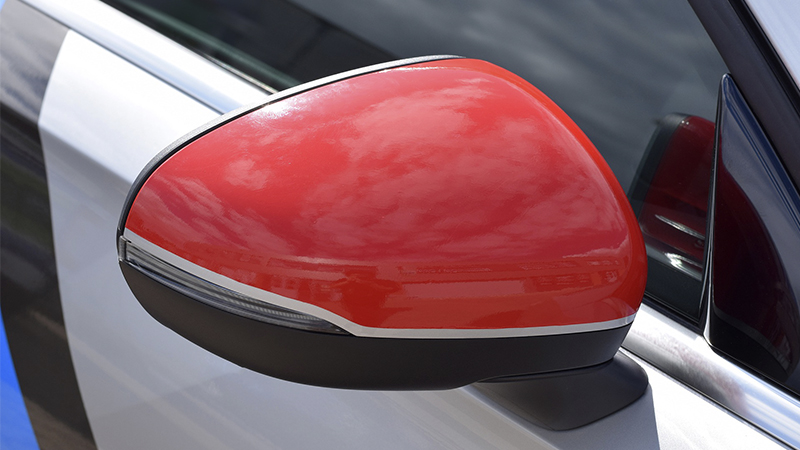
Vinyl vehicle wraps cover the outside of your ride, effectively providing the same function as paint; to protect the exterior of your vehicle, while adding a pop of color. That's about where the similarities end. Automotive paint is a complex mix of chemicals that permanently bond to the vehicle's sheet metal. Vinyl is also a mix of chemicals, but the solution is “cast" with heat until the liquids evaporate, leaving a flexible rubber-like material. Modern vehicle vinyls are around 3 or 4 mil thick, providing protection while being easy to install.
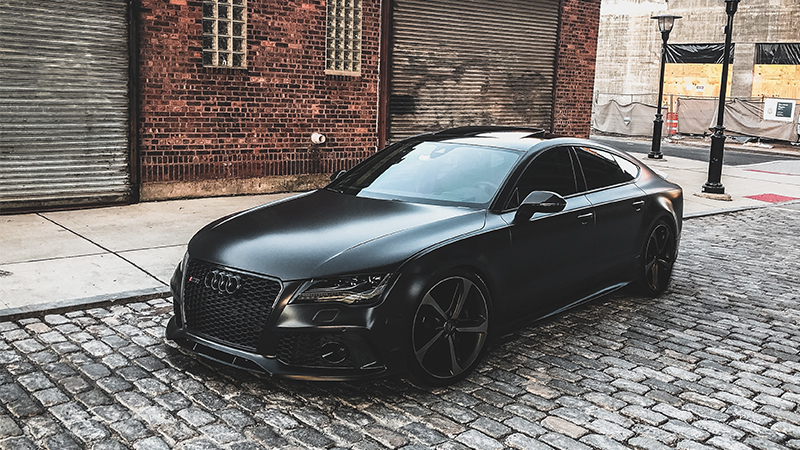
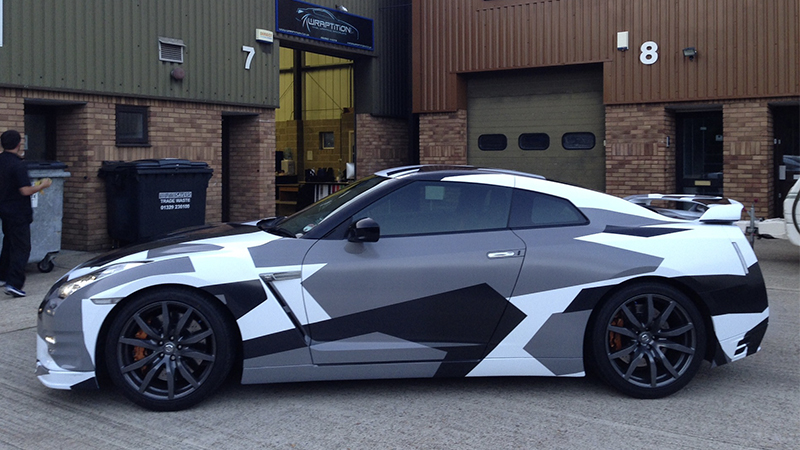
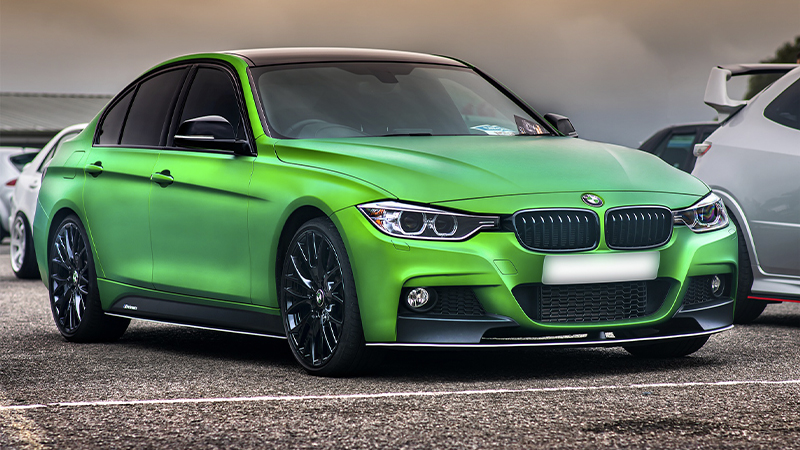
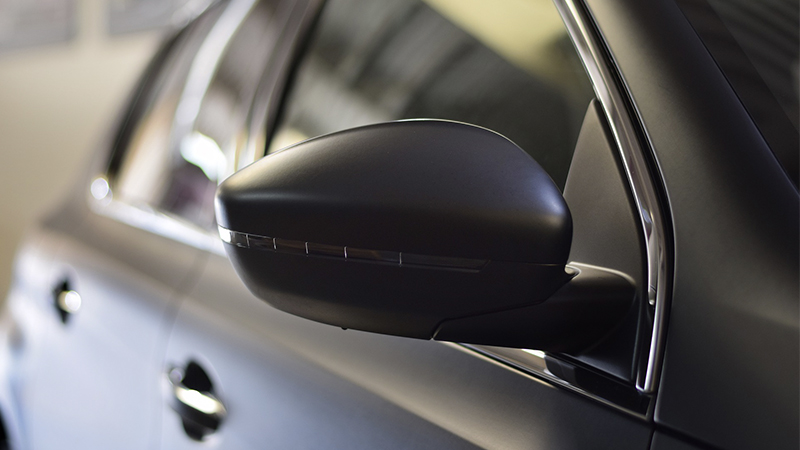
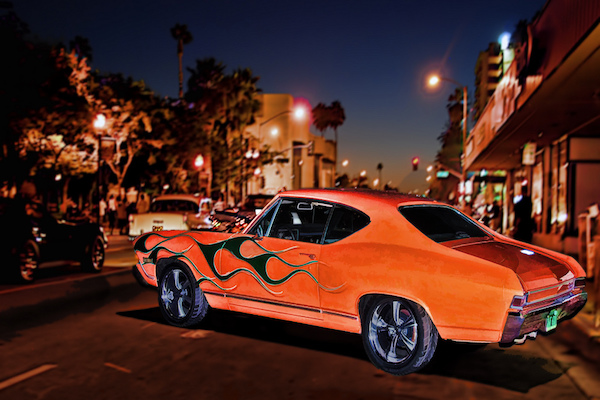
Bonus features include easy and bold advertising graphics while leaving the factory paint untouched, massive protection from UV rays, rock chips, and even minor door dings, and the ability to go wild with options. Imagine chrome, burned titanium (“neo chrome"), color change/shift, matte or satin finish, carbon fiber look, camo, or even your own custom design. If you want a Sailor Moon and Patrick-Starfish-themed Challenger Hellcat, there's a wrap company that will do it for you.
While paint is also flexible enough to allow those options, a quality vinyl wrap is about half the price to install versus a show-quality paint job. A quality vinyl wrap will last five to seven years if you take care of it properly. Keep a wrapped vehicle in a garage for the longest life, and be sure to perform the required maintenance.
Vinyl wrap pros:
- Lower cost than a quality paint job
- Faster turnaround (less prep work) than paint
- Longer lasting than cheap paint jobs
- Higher resistance to damage
- Better for advertising, and you can return to stock appearance later
- Lower learning curve for DIY installation
How to Wash a Wrap
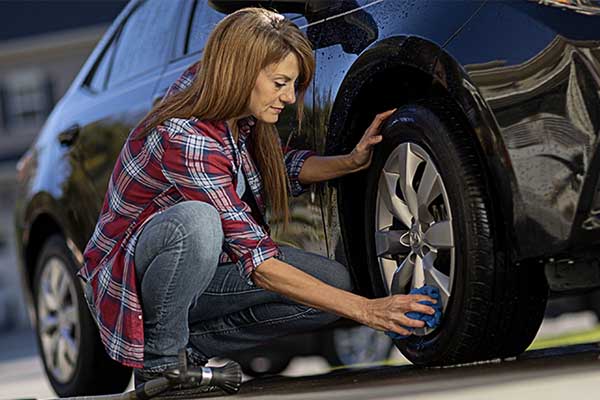
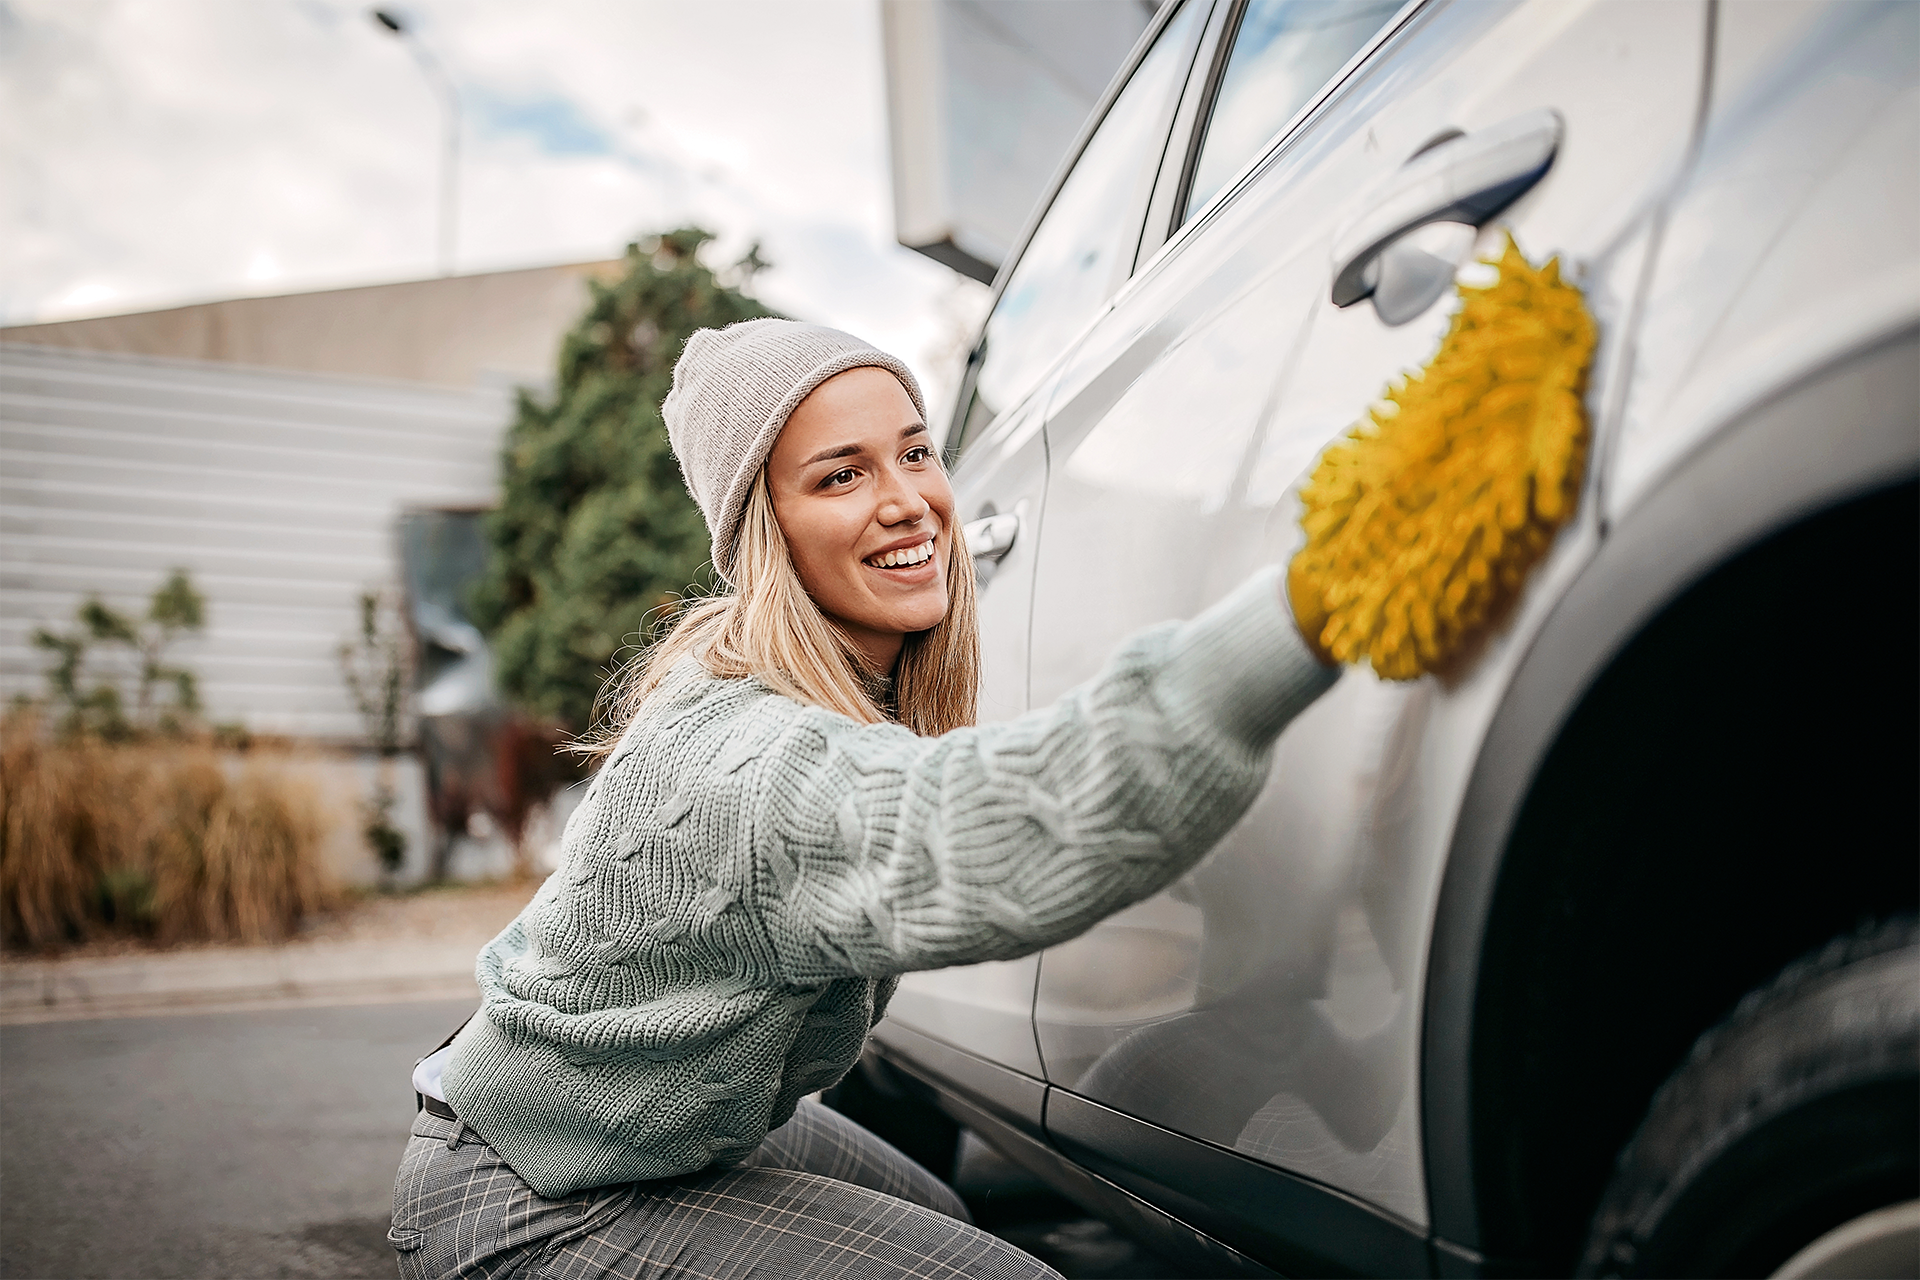
A vehicle wrap is not paint, but a lot of your car wash techniques still apply here. Most of your current car wash products and techniques should work fine on a wrapped vehicle, but there are a few precautions.
Don't work on or clean the wrap when it's hot
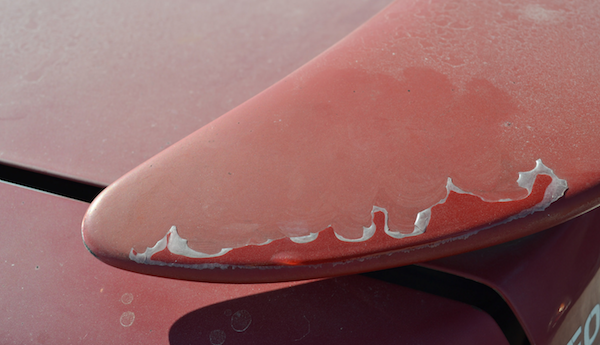
You shouldn't be washing and waxing paint in direct sunlight anyway, and that's especially true here with vinyl. Heat causes the vinyl to be more flexible, and cleaning the hot hood after a long drive could cause abrasions or an unsightly scuff, or even get a corner of the wrap to lift off the surface. Park in the shade and wait for the vehicle to be cool to the touch before attempting any detailing.
Soak the wrap first
Like a painted finish, start by soaking the vinyl wrap. This will help with the next step, but also removes dust and loose dirt, knocking off any big clumps that you don't want getting into your wash mitt and causing micro-scratches. Speaking of, a microfiber wash mitt or the time-tested sponge will work fine here. Use whichever you prefer when washing paint.
Product quality matters
Next, use a good quality car wash soap. Yes, the cheapest generic stuff from the dollar store still sort of works, but you really should check out the name-brand car wash soaps. Think of these as shampoo and conditioner in one, and rather than just a cleaner, a quality soap also helps the wrap survive longer. Look for a pH-neutral soap to prevent stripping the protectants in the vinyl, while conditioner agents let water bead off, making it easier to dry and thus preventing you from potentially pulling at the wrap. If you have a gloss wrap, you can go with any quality car wash soap including conditioners and waxes, but for a matte finish, look for "wash only" soaps that do not contain silicone, as that will turn the matte shiny.
A foam cannon works great for washing a wrapped car, as a touchless method of applying soap causes the least possible disturbance to the wrap.
Rinse gently
Then rinse with low pressure. An open garden hose or one with a fan spray nozzle works well here.
Dry like normal
Dry as if painted, with your preference on soft microfiber towel or chamois. Pro tip: a leaf blower or air compressor makes quick work drying 90% of your vehicle.
Don'ts when washing a wrap:
- Do not wash when hot
- Do not use automatic car washes
- Do not use a pressure washer
- Do not use a clay bar on a wrap
How to Protect a Car Wrap for Maximum Life
While a pro wrap is more affordable than a Concours restoration paint job, a full wrap isn't exactly cheap. After it's clean, here's how to protect and maintain the wrap so it stays looking fresh and saves you money in the long run.
First, check the labels. Make sure any products you are using don't have petroleum distillates, which will damage the vinyl. Bug & tar removers are excellent on paint, but will quickly alter the finish of a wrap.
Remember that vinyl is much softer than paint, so you can't use the same abrasive polishing techniques. Polishing compound and a dual action polisher can make for show quality detailed paint, but on vinyl will leave obvious scuffing that will be nearly impossible to fix. If you need an abrasive, try a cleaner wax for a more vinyl-friendly approach to cleaning and protecting, then hit it on low speed with a buffer. Remember to limit the pressure so there is no heat buildup.
Ceramic spray waxes are the new hot detailing product and, like paint, they work extremely well on wrapped finishes. The final step is a spray or aerosol protectant. Use this as a final step and you'll have raindrops ricocheting off your ride.
Keep a bottle of spray wax or protectant in your vehicle, along with a few microfiber cloths, for quick and instant removal of grime, like bird droppings.
Dos for protecting a wrap:
- Use any wax you like, but a solid paste wax is limited to a gloss wrap. Spray and liquid waxes will work on all wrap finishes, but first check the bottle to make sure they are approved for matte and satin vinyl finishes.
- Complete one panel at a time. This prevents lifting at the edge of the wrap. If you must complete the entire vehicle at once, mask off all of the vinyl edges before waxing.
- Excess wax can build up along the wrap edge, leading to an unsightly line. Use a degreasing dish soap to remove buildup, then rinse thoroughly.
- Remove bird droppings, tree sap, and other environmental damage as soon as possible. Spray detailer provides a quick cleanup and extra shine.
- Skip the polishing compound and remove light scratches and swirls by parking in direct sunlight on a hot day. The vinyl will slightly expand to fill the small scratches.
Are you a wrap master topping the charts, or is it more of a wrap battle? Let us know your vinyl wrap tips in the comments below.
