On vehicles with timing chains, the chain typically lasts the entire life cycle of the vehicle. Not so with timing belts — these belts need to be replaced at about a 60-100k-mile interval, and a failed timing belt can have catastrophic consequences.
Why is Timing Belt Replacement Important?
Looking around Google, you might find quotes on timing-belt replacement running about $1,000. That's a good chunk of change for a rather simple and affordable part. If you're willing to get your hands dirty, this is a job you can tackle.
Source | Andy Jensen
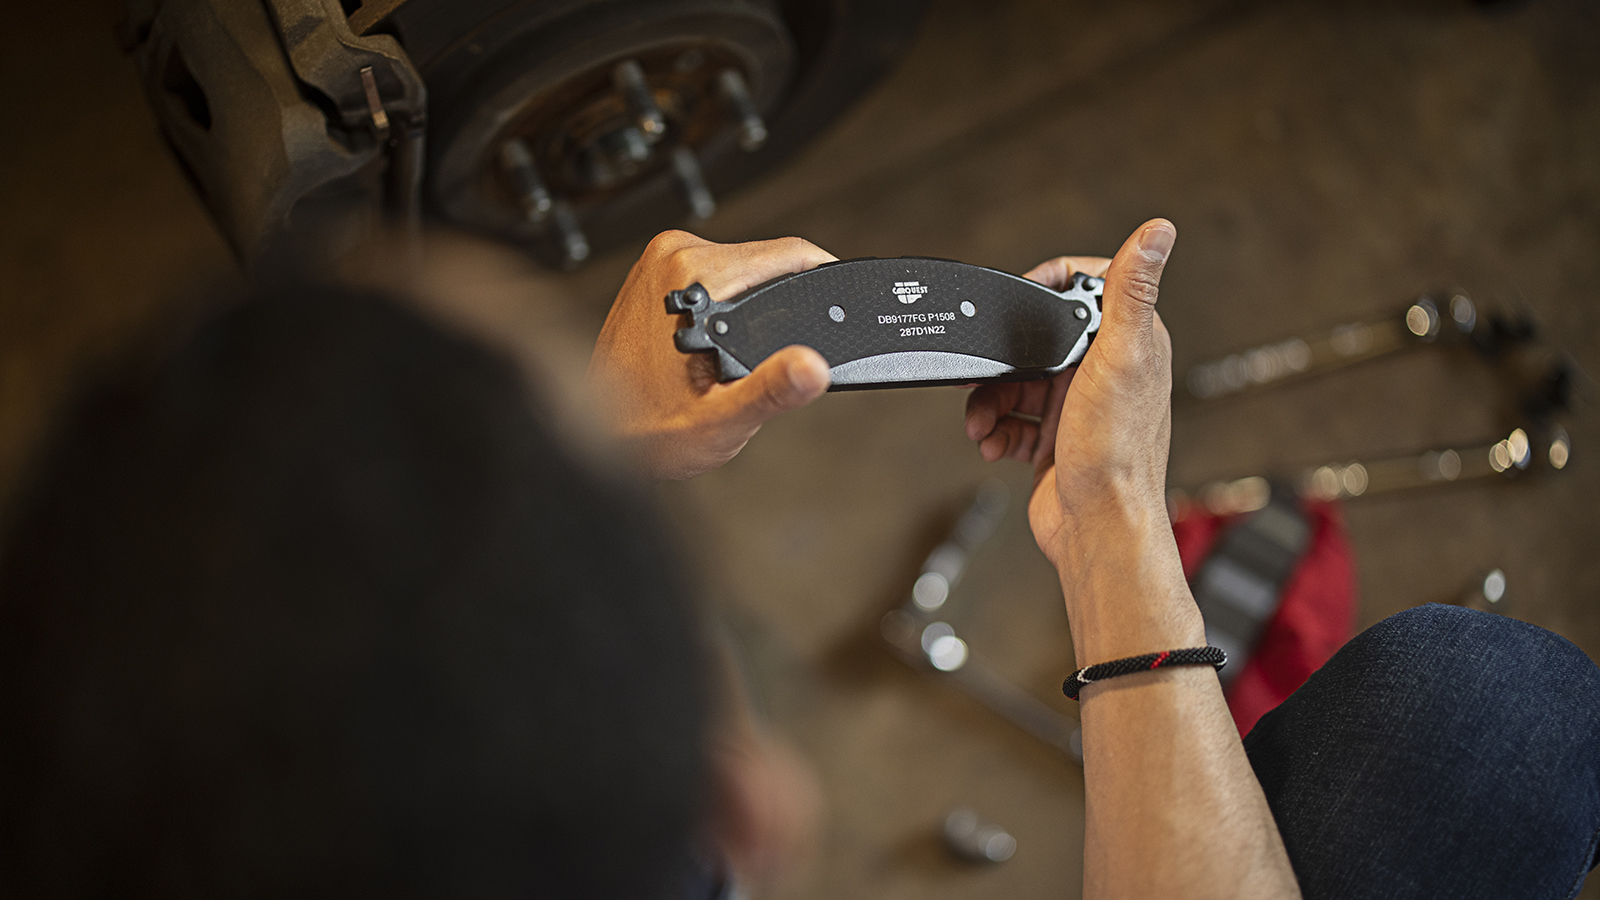
The timing belt connects the crank and camshaft gears, keeping them spinning in exact alignment so the engine can work properly. The majority of engines with a timing belt are interference engines, meaning they keep the valves and pistons out of each other's way with proper timing. While this is an efficient design, a broken timing belt results in valve and piston contact, which means extensive and expensive engine damage.
On most vehicles, it is recommended not only to replace the timing belt, but also many related parts when completing this job. Most vehicles will have a timing-belt kit that will have water pump, tensioners, idlers and other parts needed to complete this job. This is a long job to complete, so it's best to only do it once!
Unlike with the serpentine belt, you can't easily glance at the timing belt to determine if it's wearing out, so use the replacement interval recommended by your vehicle manufacturer. You're not going to get a warning that it's going to fail. A stretched timing belt may cause engine misfires or a ticking noise during operation. For a broken timing belt, the engine will just spin and not fire.
Source | Andy Jensen
This is a challenging and technical project
-
Ensure the engine is cold to the touch. Give it several hours to cool off after last operation so all parts and fluids are air temperature.
-
Disconnect the negative battery terminal.
-
Remove air intake hose and set aside.
-
Remove radiator cap and disconnect lower radiator plug, draining into a catch pan.
-
Drain engine oil. Store all fluids for recycling later.
-
Remove serpentine belt.
-
Use a puller to remove the crank pulley.
-
This next step will vary depending on the model. After removing the crank pulley, some engines have clear access to all the timing belt cover bolts, while other engines require removal of engine accessories like the alternator, power steering pump and water pump, and the radiator and/or fans as needed for clearance. Clear accessories until you see all the bolts for the timing chain cover.
-
Depending on the vehicle, you may have to remove a motor mount here in order to access the entire timing cover. Use a jack with a jack pad or wooden block to cradle the engine from below, then remove the motor mount.
-
Remove any sensors on the timing cover, such as cam sensor or knock sensor.
-
Remove all the bolts from the timing belt cover. Separate the timing belt cover from the block. If stuck, use a rubber mallet, tapping on the side to encourage it.
-
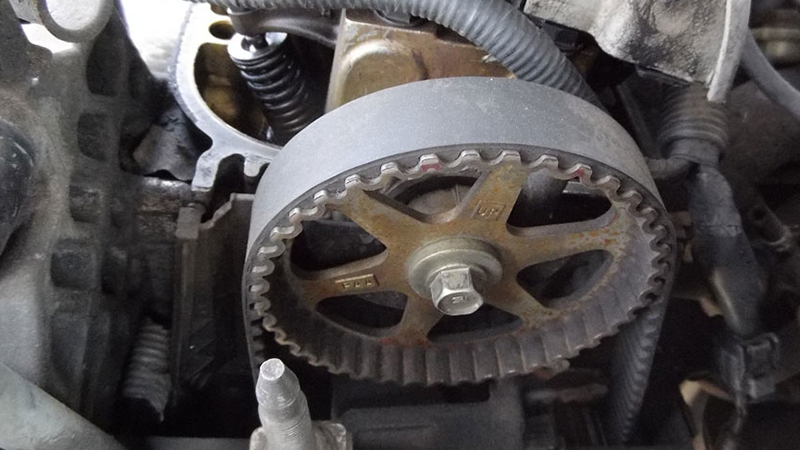
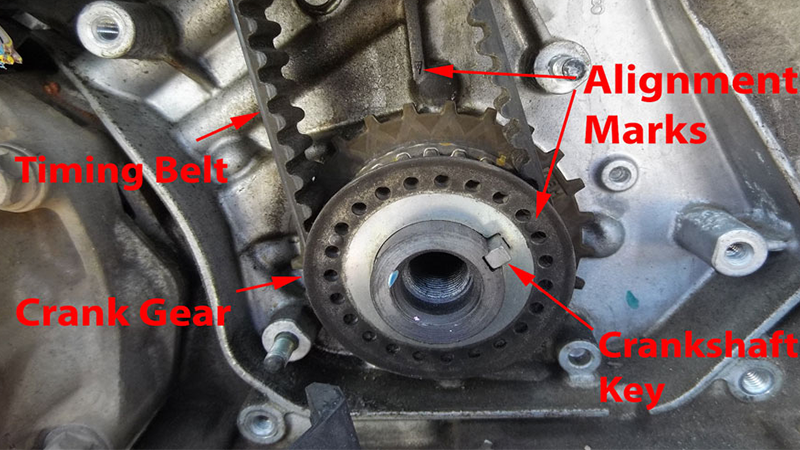
Repair manuals recommend rotating the engine to top dead center (number 1 piston at its highest position on the compression stroke), so you can use the timing marks on the crank and cam gears to install the new belt without losing proper alignment. A borescope could be helpful here if you have one, but it's not necessary. You can also make your own timing marks by using a small paint brush and white paint to mark the gear position against the block. When reinstalling the belt, you will know the correct position by lining up your new, easy-to-see alignment marks. Be very careful when reinstalling — if the timing is off by even a fraction of a degree, it can be enough to cause problems.
-
Note the path of the belt around the various pulleys and gears. Take a picture with your phone if it looks complicated. Loosen the belt-tensioner pulley, and the timing belt slips off. Your service manual may recommend changing the belt tensioners and idlers and installing a new water pump at this time. Follow the engine specific instructions in the manual.
-
Slide the new timing belt onto the pulleys and gears, following same path as before.
-
Before reassembly, put the crankshaft bolt into the crankshaft threads and use a long handle ratchet or wrench to rotate the engine. The engine internals should spin freely with no clearance issues. After two complete revolutions, check to make sure timing marks are still aligned.
-
Clean the timing chain cover completely, scraping off any old gasket material and then wiping with degreaser on a shop towel. Use a star pattern when installing timing cover bolts and torque only to what the repair manual requires — over-tightening fasteners can deform the cover and cause leaks.
From here, reassembly is the reverse of the above instructions. Just remember to torque to proper specs, clean anything filthy before reassembling and add all your fluids back. Bleed the coolant system, reconnect power and fire up. Finally, take a test drive to Advance to recycle the old fluids.

Use sandwich bags to keep the bolts and nuts organized. Use masking tape and a marker to label them “alternator bolts" for easy location on reassembly. Source | Andy Jensen
When sliding on the new belt, keep the slack near the tension pulley — all other belt running should be tight. This will help keep proper alignment as the tensioner pulley is tightened.
Some projects may be too challenging or time consuming to tackle at home, and that’s why we partner with trusted, professional shops that are ready to get you back on the road. Use our directory to find a qualified technician near you.