If your electronic door locks aren't unlocking when you hit the remote button or the door lock switch, it may be your remote. If you still have problems after swapping the battery, then it's likely the door lock actuators. This is a massive annoyance on vehicles around a decade old, and it will only get worse over time until you end up manually locking and unlocking each door with the physical key. Dealership service departments typically want nearly a grand for this repair, but you likely have all the tools on hand, so let's get it done.
Symptoms of a failing door lock actuator
After pressing the unlock button and hearing the expected “click," the door remains locked. In some cases you might hear a loud "clunk" that's not normal, but the doors still don't unlock.
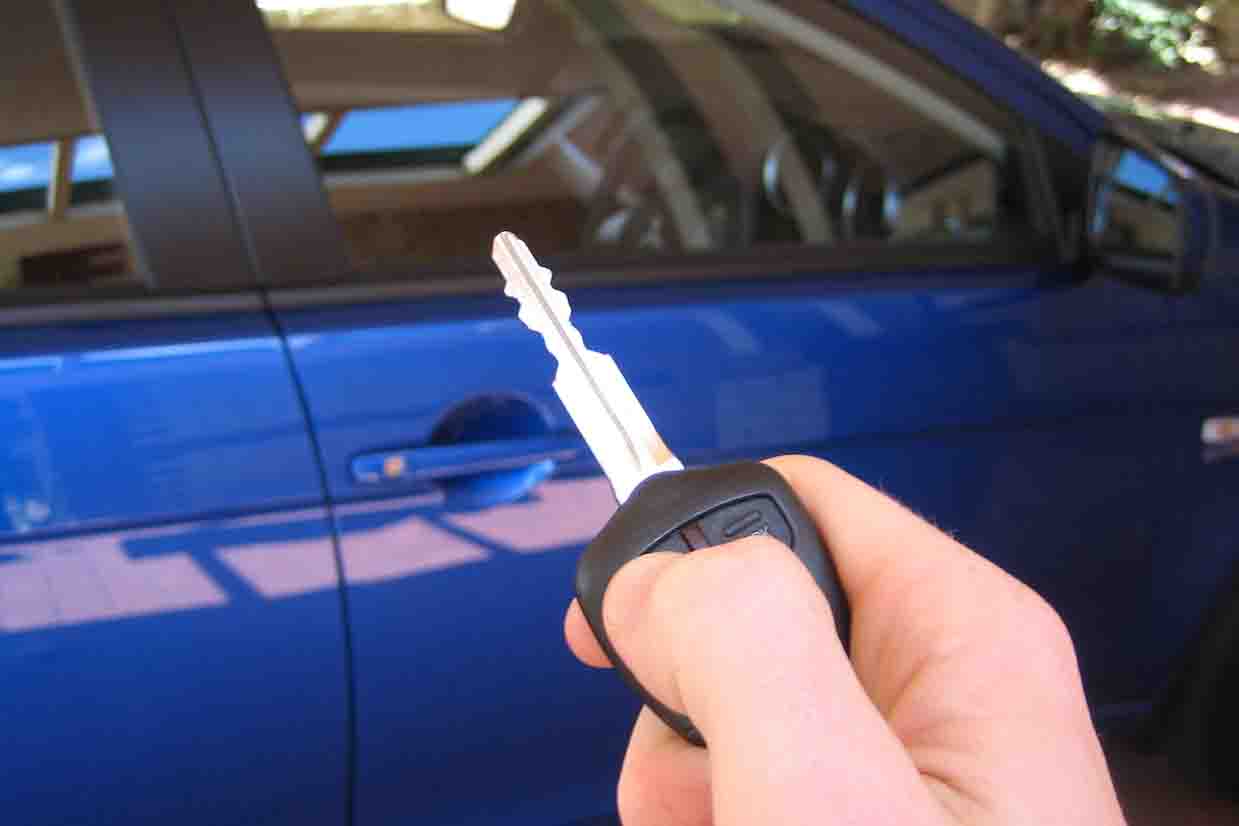
The remote did its job and the lock tried, but you're still locked out. Sometimes a rapid sequence of unlock/lock/unlock will get the door unlocked, but this will only work for a while. The symptoms will get worse. A quick test can be performed from the driver's seat by using the electric lock button. If the unlock button fails to unlock the door, you can rule out the remote and take a long look at the actuator.
How a door lock actuator works
On manual locks, the locking function operates by pushing or pulling on the door lock. This manipulates a series of rods that slide back and forth, opening and closing the locking mechanism at the door latch. On a vehicle with electric locks, the process is a bit different. Press the unlock button on the remote key fob and the fob sends a signal to a receiver in the car. This powers a small electric motor, which spins a series of gears that moves the locking rod.
While electric locks are convenient, their weak spots are the remote battery, and the solenoid and plastic gears inside the lock actuators. Think of an older vehicle that you may have had where the door panels, plastic trim, and dashboard were dried and degraded. Older plastic formulations ended up with "plastic rot" over time; these plastics didn't hold up well under extremes of temperature or UV rays, and often the plastic parts in door-lock assemblies would go the same way, becoming brittle and weak with age. This seems to be a problem that's pretty common to Ford vehicles in particular.
The remote battery is easy enough to tackle on your own, but if a new $2 battery didn't solve your problem, then the door lock actuator has likely failed and needs replacement. Before you purchase your replacement door lock actuator, take a look at these important safety considerations.
This is a project that needs some know-how
-
With the windows rolled up, disconnect the battery.
-
Remove interior door trim. Depending on what you drive, you may need a door-panel-pulling tool that's specific to your vehicle; be very gentle because you don't want to break any connectors or end up with any missing parts or a rattle after the job's completed.
-
Start at the inner door handle bezel and look for bolts or screws holding the trim to the door frame. Another common location for bolts and screws is in the bottom of cup holders and door handle pulls, behind mirror or speaker trim plates, and the bottom edge of the door trim.
-
Use a trim tool or thin screwdriver to pry the switch plate (where the electric window and lock buttons are located) up and away from the door panel. Disconnect the wiring.
-
Next, pry the door trim off the frame, starting at the bottom. The door clips need some encouragement, but will pop off. Easy with the screwdriver, as it can easily break the plastic clips (replacements are available). You may find that a special forked tool is what you need for this step; entire door-panel tool kits are available, with just about everything you need for the job. Continue down the length of the door, removing clips as you go.
-
Grasp the bottom of the plastic door trim with both hands and pull towards you, then lift. The door trim should slide up and off the frame. Unclip any wiring for interior lighting or power mirrors at this time. Set the door trim aside somewhere out of the way.
-
Remove the plastic water shield by pulling on a corner and slowly working it off. Do your best to keep it in one piece, as this moisture barrier can be fragile and will need to be reused.
Some models feature an additional metal door access plate, protecting the internal components. Remove the bolts and set it aside.
-
Locate the lock actuator. It is bolted to the inside of the door frame by the door latch. Remove the electrical plug that supplies power to the actuator. It should come out by hand.
-
Remove the three or four torx head bolts securing the actuator to the door frame. The actuator will be loose in the door frame, supported by two metal rods running to the exterior and interior door handles. The rods should slide out of the actuator with no tools, but take note of which rod goes into the different sections of the actuator. Then pull the actuator free of the door. Check the electrical connector for the actuator carefully for signs of corrosion or damage.
-
Assembly is the reverse order. Start by sliding the new actuator into the door panel, orienting it so you can insert the lock rods. Set the actuator in place and bolt down tightly with the torx bolts.
-
Plug in power for the actuator and other electrical connections. Then put back the access plate, water shield, and electrical connections. Hook up the battery and test before putting the door panel back on the car.
-
Slide the door panel trim into place and carefully press until you hear the plastic rivets snap into position. Check carefully to make sure you haven't damaged any of the plastic connectors and that all of them are present when you reinstall the door panel. Replace the miscellaneous trim pieces and reconnect the battery.
-
Test lock operation by locking and unlocking the doors via remote. They should operate easily and quietly.
There are several steps and quite a few parts involved in this project. It might be a good idea to take your phone or camera and take pictures during each step of disassembly, so you can be sure everything comes back together again properly during the repair/replacement phase. Remember that taking things apart is always a lot easier than putting them back together again!
Test the actuator function here by locking/unlocking the door with the manual interior door lock button. If the rods are connected properly, the door will lock and unlock.


