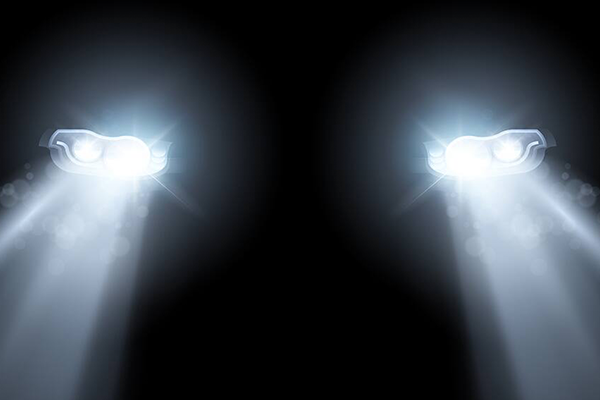
Broken, cracked, fogged, or faded taillights can be just as dangerous (and ugly) as damaged headlights. They can also earn you a ticket. You may have read our headlights article, so now check out this guide to everything that pertains to taillights. Here's how to stay safe, visible, and legal out on the road.
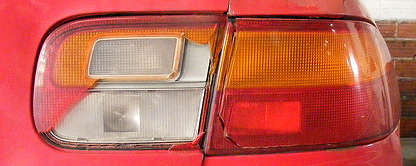
Much as with headlights, most modern taillights are sealed units containing the lightbulbs or LEDs, turn signals, reflectors, and, sometimes, even the reverse lights. This means you'll have to disconnect more wires when swapping taillight lenses on a 2018 Impala versus a 1958 Impala. The plus side here is the modern light's resistance to damage and superior visibility performance. LEDs light up faster and brighter than old halogen bulbs, and while classic bullet-style taillights look sweet, modern ones are safer and longer lasting.
While you may feel the need to upgrade to aftermarket chrome taillights, keep in mind that all parts are not equal. Look carefully before clicking "buy," and also be mindful of state statutes where you live. That eBay auction may look like a good deal, but the no-name-brand parts don't always have DOT certification, which means they're illegal for street use. Saving a few bucks isn't worth it if you get an expensive ticket or fail a safety inspection. Look for 50-state DOT legal certification in a fancy aftermarket unit instead.
This is a good project for new DIYers
-
Disconnect the battery.
-
Open the trunk, hatch, or tailgate to gain access to the rear side of the taillights. Move aside any trunk mats or carpet that's in the way. Some vehicles will require removing the spare tire and storage tray.
-
You should have clear access to the back side of the taillights. If not, your vehicle may have an access panel, or you may have to remove the plastic trim panel with a screwdriver or trim removal tool. If there are any plastic connectors or tabs to remove, be careful with them—they get brittle with age and heat, and it doesn't take much to snap them.
-
Locate and remove all the bulb holders from the back of the lamp assembly by rotating counterclockwise. Pull out any defective light bulbs now. Replace by pressing the new bulb into the holder while wearing gloves. Gloves or a lint-free rag are important, as skin oils can shorten bulb life. It's also a good idea to use bulb grease to help keep out moisture and corrosion.
-
Locate the nuts retaining the taillights to the vehicle body. This area of the vehicle experiences all kinds of weather, so the nuts and bolts may need a quick blast of penetrating oil. Then remove with the appropriate socket.
-
With all the nuts removed, the taillight assembly should now slide straight out.
-
Installation is the reverse of the above. Slide the new taillight assembly into place and hand-tighten bolts to keep it in place. Then use the ratchet, but do not over-tighten, as this will crack the plastic housing. Remember that these connectors are light-gauge metal, and be gentle with them—if you have an older vehicle, bear in mind that the elements and UV rays can cause "plastic rot" that will degrade the lenses and taillight buckets, making them easier to crack or break.
-
Place bulb holders in their appropriate locations. Most manufacturers make this easy on you by making the turn-signal bulb holders a different size from the brake lights. They can only be reassembled the correct way.
-
Replace the trim/carpet/panel as needed, and close the trunk/hatch/tailgate.
-
Reconnect the battery, and ensure proper operation of all taillight bulbs.
Before you start, check the brake lights for any burned-out brake light bulbs. They will be easier to replace while performing these steps.