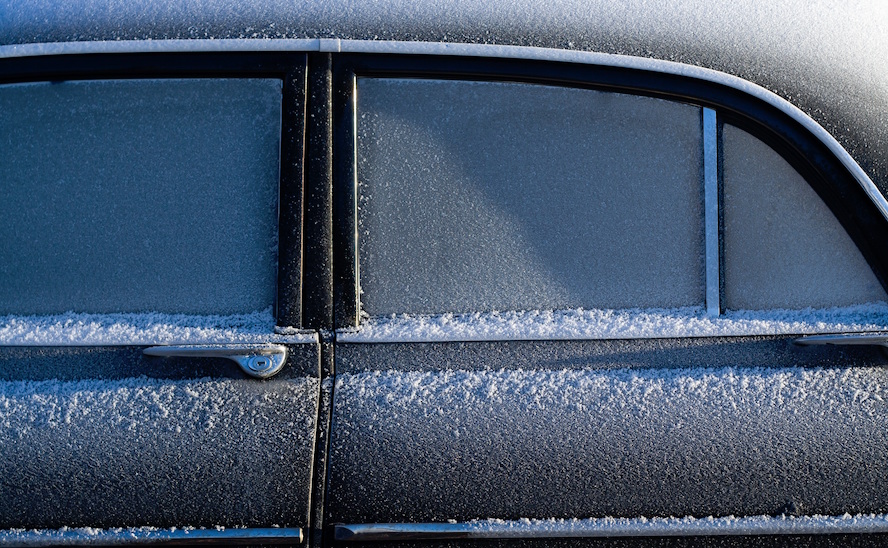
Don't let the elements in. Here's how to fix a stuck car window and how to put a car window back on track
When a vehicle window won't roll down or up, and pressing the switch only gets you strange noises from inside the door, then you're looking at symptoms of a failed window regulator assembly. While this looks like an intimidating repair, it's a job that can be performed by a novice with an hour or two and the proper tools. Let's get started.
This is a good project for new DIYers
-
Open the door and take a look at the inner door panel. You'll likely need to remove some plastic trim pieces to gain access to a few bolts or screws in the door panel. Look in cup holders and behind door pulls for any obvious screws that need to be removed. Some jobs call for a flat-head screwdriver to pop off an armrest or speaker cover in order to expose a hidden screw or bolt.
-
Once the screws are removed, you can remove the plastic clips that secure the door panel to the door frame. Slide a flat door-panel tool or flat-head screwdriver in between the plastic panel and metal frame. The clips are fragile, so gently pry the tool until you feel the clip release, then move to the next section, gradually separating the door panel. Generally, there are around a dozen clips holding a door panel on.
-
With the door panel removed, you'll see wires running from inside the frame to the electrical switches in the door panel. These switches can be removed from the panel by unplugging the connector from the back of the switches or by unclipping the entire switch assembly from the door panel.
Go with the approach that seems easier. These should come unplugged by hand, or use a small flat-head screwdriver for the stubborn ones. If you have speakers in the door panels, look for the connectors for those as well and disconnect them.
-
Once free of the vehicle, set the door panel aside.
-
Looking at the exposed inner door frame, you'll notice a thin plastic sheet covering the interior assembly. This is a water shield that protects sensitive electronics and interior trim from any moisture that may seep into the door. Remove this plastic sheet by pulling from an edge and trying to keep it intact. The sheet should peel off, and the glue or double-sided tape can be reused for reassembly.
-
A good first step when learning how to remove a window regulator is to take a look at your new window regulator assembly and compare it to your inner door frame. This will show you the proper regulator orientation inside the door and exactly which bolts need to be removed to replace the unit.
On the door frame, look for bolts running through the frame to the regulator motor. These are probably a few stainless-steel bolts approximately 10 millimeters in diameter. Use the appropriate socket to remove regulator bolts.
-
Then remove the bolts that hold the glass to the window track.
-
Once the window is free, you have two options for keeping it out of the way. You can pull the window out the top of the frame and set it somewhere safe, or pull the window all the way up by hand and use painter's tape to secure it in place.
-
Then remove the few bolts holding the regulator assembly to the door. Pull the regulator assembly through the largest hole in the door. This will take some wiggling, but it will fit.
-
Install the new regulator through the same opening and align bolt holes with those in the door frame. Holding the regulator in place with one hand, run bolts through the frame and assembly. Hand-tighten the bolts, check orientation of the regulator to make sure it looks the same as the old one, and then tighten with a ratchet.
-
Slide the window glass back into the door, connecting the window to its track. Thread in the bolts by hand, then tighten with a socket/ratchet. This can be tricky, with the door frame blocking your view of the window bolts. Remember that the regulator moves. Use it to your advantage by raising or lowering the assembly so you can see the window bolts and tighten them without reaching blind through the frame. Bolt the motor to the door frame and snap in the electrical connector.
-
Reconnect the electric switches before final assembly. Turn the key to "ON," then do a test of the new assembly by raising and lowering the window. This step lets you assess the alignment of the regulator assembly before finishing the entire project. It's good to know now before reassembling the entire door only to find out something isn't right.
-
If it works like it should, with no catching or odd noises, disconnect the switches again and start wrapping up.
-
Slide the plastic sheeting back in place and press it securely to the frame. It won't be as smooth as the factory job, but secure it as best you can. Reconnect the speaker connections.
-
Place the door panel back on the frame. Once aligned, pop the plastic clips in place by pulling the door frame toward you with one hand, while pushing on the door panel with the other hand. You should hear each pin pop into place before moving to the next section of the door panel.
-
Finally, put any miscellaneous trim pieces back into place on the door panel and tighten the last bolts/screws. Perform a final test of the regulator to ensure proper operation.
Make sure to get a window regulator assembly specific to your make, model, and year of vehicle. How much is a regulator for a car window? Expect to pay around $60 to $120, depending on the kit you buy.
The clips for door panels are specific to makes, models and model years, so make sure you get the right tool you need. On older vehicles, these clips tend to become brittle as plastic degrades from age and UV exposure, so be very careful with them!
While experts can get it done in around 45 minutes, a beginner might need up to two hours. There are several steps to a window regulator replacement, but taking your time should result in a successful repair. If there are multiple connectors and you're not sure where they all go, mark them with tape or different color markers so you can be sure.
Don't get in a hurry, though—you want this to come back together with no spare pieces left over and no rattles or squeaks in the door panel that weren't there before!