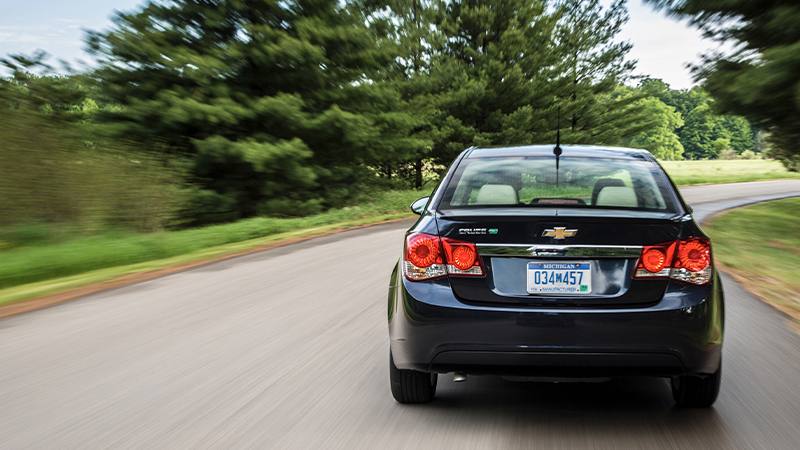
So, you bought a Chevy Cruze. While it was recently discontinued, the Cruze has some positives, with high fuel efficiency, a quiet and comfortable interior, and some unique options for its class. That said, Consumer Reports listed the reliability of the Cruze as 20th out of 21 among compact cars, meaning you're going to have to do some maintenance. Here's what to expect and how to fix it.
Introduced to the US as a subcompact sedan in 2010, the Cruze lasted two generations until 2019. During that time it sold reasonably well, over a quarter-million units in 2014 alone, and picked up cool options.
Unusual for a modern Chevy, the Cruze gained a five-door hatchback configuration to better compete with the Ford Focus. Even more unique, the Cruze scored turbodiesel power, with a 2.0L in 2014 (paired with an automatic transmission), and a 1.6L (auto or stick) for 2018. Throw in the optional Watts link rear suspension, and the Cruze could be everything from bland econobox to funky VW Golf competitor. Also like a VW, the Cruze's check engine light is probably going to flicker to life during your ownership. The most common Chevy Cruze problems are:
Here are the details on fixing your Cruze.
Thermostat
Before replacing your thermostat, do a bit of quick maintenance. Check the coolant level, and the drive belt tension. If both are good and you're still getting symptoms of a failing thermostat, it's time to replace it. You'll need a new thermostat and fresh coolant. This is a pretty easy task on the 1.4L and 1.8L engines, with similar steps.
- Starting with a completely cooled engine, disconnect the battery. Drain the cooling system.
- Disconnect the air intake ducting after the filter housing. On 1.4L engines, pull the PCV vent from the turbocharger. On 1.8L engines, remove the throttle body coolant hose and heater hose from the thermostat housing. Remove the radiator hose retaining clip with pliers, and pull the hose off the housing. Pro tip - These clamps leave an imprint in the hose, which can act as a visual guide for reassembly in the correct position, which reduces the chance of a leak.
- Remove the three thermostat housing bolts. The thermostat will come free after knocking the housing free with a tap.
- Before installing a new thermostat, thoroughly clean the mating surfaces in the housing and cover. Use a new gasket placed in the housing.
- Reinstallation is the reverse of removal but torque the housing bolts to 71 inch-pounds. Refill the coolant and bleed the system.
Valve cover
The Cruze has an issue with the valve cover, common enough for Chevy to issue a technical service bulletin. Unlike the Nissan Altima's valve cover that just leaks oil, the Cruze valve cover also leaks air, which hides its symptoms without the obvious oil slick. Owners report symptoms of a valve cover air leak include oil consumption, a burning oil smell, rough engine idle, and hesitation when accelerating. A check engine light means you should connect your code reader, displaying codes P015B and P0171, indicating a lean condition caused by unmetered air entering the engine.
- To get started, disconnect the negative battery cable from the terminal. Remove the plastic engine cover by pulling straight up.
- The rectangle piece running down the center of the valve cover is the ignition coil pack assembly. Disconnect the electrical connector by the oil fill cap.
- Remove the two mounting bolts and pull straight up on the coil pack unit. Then detach the PCV hose. Pro tip - it's probably time to replace the PCV valve, a cheap and very quick preventative maintenance task.
- At this point, the 1.4L needs six sensors unclipped from the valve cover before you can push aside the wiring harness, while the 1.8L just needs the harness unclipped before setting it aside.
- On the 1.4L, remove the dipstick. Then remove all the external Torx bolts around the valve cover perimeter. Use a mallet or other soft head hammer to tap on the valve cover, breaking the gasket seal.
Reassembly
- Installation is the reverse, with several notes. First, clean the gasket mating surfaces before reassembly. The repair manual recommends shop towels and brake cleaner.
- Then lay the gasket in the valve cover groove, and only use RTV sealant where the timing chain cover and cylinder head meet (1.4L), or around the center bolt near the timing belt cover (1.8L).
- Finally, really consider purchasing a repair manual for this task, especially with the 1.4L engine. The 15 bolts on the valve cover are an unusual tightening pattern, while for the 1.8L, start at the center bolts and work outward.
Water pump
The Cruze doesn't really have a water pump issue more so than other vehicles, but the first generation has reached the age and mileage where water pumps start to fail. This is another one where you'll want a completely cold engine.
- Disconnect the negative battery cable, and remove the air filter housing. Raise the front of the car and remove the front passenger side wheel.
- Drain the cooling system, and remove the accessory drive belt (1.8L remove water pump pulley bolts first).
- On the 1.4L, remove the passenger side engine mount, then remove the water pump pulley bolts. Remove the thermostat (above steps). Hopefully, you didn't just replace that.
- Disconnect the heater hose from the water pump by squeezing the hose clamp with pliers and sliding it back.
- Remove the 10 water pump bolts, then remove the water pump and gasket from the timing chain cover. You may have to use a screwdriver to gently pry the water pump off.
Reassembly
- Reassembly is nearly the opposite of tear-down. Like the valve cover job, you'll need all the surfaces clean and clear of gasket material, corrosion, or sealant.
- Apply the new gasket to the timing cover, not the pump, and then install the bolts hand tight.
- Tighten bolts in a crisscross pattern (like wheel lug nuts), to 71 in-lbs for 1.4L and 1.8L engines. Note that the 1.4L pump should include two new pump bolts, while the 1.8L has a new o-ring. Use these included parts instead of reusing the old ones.
Transmission problems
The first-generation Cruze suffered from problems with the 6T30/6T40 automatic transmission. The main issue stems from leaking transmission seals that seep out a few drips here and there, so most owners never see transmission oil puddles before they notice the common symptom of shifting problems. Unfortunately, like many modern cars, the Cruze doesn't have a transmission dipstick for you to easily check the oil level. The factory recommends changing the transmission oil every 45,000 miles, but owners on Cruzetalk.com like 30,000 miles to keep fluid topped up. It's a simple drain and refill procedure, no flush needed. You'll need six quarts of ATF, but you won't quite use it all. Note that there is no serviceable filter. Unlike the above steps, you'll want a warmed up car here.
- The first step in the repair manual is to safely jack up the front of the car, use jack stands, and remove the driver's side front wheel. However, you have to then use a level and adjust the car's height to get the transmission fluid even inside the transmission case (or have access to a lift). Owners found an alternative to jacking/leveling by parking on a flat surface and just cranking the steering wheel all the way right to gain access to the transmission drain plug. If following the manual, use a screwdriver or trim tool to remove the clips on the plastic engine splash shield.
- Look for an 11mm bolt sticking out from the silver transmission case. Place a drain pan underneath, and loosen the drain plug.
- Hitting the “easy button" here, the simple path is to measure the amount of fluid that came out - let's say four quarts - and add that amount of new fluid back into the filler port. However, the manual says that once the draining stops, add back the drain plug, then locate the fluid level indicator (which is simply another 11mm bolt located higher on the transmission).
- You'll find the transmission fill the hole on the driver's side of the engine bay. Look for a black plastic cap in between the engine and battery, and add fluid using a funnel. With the bottom drain plug in, add fluid until ATF runs out the level indicator hole.
Sunroof weather-stripping
Ever seen an old car with a cracked weather strip, or had yours stick to the window when it's icy out? That's a weather stripping issue, and the Cruze's most common sign is a wet headliner, caused by a leaking sunroof weather seal. Your owner's manual states to use dielectric grease or weather strip conditioning grease. You can get it straight from GM, but any brand dielectric grease or silicone grease will do the job. When the weather strip seals are clean, like after a proper car wash, it's time to apply. Apply a good amount using a paper towel or microfiber cloth, and work it into the rubber seal as if you are waxing paint. Then remove any excess drips with another cloth. If it's too late, and your seal is cracked and leaking, it's time to replace it.
- With the engine off and the parking brake on, open the sunroof. Remove the rubber seal by pulling on one corner and continuing around the sunroof opening.
- Since you want the new seal to stick to the car instead of dirt, use an all-purpose car wash or general cleaner/degreaser in the sunroof seal track.
- Once completely dry, apply a small bead of weather-strip adhesive. All of these products are similar, but follow the brand's specific instructions on drying time.
- Then apply the new weather seal around the sunroof, making sure there are no air bubbles or gaps. Give it a few days before using the sunroof or pressure washing the vehicle.
Trunk release switch
Sometimes the Cruze has an issue with the truck release switch, where pressing the open button on the key fob, or the car's trunk release button, doesn't get you any result. This one is annoying until it's fixed, but it is safe to keep driving with the issue. Before you start replacing pricier parts, check the condition of the fuse and relay. Under the dash to the left of the steering wheel is an access panel. Behind that panel is a block of fuses and a few relays. The red 10A fuse is on the right, third one down. The top left relay is linked to the trunk release. Check both for damage and replace as needed.
If the trunk release on the car doesn't work, but the key fob opens the trunk, then the problem is with the trunk switch.
- Use a 7mm socket to remove the inside trunk handle, then use a trim tool or flat screwdriver to remove the plastic clips holding the liner to the trunk lid. Then pull off the latch cover, and then the trunk lid liner.
- Disconnect the green cable and follow it to a grommet in the trunk lid. Remove the four 10mm bolts (two on each side) near the grommet.
- On the outside of the trunk lid, pop off the chrome trim bar containing the reverse lights. You're working between chrome and paint, so use a plastic trim tool here. The switch in the center of the trim just pops out, and the new one should click into place.
Pro Tip: This switch fails due to its exposure to the weather and lack of weather protection. After sliding the new switch in place, apply a bead of weatherproof silicone to the inside seam for a longer-lasting switch.
That wraps up the most common Chevy Cruze problems. If you're an owner, have you seen any other issues? Let us know in the comments below.


