Over the last 20 or so years, advances in metallurgy, manufacturing and design have enabled drivers to get far more miles out of their vehicles than ever before. In the 60s and 70s, a vehicle that had 130,000 miles was usually pretty clapped-out, rusty and tired and one that lasted to 160,000 was often on its way to the salvage yard soon. Now it's not unusual to see vehicles with way more than 250,000 on the odometer and many more to go.
How far is 250,000 miles, you ask? Well, just to put it in perspective, the moon is 238,000 miles away.
Still, the only way to get that sort of longevity out of a vehicle is with the right driving habits and the right attention to basic maintenance. Here are some basic drivetrain tasks that can help you keep your vehicle on the road longer:

Oil changes
Yes, just like your dad told you, regular oil changes are still the best way to get the most miles out of your vehicle, but your dad's 3,000-mile oil change is a thing of the past. Today's synthetic oil formulations can go a lot farther—in some cases as much as 10,000 miles before it's time for a change. Synthetic also offers better engine protection, doesn't thin out in hot weather and doesn't thicken when it's cold outside. And yes, there are some solid reasons for using high-mileage oil with gasket conditioners and seal-swellers that can stop leaks, as well as agents that help compensate for the looser tolerances of a worn engine.
Detailed guide: Change your engine oil and filter.

Cooling system flush
Your radiator and water pump will work much more efficiently when coolant can flow freely and isn't impeded by any buildups of scale and corrosion along the way. Coolant contains corrosion inhibitors, lubricants and other agents to help keep the system in good shape, but like other automotive fluids, coolant degrades over time.
Flushing your cooling system at regular intervals and replacing the old stuff with new factory-approved coolant is the best way to make sure your cooling system and heater are in good shape.
If you're not sure whether it's time to flush, you can check the specific gravity of the coolant using a coolant tester, or a shop can give you an even better test of the coolant using a refractometer. Even just checking the underside of your radiator cap for sludgy deposits can give you a good idea of the condition of the coolant.
If you decide to take your vehicle to a shop for the coolant flush, they can also perform a pressure test that can indicate any potential failure points around the hoses, hose clamps or other spots.
Detailed guide: Flush your cooling system.

Valve cover gaskets
After 100,000 heat/cool cycles, it's understandable that valve cover gaskets would start to leak oil. They're usually a rubber material (although older engines may use cork or composite) that will start to dry out and shrink over time, leaving tiny gaps where oil under pressure can start to seep out. You'll know if your valve covers are leaking, as you'll smell burning oil on the exhaust manifold and can see where oil has drooled down the engine. Changing the gasket(s) can range from fairly simple to moderately difficult.
On a Ford 4.6 V8, for instance, everything's pretty accessible, but a smaller four-cylinder might involve removing the throttle body or even the intake manifold as part of the job.
Make sure when you're doing this job that the surfaces of the head and the valve cover are absolutely clean of any residue from the old gasket; brake cleaner, a gasket scraper and lots of elbow grease are called for here. Do a little research and find out if the factory recommends a gasket sealer product for your vehicle, as well as the valve cover gaskets themselves.
In addition, if there are six bolts, tighten at opposite corners first and then tighten the middle ones. And this is important: use a torque wrench and be sure to only tighten the bolts to manufacturer's spec. Over-tightening will distort the thin-gauge metal of the cover and cause the new gasket to start leaking, and nobody likes having to go back and do any job a second time.
Detailed guide: Replace your valve cover gaskets.

Source | Mike Aguilar
Transmission drain and fill
Like motor oil, automatic transmission fluid (ATF) will deteriorate and develop sludgy or varnish-like contaminants over time. Heat is the enemy of a transmission and its fluid, and you should be especially attentive to the transmission in a vehicle that's regularly used for towing, hauling heavy loads or other severe duty.
Pull your transmission dipstick and check the condition of the ATF: it should be clear and magenta-pink, and shouldn't have a burnt-toast smell to it.
Changing the transmission fluid is not a terribly difficult job but it's often a messy one. Many automatic transmissions don't have a drain plug, meaning you'll have to drop the entire pan and the ATF is going to go everywhere. If your car's transmission does have a drain plug, the job isn't much harder than an oil change.
After draining, examine the old fluid closely for metal shavings or plastic bits that can give you an idea of the transmission's overall health. Some schools of thought believe that a high-mileage vehicle with old ATF shouldn't have the fluid changed at all, since a flush can dislodge chunks of varnish or other contaminants that can then clog internal hydraulic passages or valves in the unit.
Remember that AWD or 4WD vehicles may have transfer cases or differentials that also require a service interval.
Detailed guide: Change your transmission fluid.

Source | Lisa Kowite
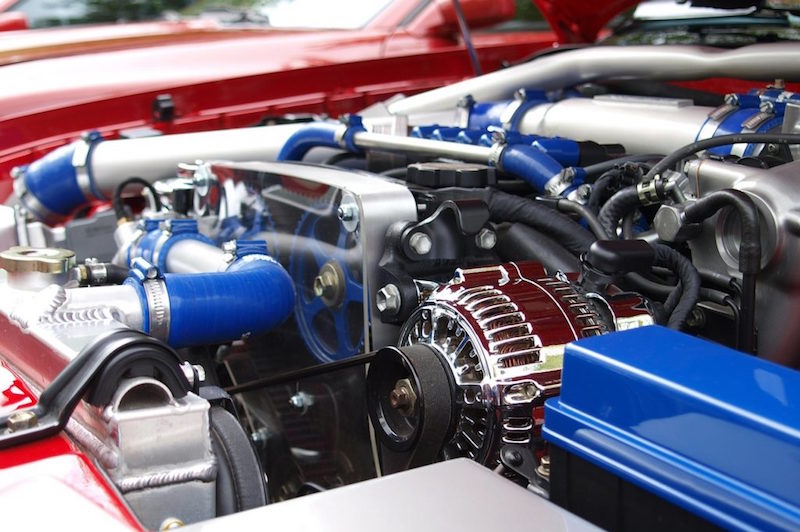
Serpentine belt
There's not really a specified service interval for this part, but it's a good idea to inspect the belt regularly. Older belt materials might show frayed edges, cracking, splits and other signs of wear, but newer EPDM belts may not. A belt tension gauge can help you make the right call on this; these gauges measure how much deflection and slack is in the belt.
When you replace the belt, it's a good idea to replace the tensioner at the same time. The tensioner is an idler-type pulley that makes contact with the back of the belt. Since the tensioner has no lubrication point, it can eventually just seize and throw the belt. This is a job that goes a lot easier if you can get the leverage to swing the tensioner out of the way when routing the belt.
Your local Advance Auto Parts store has a serpentine belt tool that you can borrow, free of charge.
Detailed guide: Replace your serpentine belt.

Source | Advance Auto Parts
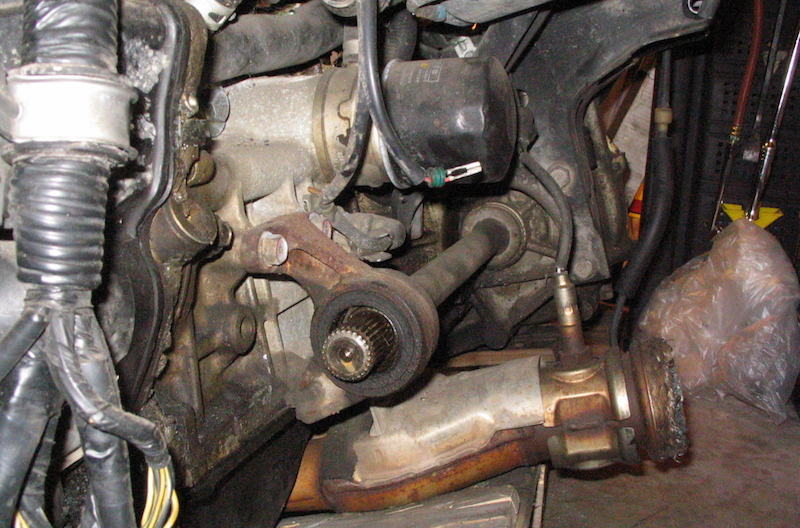
Motor mounts
Your car's motor mounts are bracketed rubber biscuits (sometimes fluid-filled) that anchor the engine and transmission to frame members, isolating the rest of the vehicle from engine vibrations and preventing the engine from flexing and jumping around in the engine bay when it's under load. The motor mounts will definitely wear over time, especially in a front-wheel-drive vehicle. Symptoms of worn motor mounts will include a clunk when the vehicle goes in gear or when you let off the gas, as well as vibration under load.
Changing motor mounts can a fairly big job, as it involves disconnecting a few assemblies, then jacking the engine up from underneath so you can remove the old mounts and install the new ones, but it's not outside the realm of the possible for a DIY'er. Note that motor mount designs vary, so be sure to select your vehicle to ensure a correct fit.
Detailed guide: Replace your motor mounts.
Air filter
The air filter is one of the easiest things to service in your vehicle, and it's absolutely essential to keeping the engine running well. Your engine needs the triad of air, spark and fuel to run, and the air filter is what prevents dust, pollen and other particulates from making their way into the fuel system. It should be changed at about a 10-12,000 mile interval; here's a handy video on how to do this simple maintenance task.
Timing belt
This is the part that synchronizes the engine's crankshaft and camshaft, enabling the valves to open and close in time with the combustion cycle. If your car's engine is equipped with a rubberized timing belt rather than a timing chain, the belt will have a service interval between about 60-90,000 miles. Past that point, you run the risk of the belt failing, and when the belt fails two different things might happen. Some engines are "non-interference" engines, designed so that the pistons cannot make contact with open valves if the timing belt breaks and the pistons are suddenly out of sync with the valves.
In interference engines, the pistons can crash into open valves when they come to the end of their travel in the cylinder, bending the valves, punching holes in the pistons and generally wrecking the engine. To prevent this happening after you change the timing belt, you'll use several alignment marks to double (and triple) check the timing is correct. You should also give two full manual turns of the crank before turning the key.

Source | Andy Jensen
Changing the timing belt is a job that many folks choose to have a trusted repair shop do, but with attention to detail, a repair manual, and some patience, it's a job you can tackle.
You can check out the general steps in our guide to help you decide if it's a challenge you're ready to take on. Should you decide to take this job on yourself, be aware that it may involve removing other components like the radiator, hoses, cooling fan and shroud, so consult your repair manual for details before starting.
Whether a shop is doing the work for you or you're knocking it out yourself, in many cases it's a good idea to change the water pump at the same time. Even if the water pump is not visibly leaking, odds are it's as old as the timing belt and will be leaking soon. Replacing it with the timing belt is a serious time saver.
Speaking of leaks, you'll want to do a few other inspections while the timing cover is removed. Check pulleys for any resistance, or a gritty feeling and sound when turning, and replace them if they're no good. Cam and crank seals are also prone to leaking and should be inspected for replacement once you have the timing cover removed.
Detailed guide: How to change a timing belt.

Differential
This is often neglected. The differential in a rear-wheel-drive vehicle has a special, heavier oil and will need to be serviced after the 100,000 mile mark. Some differentials have a drain plug toward the bottom of the cover, but many just have a rubber plug. On these units, it's best to just take the pumpkin cover off and let the old oil out. When replacing the cover and gasket, torque the cover's bolts to spec and tighten them in a star pattern. In some cases, you might prefer gasket maker instead. Be sure to only use the manufacturer's recommended lubricant.
Detailed guide: How to change front and rear differential fluid.
Combustion chambers
Lots of miles often means carbon deposits on valves and piston crowns. Consider using throttle body cleaner or specialized upper cylinder cleaner spray to dislodge this junk and clean up the combustion chambers. It's worth knowing about Lucas Oil products. Their oil additives, fuel additives and other formulations have a proven track record and are a favorite with maintenance managers of commercial fleets.
Fuel injectors
In many cases, fuel injectors will last the life cycle of the engine without any problems, but problems can certainly happen. If a fuel injector fails or is clogged from bad fuel or gunk, you'll notice a change in the engine's power and fuel economy and an injector-specific trouble code will be stored in the drivetrain computer. If that's the case, cleaning the fuel injectors might become necessary. It's not a terribly difficult job, with the right tools and some patience.
Detailed guide: How to clean fuel injectors.
Along with these recommendations, it's a good idea to always listen for any odd noises from under the hood or anywhere else in the vehicle. Also, keep an eye out for fluid leaks (other than normal condensate, aka "water" from the A/C) and any odd smells like burning oil.
If you keep up on maintenance and replace things as they wear out, you'll be able to keep that vehicle on the road for a long, long time (and avoid taking on a payment for a newer vehicle!).
What drivetrain maintenance tasks do you perform regularly? Let us know in the comments.
Share
About the Author(s)

Jerry Renshaw is a veteran journalist, gearhead and guitar player, and cultivated his mechanical skills by 30 years of turning wrenches to keep one piece of junk or another on the road. He's owned everything from a Chevette to (three) minivans to a fire-breathing Dodge muscle truck, and is constantly keeping up to speed on what's going on in the automotive world.