The steps and tools needed for an CV axle replacement
Front-wheel-drive vehicles get their power to the wheels by way of drive axle assemblies. At either end of these assemblies is a constant velocity (CV) joint. Rubber boots that cover the joints keep contaminants out and lubricant in. A missing or damaged CV joint boot often means that a replacement axle shaft is in order.
Replacing the assembly makes more sense than just servicing a CV joint boot, because the entire axle assembly has to be removed anyway. As long as the axle is out of the vehicle, total replacement is a good call. Axle shafts can last for the life of you car or wear out sooner, depending on use. Here are a few signs that your axle shaft needs to be replaced:
- Excessive vibrations during operation
- Loud clicking during turns
- Grease leaking from the CV joint onto the tire
Swapping out an axle shaft is an advanced job that requires patience and some specialized tools. Here's all you need to know to get started.
This is a challenging and technical project
-
Slightly loosen the wheel lug nuts. Raise and secure the vehicle. Remove the wheels. Remove the cotter pin. Unlock the spindle nut safety fastener according to the repair manual instructions.
Tip: Leave one side assembled while you work on the other so you can remember how things go back together.
-
Loosen the nut with a proper socket and breaker bar. Another bar or large screwdriver wedged between the lug nuts can help hold the wheel in place. Brake application simplifies the wheel turn issue.
-
On some vehicles, the brake caliper and rotor must be removed before proceeding. Refer to your repair manual for your vehicle's requirements. If you find yourself having to remove the brake caliper, suspend it from a point on the frame or wheel well with a length of coat hanger wire so it doesn't hang from its brake hose.
-
Remove the cotter pin and castle nut from the lower ball-joint. Disconnect the ball-joint from the steering knuckle with a removal tool (your pickle fork is likely to come in handy here). Swing the knuckle and hub outward to free the outboard axle assembly.
-
Gently wedge a pry bar or a large flat blade screwdriver between the axle and transmission. Carefully pry the axle assembly away from the transmission. Be careful not to damage any transmission seals.
-
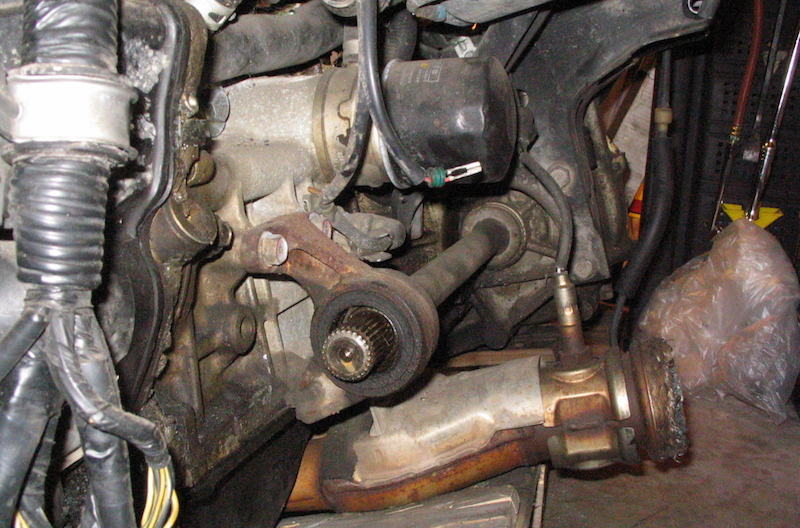
The drive axle assembly should now slide right out. Take a good look at the drive assembly location, and then remove. The new one will go back the same way.
-
Grease the splines before insertion with gear grease. Insert the replacement drive axle assembly and reverse the disassembly process. Torque all fasteners to specification. Don't forget to use new cotter pins.
Additional specialized tools such as tie-rod end pullers, ball joint removers, and vehicle-specific sockets may be required. Talk to an Advance Auto Parts Team Member for more details. You can also rent tools from us.

