The EGR valve seems to have a lifespan of around 10 years of service. While replacing an EGR valve isn't hard, yours might not be dead—just too filthy with carbon and gunk to function properly. Don't throw it away before giving this a try. Grab the tools below that you probably already have, and follow this simple guide to learn how to clean an EGR valve.

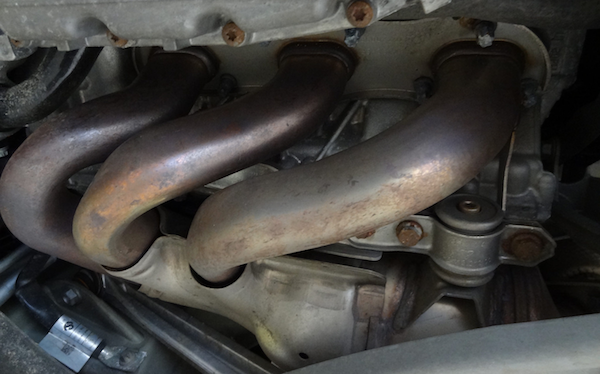
Clogged EGR valve. Source | Moosealope
EGR Valve Explained
The exhaust gas recirculation valve is an emissions-control device sitting between the exhaust manifold and the intake manifold. The EGR valve is typically closed when you start your engine. As the engine is warmed up and under load, the valve opens, allowing a specific amount of burned exhaust gases to pass to the intake manifold, cycling back with the fresh air coming into the engine. This seems counterintuitive, but it allows modern engines to run cleaner and last longer as the combustion mix allows a lower combustion temperature that specifically lowers NOx emissions. While helpful, those spent exhaust fumes are pretty nasty and can clog the valve with buildup over time. Fifty thousand miles is a good recommendation for cleaning the EGR valve, or every-few years.
Symptoms of a Failing EGR Valve
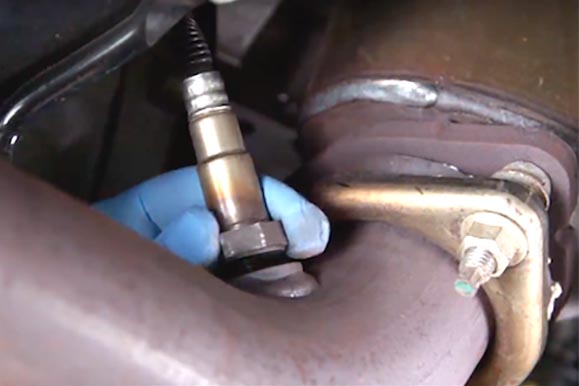
Since the EGR valve is emissions-related, symptoms of failure can be a little vague. If the EGR valve is stuck open, you have extra air coming into the engine, making the air/fuel mixture run lean (too much air for a measured amount of fuel). At startup you would notice hesitation, surging/miss at part throttle, rough idle and engine vibration, and poor engine acceleration once driving. If the EGR valve is stuck closed, the combustion process goes rich with fuel, which creates high NOx emissions and operating temps. You might notice the engine running hot, resulting in engine “ping" or knock when under load. Other symptoms are smelling the unburned gas fumes, and a dramatic decrease in gas mileage, which often leads people to suspect an oxygen sensor. The symptoms are similar, so be sure to replace the right part by having your code read for free at an Advance Auto Parts store.
This is a project that needs some know-how
-
Identify if you have a mechanical or electronically controlled EGR valve. A repair manual can tell you this, or the mechanical EGR usually has a piece that looks like a saucer, while the electronic style is typically a cylinder shape.
-
Remove the negative battery cable. Wait for the engine to entirely cool down.
-
Find the EGR valve and spray WD-40 or other penetrating solution onto the valve bolts. Wait a few minutes for it to work into the threads.
-
Disconnect the vacuum tube running to the intake manifold and any electrical connectors. Check the condition of the vacuum line and inspect for cracking or dry rot.
-
Carefully remove the valve bolts using the ratchet and appropriate socket. Pull off the EGR valve, and make sure the gasket comes with it.
-
Inspect the surrounding exhaust manifold and intake tube for cracks. If these pieces are damaged, there is likely an air leak that needs to be fixed.
-
While wearing safety glasses and gloves, carefully spray the inside with EGR valve cleaner, holding it so overspray drips out rather than further inside. Continue spraying until no carbon deposits are coming out, just cleaning fluid.
-
Excessively filthy EGR valves may need additional cleaning with a soft bristle brush. A pipe cleaner or old toothbrush works, too.
-
Check to verify the pintle works. It resembles a round button. Push it with a screwdriver to verify that it moves without getting slowed or hung up by grit. If you notice any issues, flush it with cleaner again.
-
Using a new gasket, reinstall the EGR valve. Torque the bolts down and reconnect the vacuum and electrical connections.
-
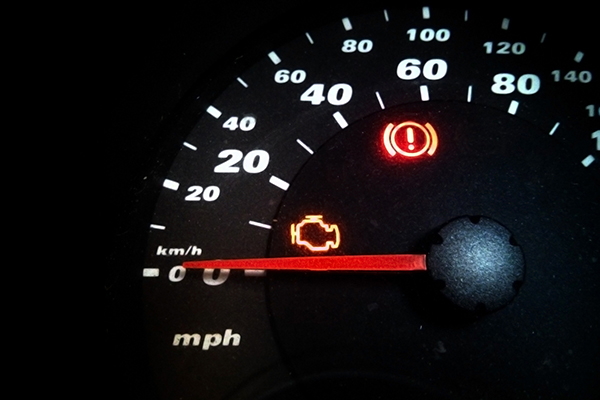
Connect the negative battery terminal. Start the engine and verify that the check engine light is off.

