Are you hearing or feeling a clunking noise when you start or shut down your vehicle or put it in gear? If so, you may have a transmission mount that has gone bad.
 Source | Mike Aguilar
The transmission mount is a rubber and steel part that secures the rear of the transmission—called the tailshaft—to the crossmember. The rubber allows a little “give" in the mounting, but, over time, the rubber will wear out and allow too much movement, which causes the clunking noise you hear.

Energy Suspension Transmission Mount | Advance Auto Parts
If left unattended, this excessive movement can cause motor mounts and u-joints to fail. First we'll look at diagnosing the transmission mount, and then we'll then go through the steps to change a worn-out transmission mount on a rear-wheel-drive vehicle.
Diagnosing a Failed or Worn Transmission Mount
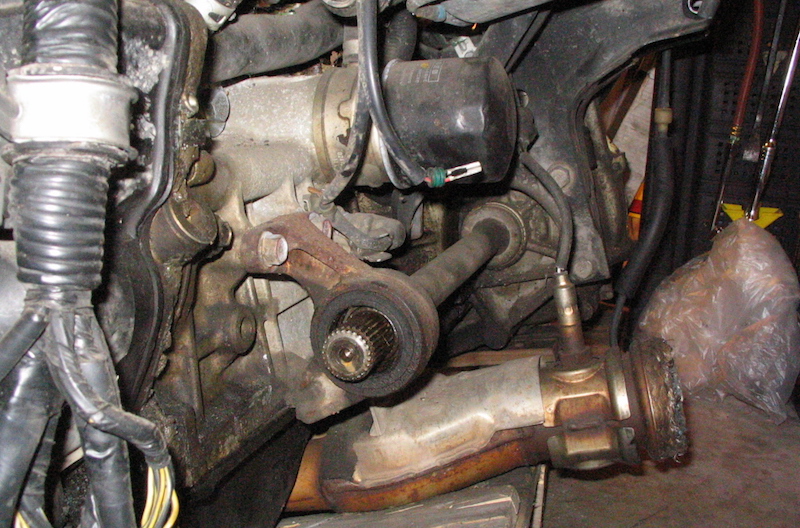
A clunking noise when you start the engine is normally a sign that either the motor mount or the transmission mount isn't properly securing the engine or transmission. In extreme cases, you might also feel a strong driveline vibration. You can determine if the transmission mount is at fault by wiggling underneath the car and moving the transmission tailshaft back and forth and up and down. Anything more than an inch of movement indicates a bad transmission mount.
This is a good project for new DIYers
-
Park on a flat and level surface. Automatic transmissions need to be put in park, while manual transmissions need to be put in second or third gear. Block both the front and rear of one rear wheel.
-
Place the jack under the front crossmember and raise the vehicle enough for you to work comfortably. Place jack stands under the frame behind the front wheels and carefully lower the vehicle onto the stands.
-
Slide under the vehicle with the jack and a block of wood. Support the transmission with the jack and block of wood. Don't lift it; just support it. The wood will disperse the transmission's weight enough not to leave a dent in the transmission pan.
-
Using a wrench or ratchet with socket—whichever fits—remove the two to four nuts or bolts securing the transmission mount to the transmission. Set the nuts and bolts aside. These nuts can be pretty tight, so you may need penetrating oil to loosen them.
-
Use a wrench or socket to remove the two to four nuts/bolts securing the transmission mount to the transmission crossmember. Set them aside.

Source | Mike Aguilar
-
Lift the transmission enough to tilt and wiggle the old transmission mount out, and remove it. Pay attention to the orientation of the mount, as it may be important—taking a picture may help.

Source | Mike Aguilar
-
Tilt and wiggle the new transmission mount into place between the transmission and crossmember.
-
Loosely install the nuts and bolts to the mount and transmission by hand. Don't tighten them.
-
Loosely install the nuts and bolts to the mount and crossmember interface. Lower the jack a little if you have to.
-
Tighten the nuts and bolts securing the transmission mount to the transmission.

Source | Mike Aguilar
-
Lower and remove the jack.
-
Tighten the nuts/bolts on the transmission to crossmember interface. Give the transmission a firm shake to verify that the new mount has solved the problem.
-
Move the jack back under the front crossmember and raise the vehicle off the stands. Remove the stands and lower the jack. Remove the wheel blocks and take your vehicle for a test drive.
Many off-road vehicles have skid plates that have to be removed to gain access to the transmission mount bolts. There are also some vehicles in which the crossmember has to come out to get to the transmission mount bolts. This is where your safety glasses are going to come in handy; you don't want dirt and gunk from the underside of the transmission and crossmember getting in your eyes.