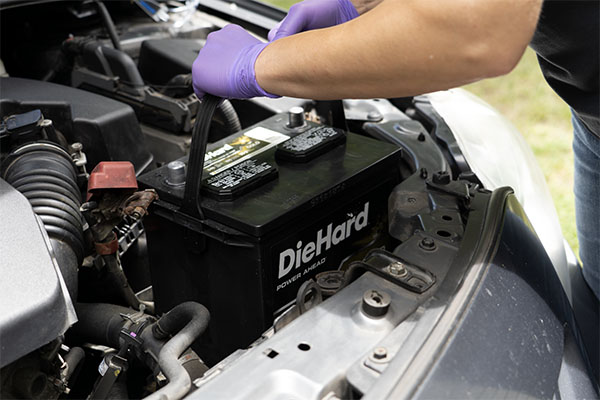
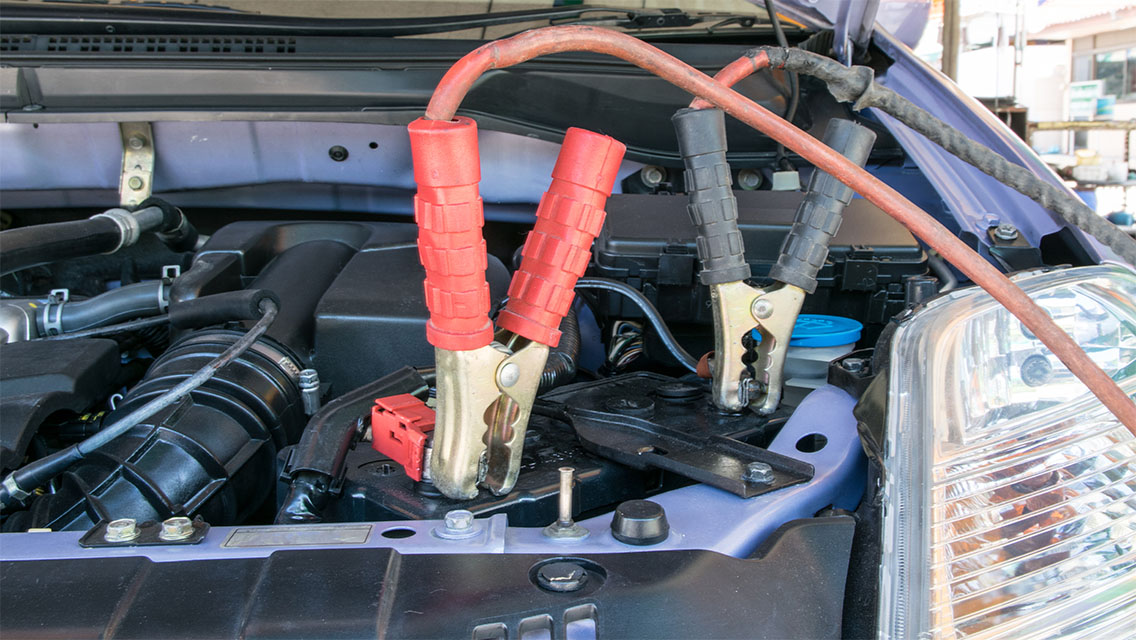
Pyle's 4-button vehicle security system doesn't have all the bells and whistles of much more expensive security systems, but it's a great add-on for those whose car doesn't already have a security system. There's even a way to add electric locks. We're going to go over the basic installation of what you get in the box.
This is a project that needs some know-how
-
Look under or behind the dash to find the easiest location to mount the control unit. We recommend putting it behind the glove box so you won't have to be an acrobat to reach it.
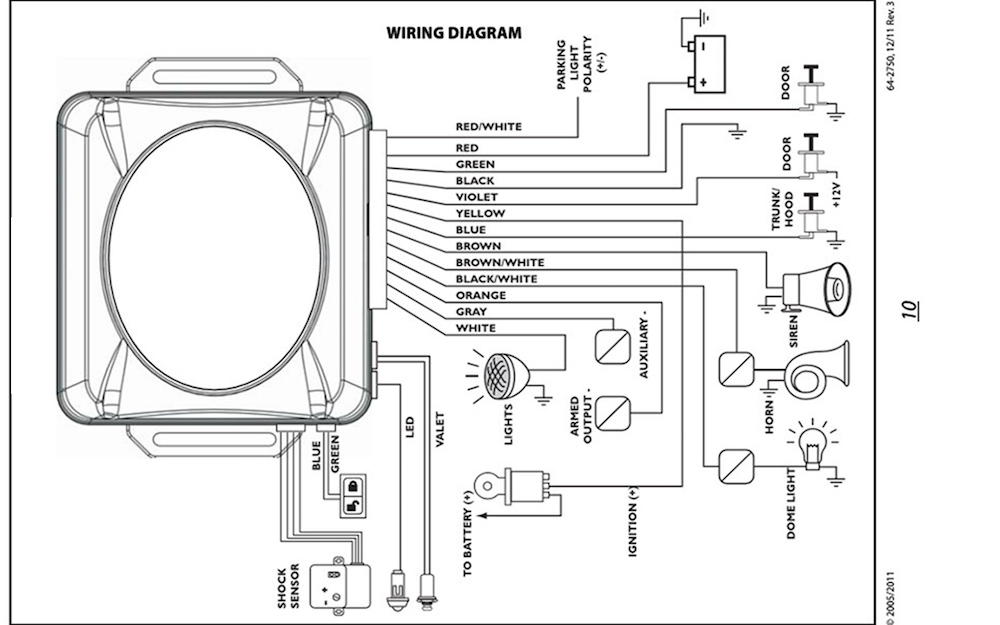
Source | Pyle Audio
-
Determine whether you want to get power to the red wire for the controller from the battery or from the fuse panel. When using the fuse box or panel, you can use an "Add-a-Circuit" fuse tap, as shown in the image below.
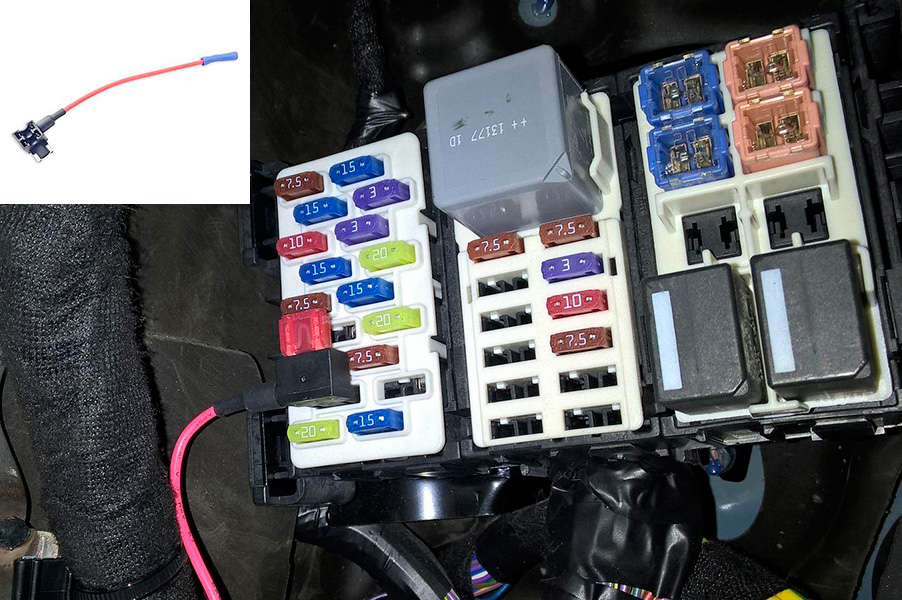
Source | Mike Aguilar
-
Find a spot close to where you'll locate the controller to screw/bolt the black ground wire with a ring terminal. Wire-brush it clean—especially painted surfaces—and securely bolt the terminal. Paint any exposed metal surfaces after installation to prevent rust.
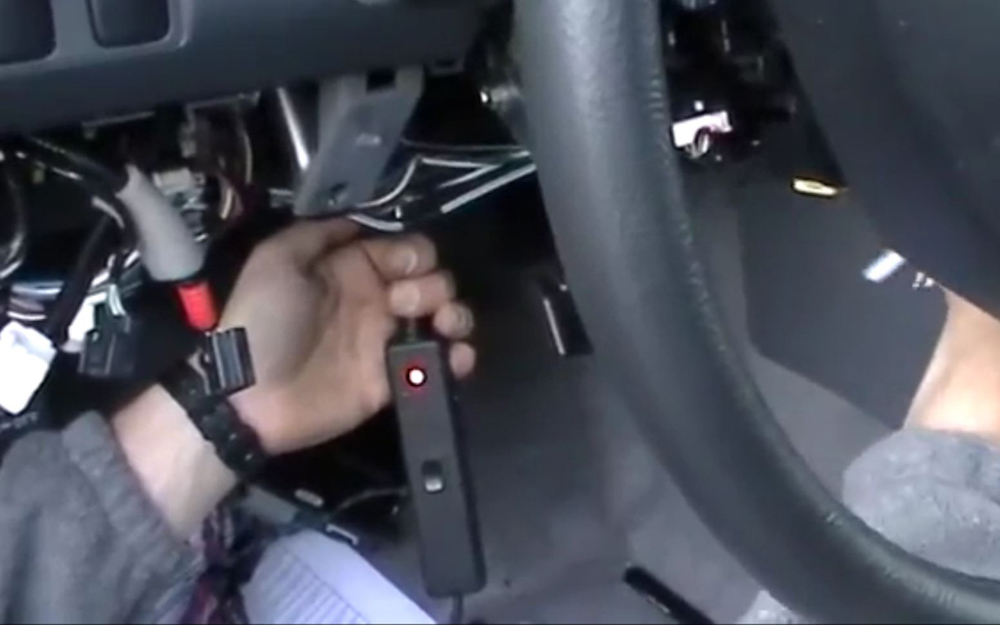
Source | Mike Aguilar
-
Using the test light or multimeter, locate a 12V switched source that is “hot" when cranking and with the engine running. Tap into this wire with the yellow wire from 12-pin main harness.
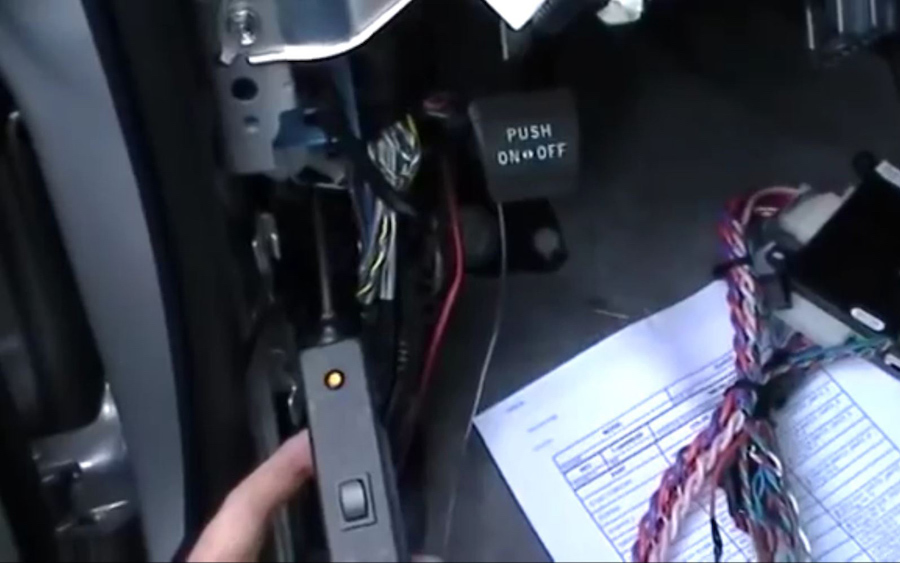
Source | Mike Aguilar
-
Wire the door locks. Connect the green and violet wires from the three-pin red connector to the lock and unlock triggers.
Probe a door lock switch or connector to locate the wire that goes to ground when unlocking and tap the blue wire into it. Tap the green wire into the wire that goes to ground when locking the doors.
The image on the left shows the mods required if your vehicle's door locks are vacuum-assisted. The picture on the right shows how to wire two relays that are available separately if your vehicle doesn't have door lock switches.
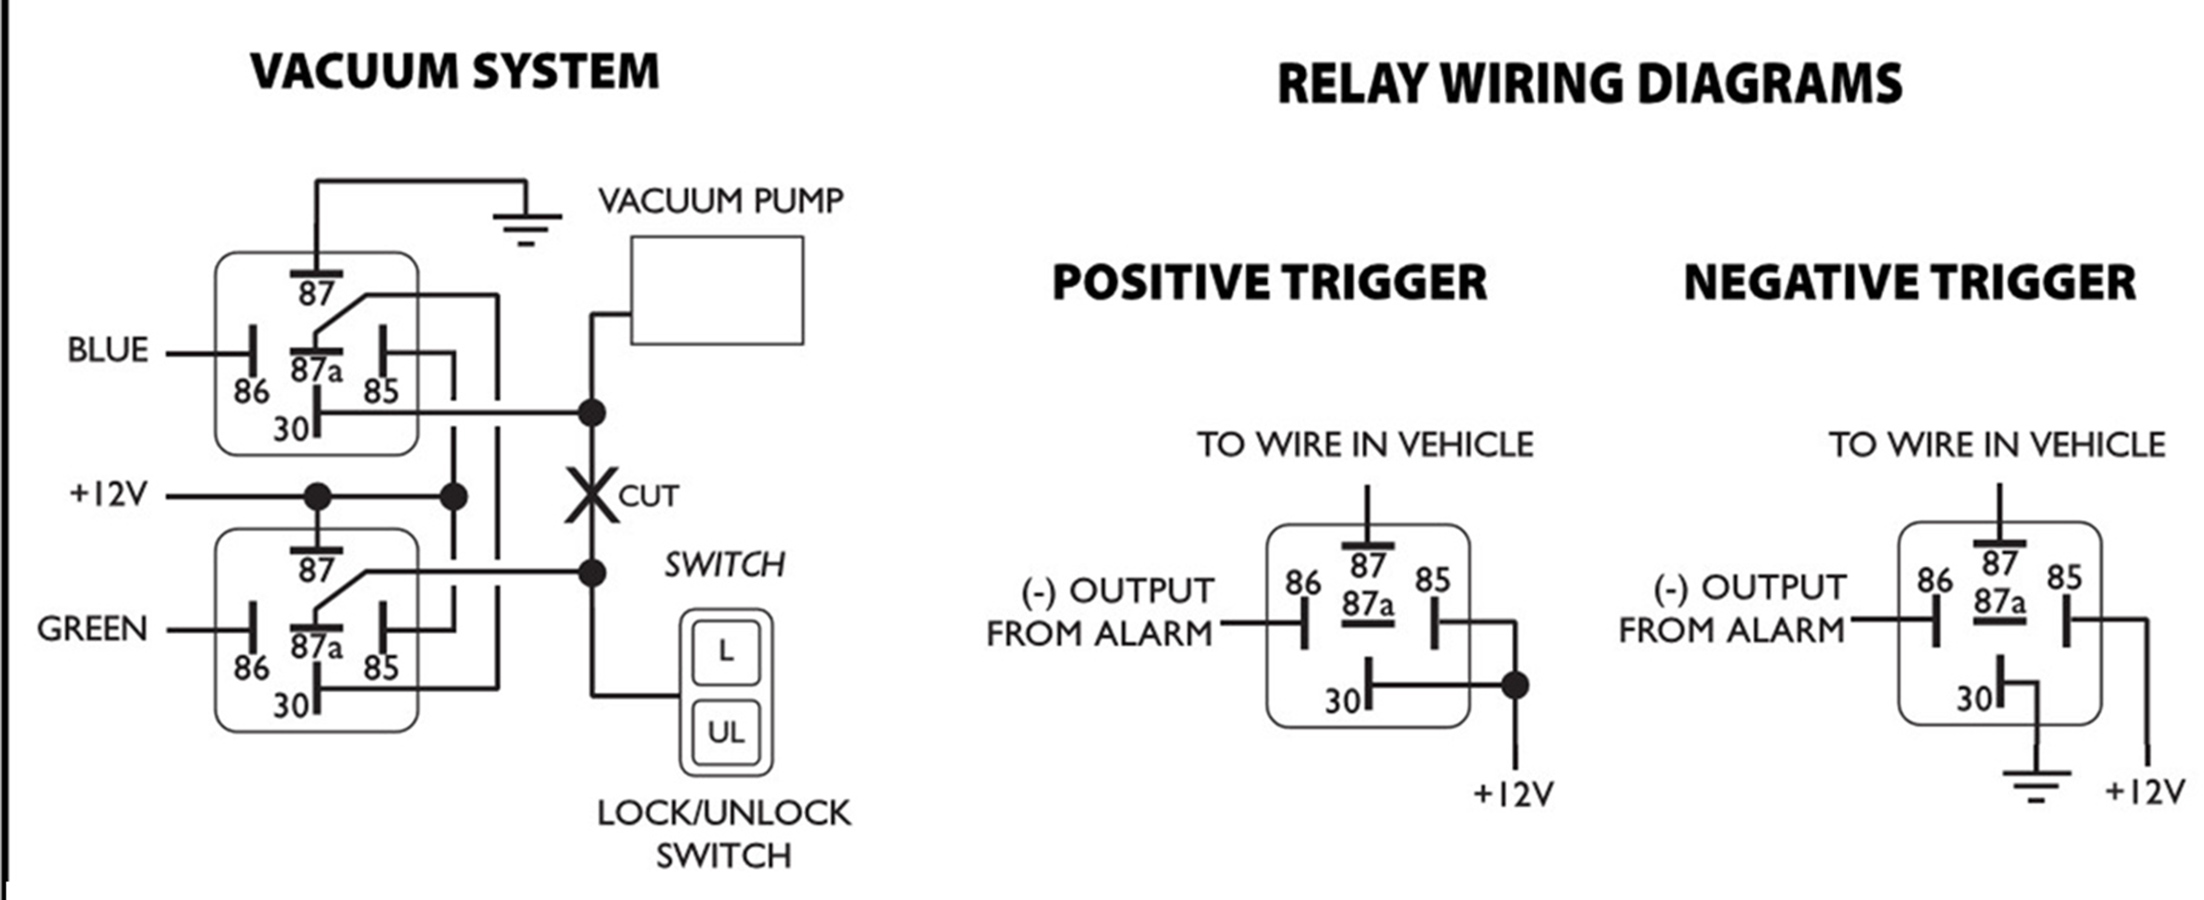
Source | Pyle Audio
-
Determine where you want to mount the LED. It needs to be visible from both inside and outside the vehicle and will require that you drill a hole for it. Check behind your desired location to make sure you won't drill into anything. Feed the LED wires through this hole and firmly push the LED into the hole to seat it. The LED wires are plugged into the white two-pin connector.
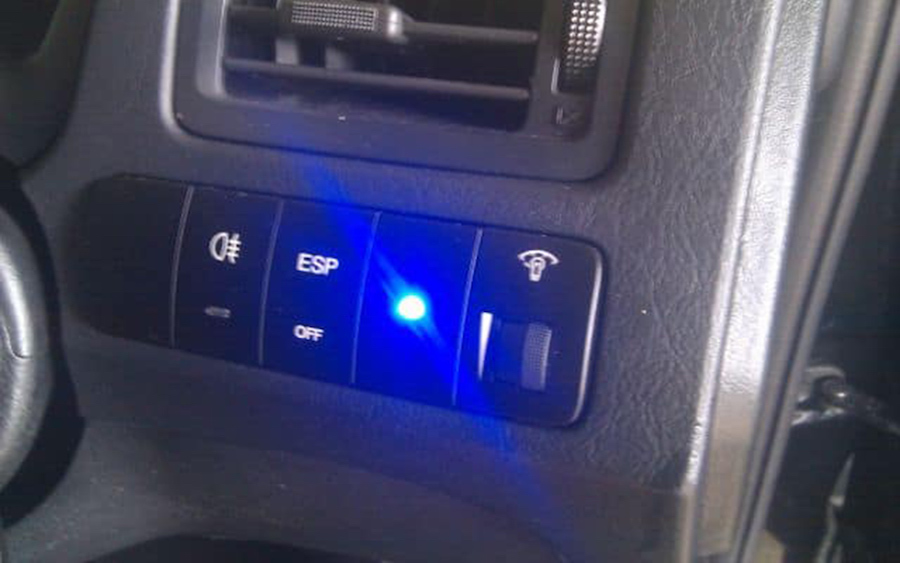
Source | Mike Aguilar
-
Find a solid spot to mount the shock sensor. A dash support brace, the steering column, or something similar that you can wire tie the sensor to securely are what's needed here. Make sure you can reach it without removing it so you can adjust it later. Plug the white four-pin connector into the shock sensor and the controller.
-
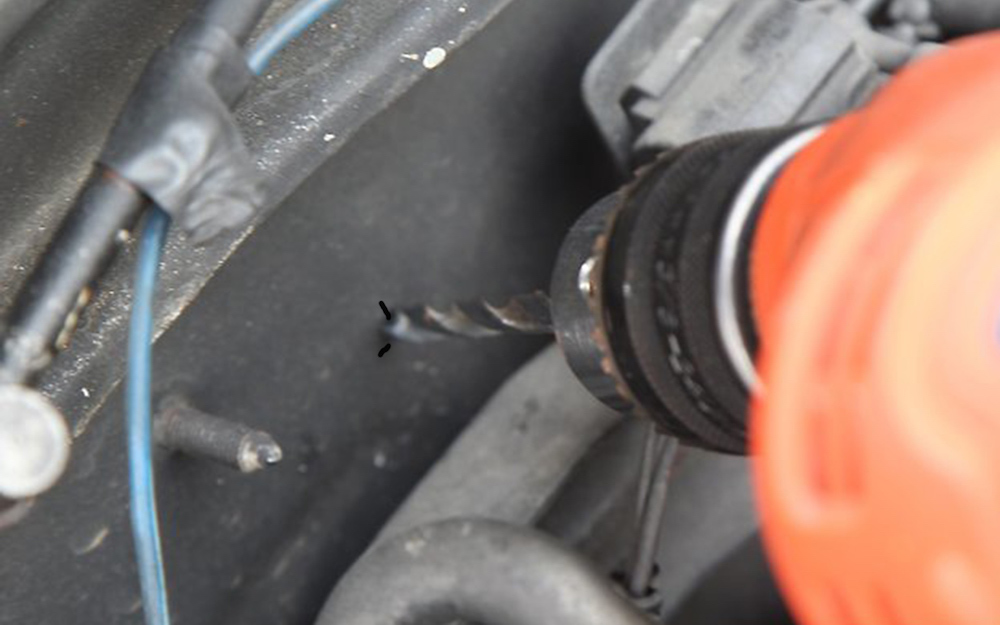
Find (or drill) a hole in the engine compartment bulkhead and route the brown wire from the main harness to where you can mount the siren with the opening pointed down or horizontal. Wire-brush this spot for the siren's ground and use self-drilling/tapping screws to mount the siren, putting the ground wire between the mount and the car's body. Connect the brown wire from the controller to the red wire on the siren.
Source | Mike Aguilar
-
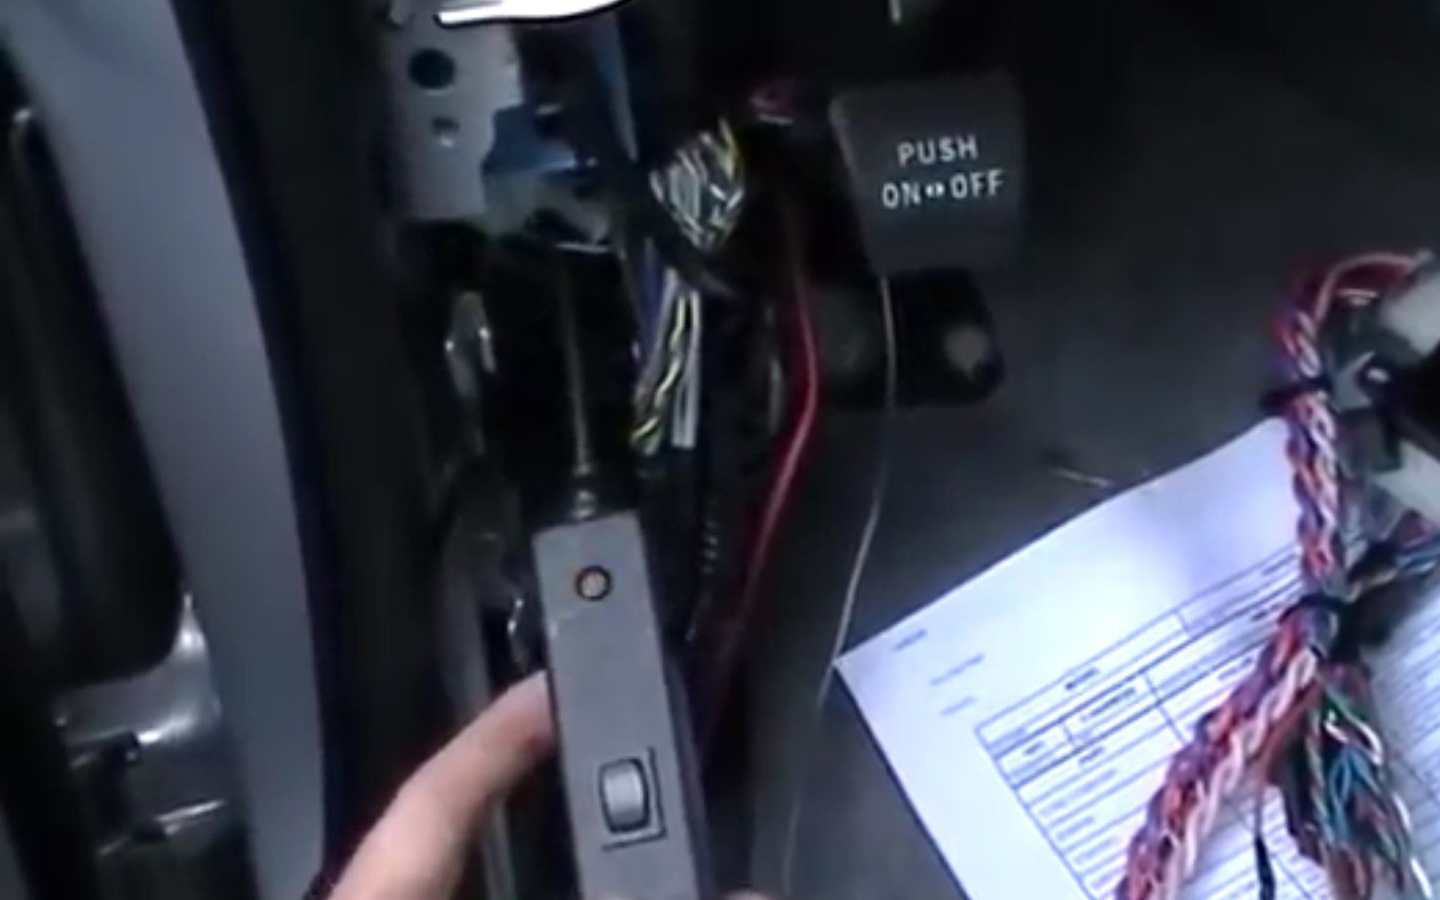
Find an out-of-the-way spot that can be easily reached from the driver seat for the valet switch. The bottom knee rail on the dash and the kick panel are ideal locations for this. The valet switch needs a hole for mounting. You may get lucky and find one on the dash knee rail, otherwise you'll need to drill one. Again, make sure you won't be drilling into anything vital behind where this switch is going. Route the switch wires to the controller and plug the connector into the blue two-wire connector on the controller.
-
Turn the headlamp switch on one click to activate the parking lamps, and probe the wiring harness until you find the switched lead for them. This will usually be a wire that goes positive when the parking lamps are turned on. However, this wire may go negative (connect to ground) when the parking lamps are turned on. Connect the white wire from the controller main harness to this wire.
Source | Mike Aguilar
-
If the wire you connected the white wire to in the step above goes positive when the parking lamps are turned on, connect the red and white wire from the same harness to a constant power source. If the switched wire goes to ground when the parking lights are turned on (above), connect the red and white wire to ground.
-
Find the wire going to the dome/courtesy light with 12 volts when the door is open and attach the violet wire from the main harness. Alternatively, you could attach the green wire in the main harness to each door switch if they go to ground when the door is opened.
-
Arm the system. Make sure everything that you've programmed the system to do happens. Make sure each door triggers the alarm and any delays you've programmed function properly.
-
Bump the vehicle with your hip to test the shock sensor. You may get lucky, and the factory setting is perfect to give good protection while eliminating false alarms, but chances are you'll need to adjust the sensitivity. Arm it. Bump it. Adjust it. Repeat until you have the sensitivity you desire, but it's likely you'll adjust it a couple times more in the first week or two.
-
Use wire ties to secure and neaten up any loose wires and replace any dash or kick panels that were removed during installation.
- Turn the key to the “On" position
- You've got five seconds to push the valet switch five seconds, at which point the siren will give a long chirp
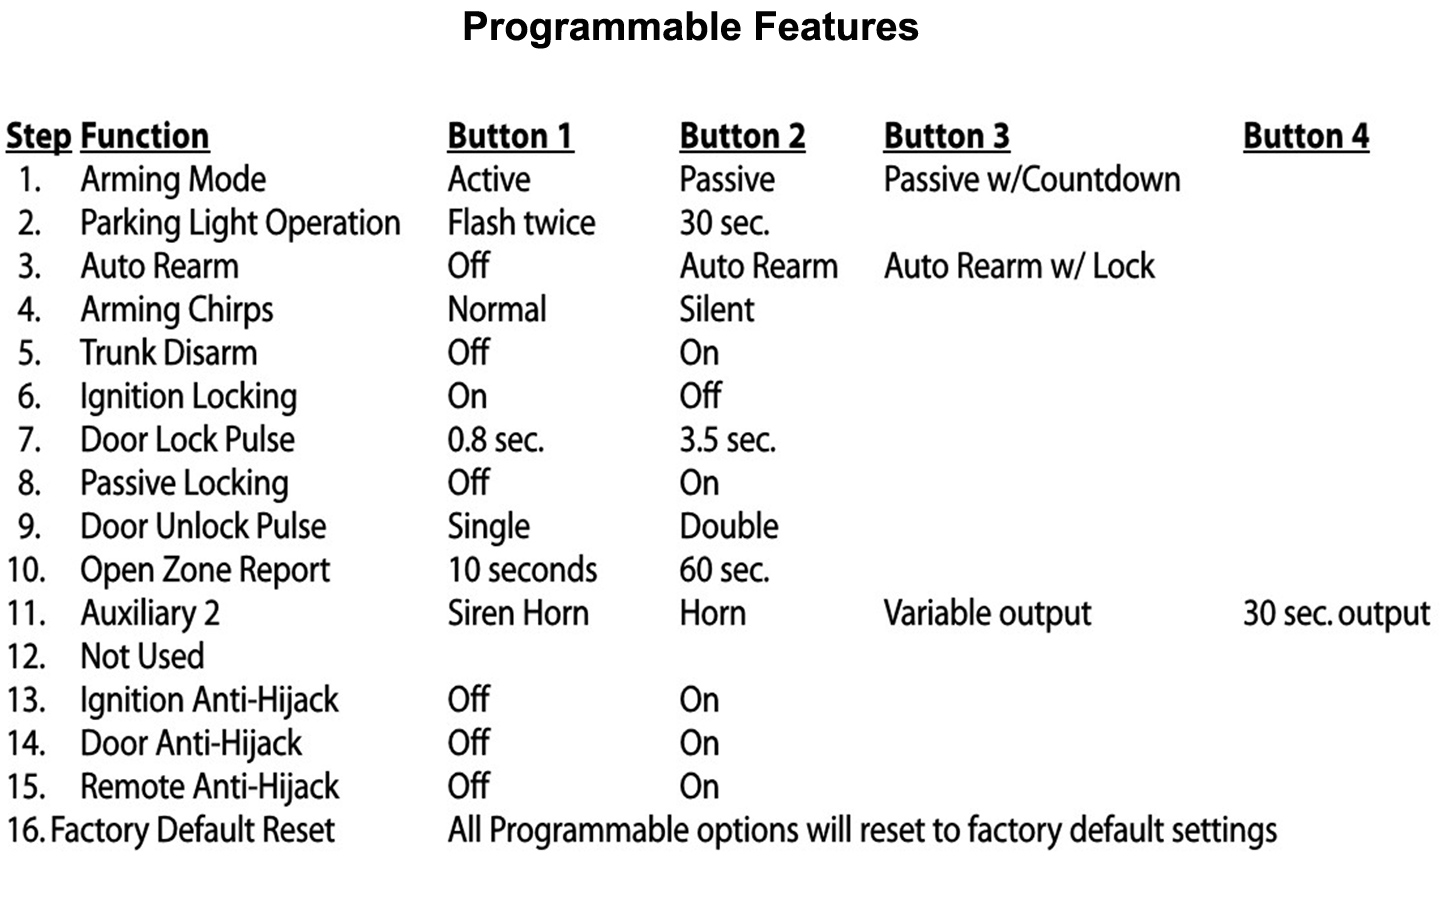
- Select a function to program and push the valet button that number of times (Ex: six times to program the doors to lock with the ignition)
- Press the button on the remote, corresponding to the value/option of your choice (Ex: Button 1 tells the system to lock and unlock the doors with the ignition.) The siren will chirp and the LED will blink to verify the button number selected
- Turn the ignition off. The siren will beep three times, and if you've hooked up the parking lights, they will flash three times to verify that the new programming has been accepted.
Decide how you will form electrical connections. We recommend that you solder the connections during installation and cover them with heat shrink tubing. It is acceptable to use solderless connectors instead, although the inline “squeeze-tap" type is not recommended.
Source | Pyle Audio
Basic installation is now complete. The system's factory defaults are usually what most people go with. However, the Pyle system is programmable so that you can change features like not having the parking lights flash and/or the siren to chirp and having the doors lock automatically when the car is started. Using the chart above with the following steps will get you into programming mode:
All other features, such as tying the alarm in with the horn, require the purchase of separate parts/modules and will not be covered here. The Pyle 4-Button Car Security System also allows you to put sensors in for the hood and trunk, as well as the addition of a trunk release.


