Sometimes the tiniest of parts can create the biggest hassle. The oil drain plug is a threaded bolt made from a soft metal (like aluminum) with a sealing gasket tightened to the bottom or side of the engine oil pan. It doesn't take much torque with a slightly off-kilter bolt to destroy threads, and over the years, as auto manufacturers migrated from durable steel to lightweight stamped aluminum oil pans, the number of stripped oil drain plugs increased.
This is a good project for new DIYers
-
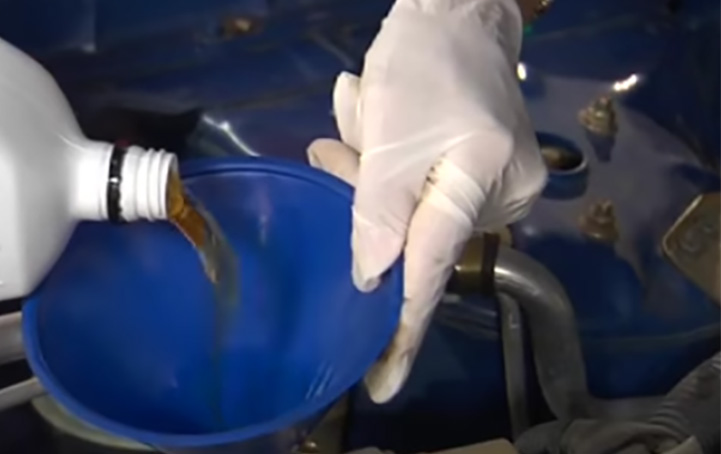
Position an oil waste pan beneath the oil drain plug. Use a large enough pan to catch the initial pressurized arc of oil that comes out, before the flow stabilizes and streams straight down.
-
Secure a socket wrench over the head of the plug and twist to the left to loosen the bolt. If it's not budging, the threads are likely damaged and you'll need more leverage to loosen the bolt.
-
Replace the drain plug and gasket with the correct parts for your vehicle. A traditional-style plug and copper, aluminum or rubber gasket work well, or cold weld a brass engine oil drainback valve into the pan. The latter does not require a wrench to loosen and tighten after installation, reducing the risk of stripping any threads. As a bonus, the valve usually offers a nipple to attach a rubber drain hose for future oil changes.
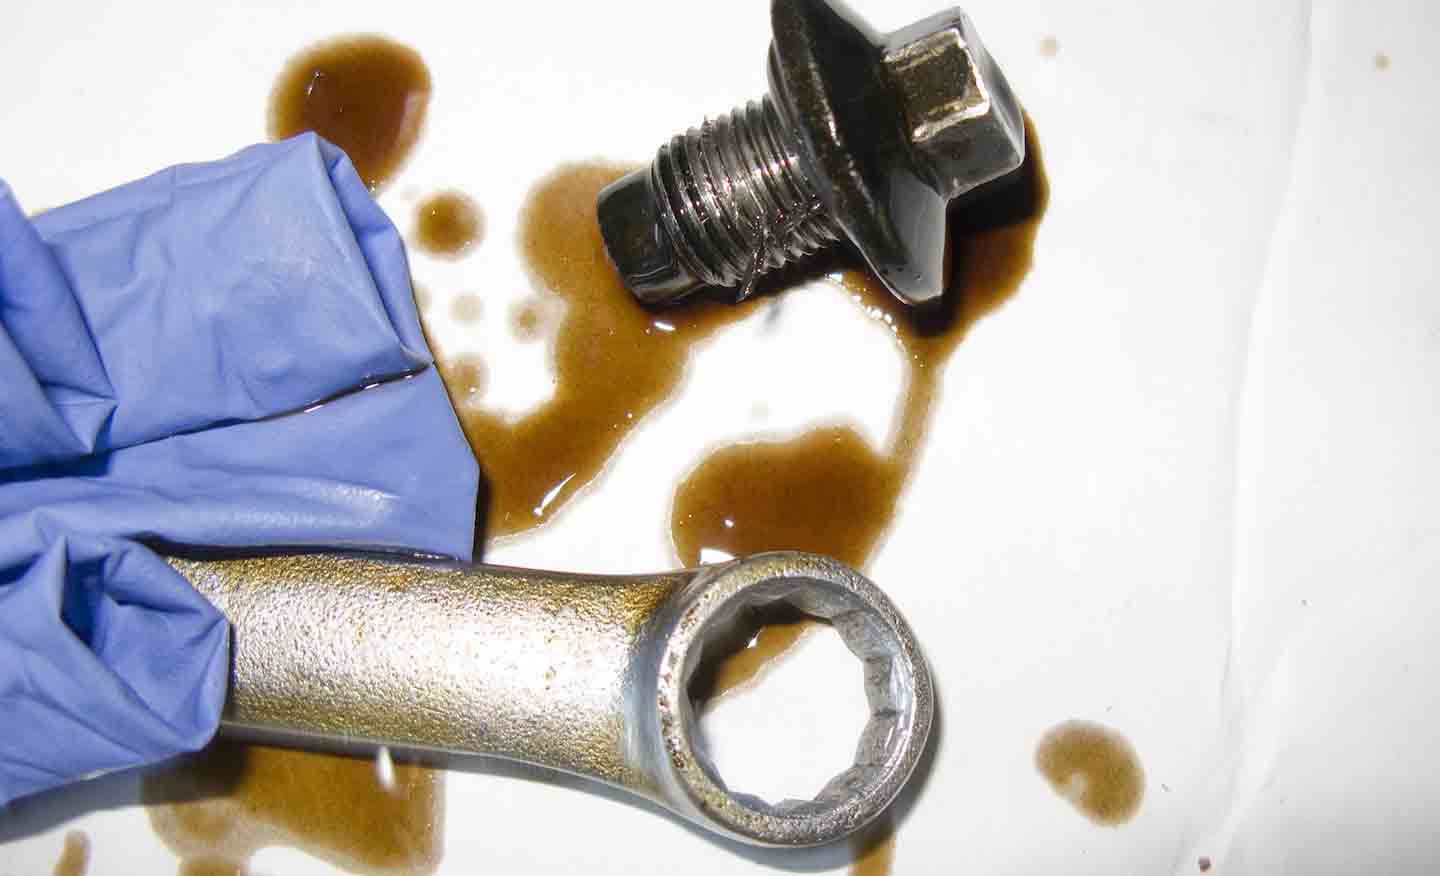
Source | Robert Crouse-Baker/Flickr
When the threads on the plug or pan get stripped, or the gasket breaks, oil will leak. This can eventually cause engine problems, allow contaminants to enter the underside of the engine oil pan and create messy garage floors. Obviously using a conventional thread chaser or Heli-Coil can mean getting aluminum shavings into the crankcase and oil pan, which you really don't want. You can get by with a compression plug that will deform a rubber gasket and seal off the drain hole, but that's a temporary fix at best. Replacing the entire oil pan is a whole different level of complexity, especially if it involves removing a frame crossmember.
Let's replace that plug.
Safety note: It's best to pair this task with an oil change, if you're not already, since oil will drain out as you remove the damaged oil drain plug. If you notice an oil leak from the plug, however, don't wait until your odometer indicates an oil change is needed. Lack of oil cycling through the engine can lead to a buildup of friction and heat, causing the engine to seize.
Refer to the service manual for the recommended torque required to loosen and tighten the plug to avoid cross-threading or over-tightening.
If the oil drain plug and gasket appear fine, but the opening in the engine oil pan has damaged threads, consider creating a new opening in the pan. Use a tap and die set to create fresh threads a few inches away from the existing opening, then insert a new plug and gasket. The old opening will need to be sealed. Use a self-expanding universal rubberized oil drain plug. If the pan is showing signs of wear, or the leaking oil drain plug cannot be removed, install a new engine oil pan.


