Source | Advance Auto Parts
Knowing how to change brake pads and rotors improves safety and prevents costly damage. Here's what to do.
If you're looking to replace your brake pads and rotors, chances are you've begun to hear a high-pitched squealing noise when you apply the brakes. This is their way of telling you that the brake linings are due for replacement. How nice of them to let you know.
Brake pad lining is a friction material that wears every time the brake pedal is depressed. Heavier braking at higher speeds or with hefty loads or frequent downhill travel all increase brake pad wear until there’s nothing left except metal-to-metal, ear-piercing contact between brake pads and rotors. The end result is significantly reduced stopping power, which is never a good thing.
So how long should brake pads and rotors last? Between 20,000 and 50,000 miles—depending on driving conditions and driving style—is a good rule of thumb for gauging when to replace brake pads.
Fortunately, changing brake pads and rotors before they reach this critical phase requires only basic tools and supplies, some mechanical knowledge, and a couple hours. Here’s how to change your brake pads.
This is a good project for new DIYers
-
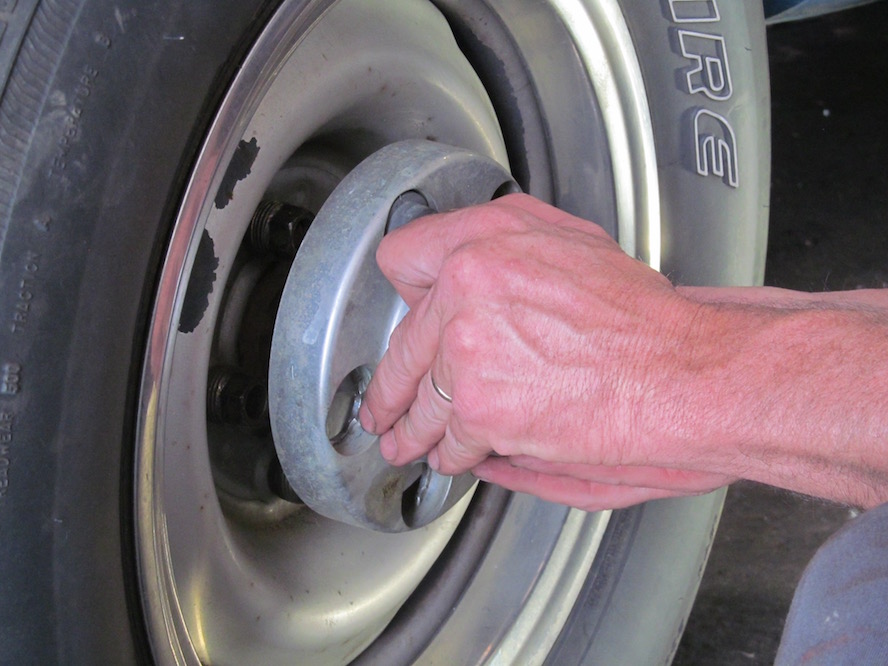
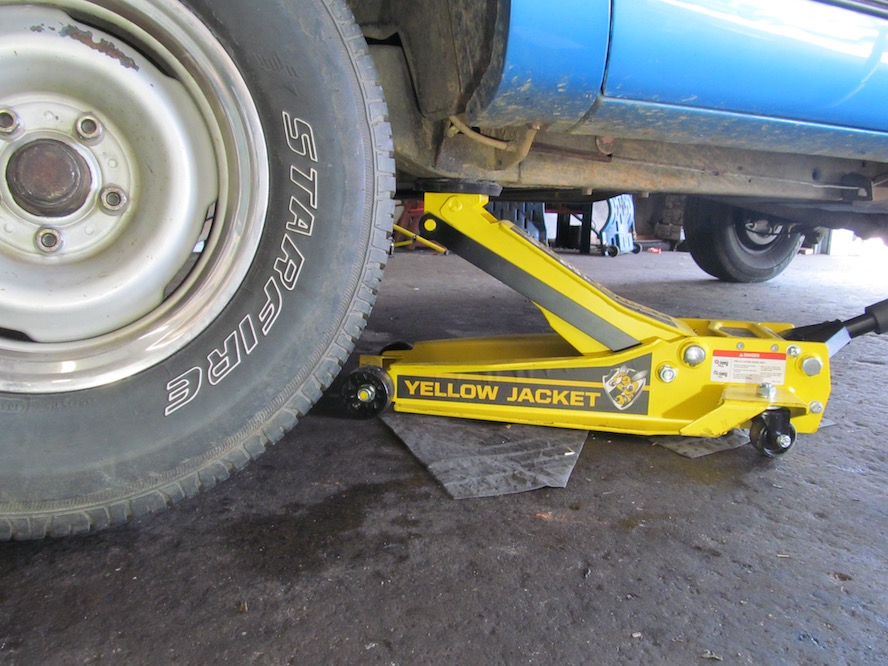
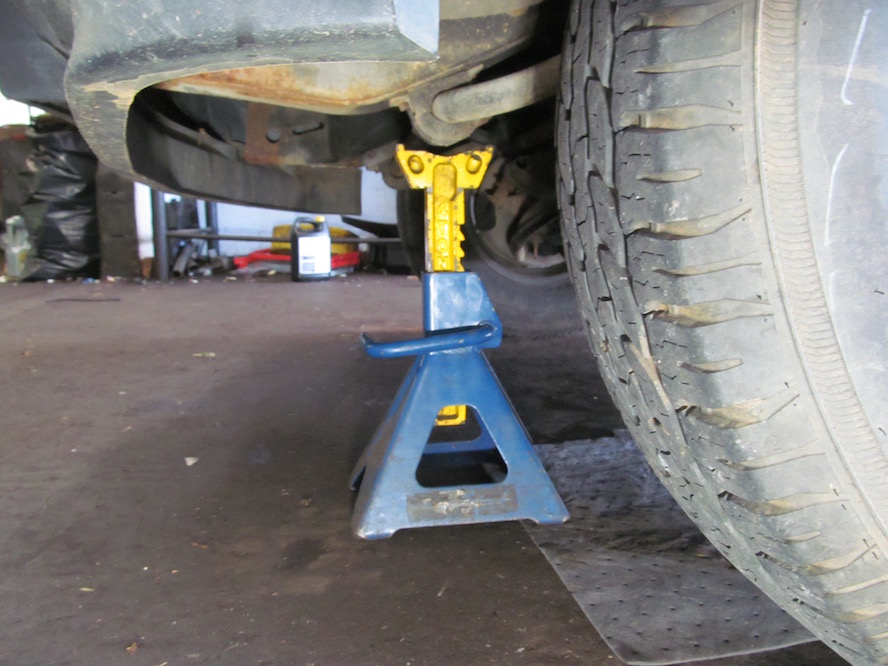
Loosen the lug nuts. Raise the vehicle using a jack and secure it on jack stands. Be sure to support it on jack stands at the right points on the frame.
-
Remove the lug nuts and wheels.
-
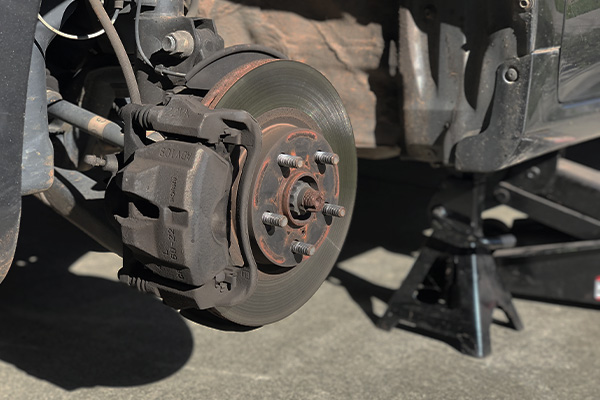
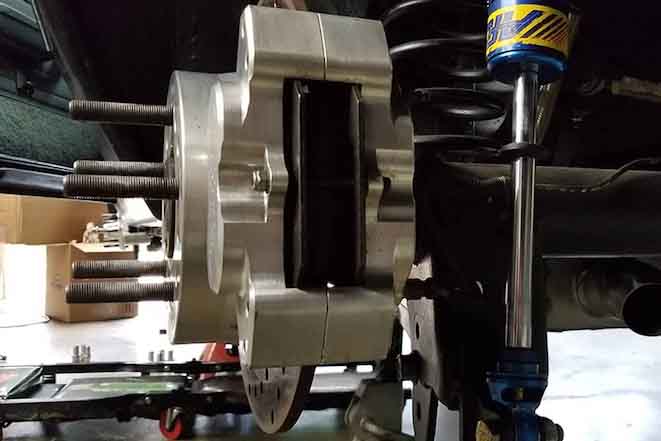
Remove the caliper fasteners and set them aside. Pull the caliper away from the pads and rotors.
-
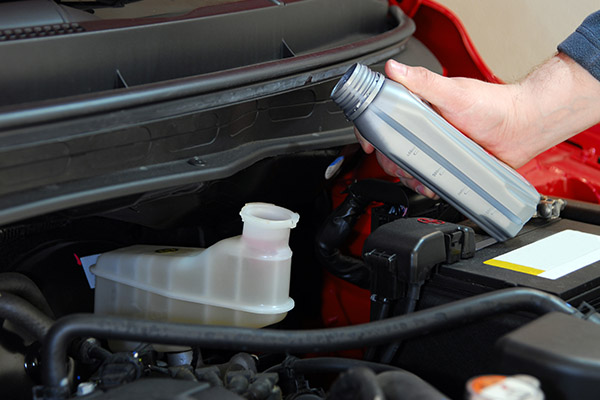
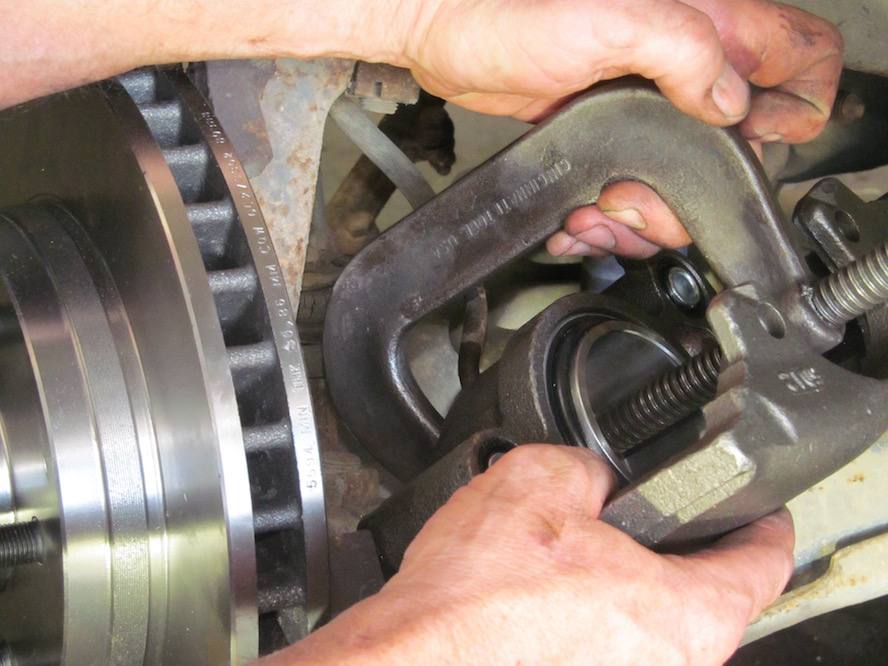
Remove the brake fluid reservoir cap and check the level. As you compress the caliper pistons, the fluid level in the reservoir will rise a bit. If there isn't room in the reservoir, suction out a bit of fluid. Then, compress the caliper piston using a spreading tool or a c-clamp. You can place the c-clamp on the back of the caliper and on an old brake pad to recess the piston back to its seated position.
-
Use a caliper hanger or bungee cord to secure the caliper so that it's out of your way but not left hanging by the brake line. The weight of the caliper can damage the brake line and cause an unsafe condition.
-
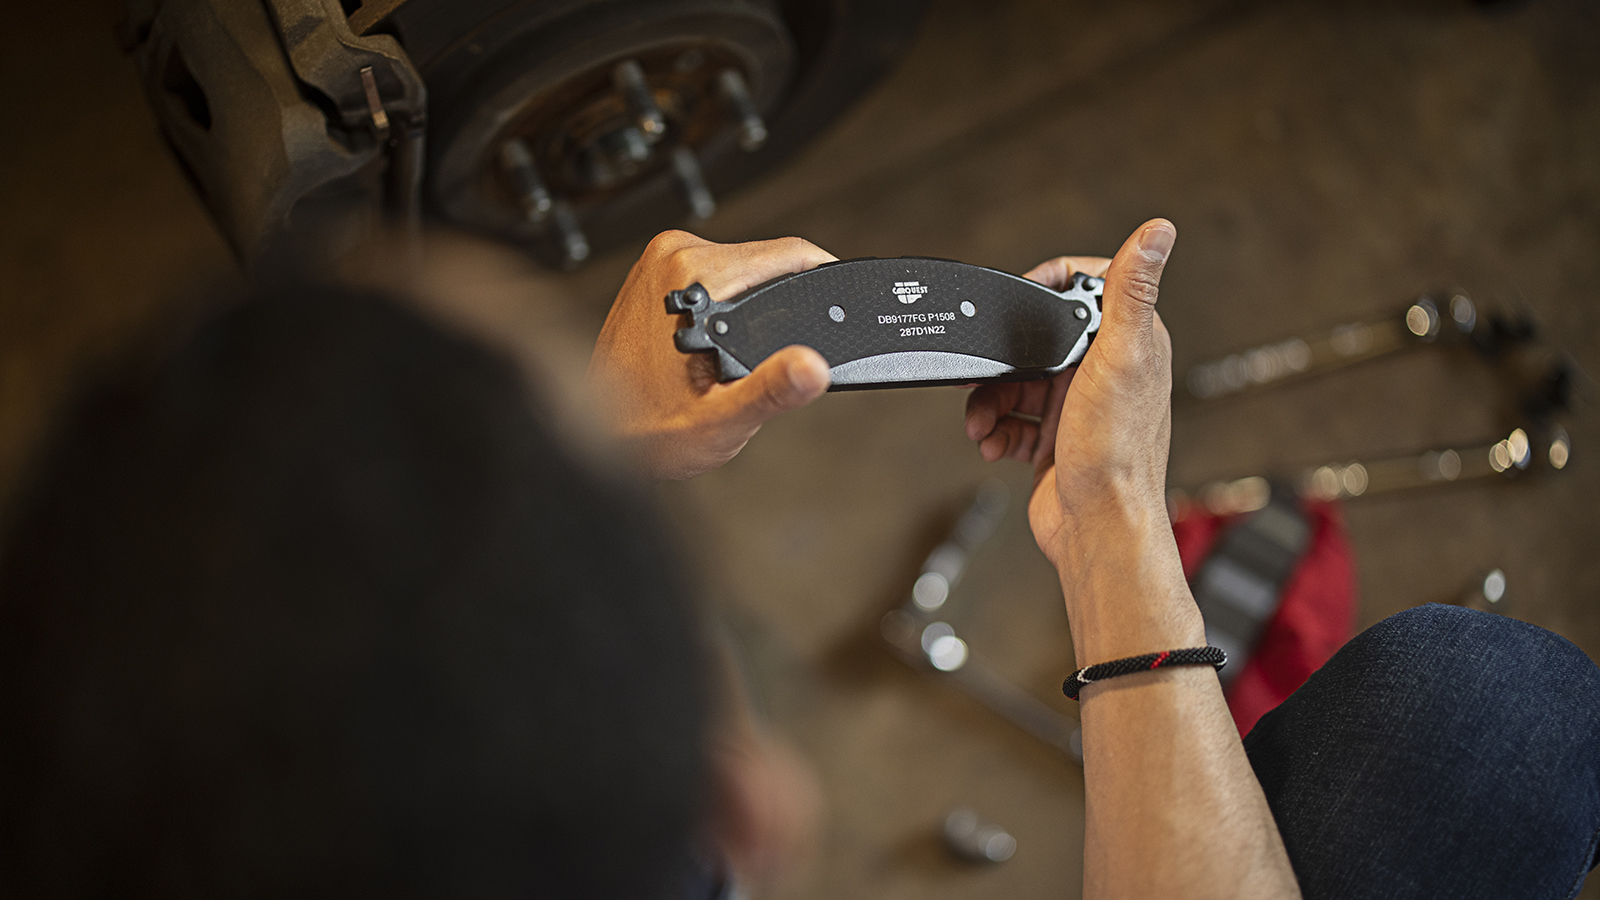
Remove the caliper bracket fasteners and set them aside. Pull the bracket off of the rotor with the pads attached. Note the orientation of the pads inside the bracket, then remove the pads.
-
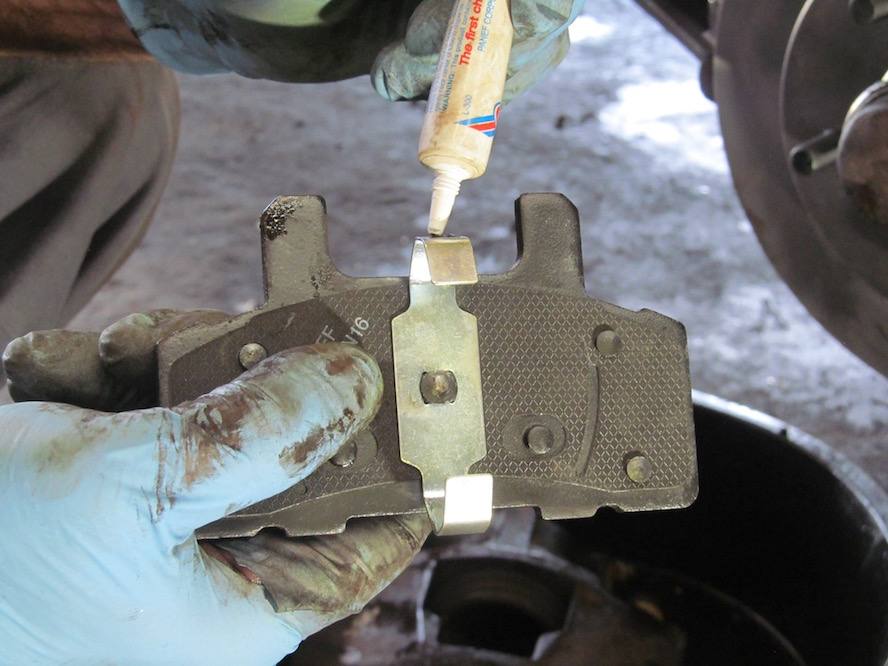
If your new pads came with hardware and caliper grease, replace the hardware and apply grease according to the instructions.
-
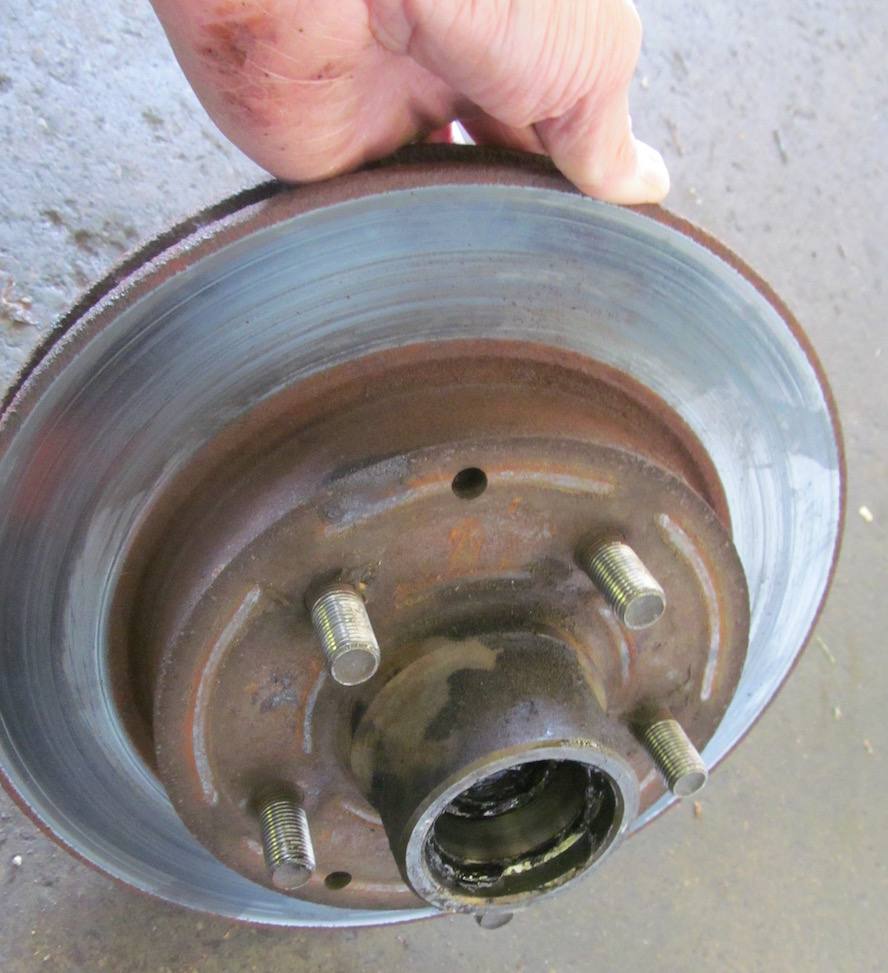
Inspect the rotor. Rotors do need to be replaced periodically, and we recommend saving yourself some time by replacing them at this step of the brake pad replacement. Signs of wear such as pitting, grooves, blue spots or rings, deep rust, cracks, and chipping mean that your rotors definitely need to be replaced. Another clear sign that it's time to replace rotors is if you feel a pulsation in the brake pedal, which indicates the rotors are warped.
-
Reassemble in reverse order, using your new pads. Torque all fasteners to spec, and repeat all steps on the other wheel.
-
Lower the vehicle and pump the brakes a few times. Follow the recommended driving procedure to break in the new pads.
Never work on a vehicle that's only supported by a floor jack, and never place the floor jack's pad under the oil pan or transmission pan.
Work on one side of the vehicle at a time, leaving the brakes assembled on the other side for reference.
If you need to top off the brake fluid, use fluid from an unopened bottle. Brake fluid is hygroscopic, which means it absorbs moisture easily. Using old fluid or a previously opened bottle can reduce the brake system's performance.
Not replacing your rotors can lead to decreased performance, pulsation while braking, and faster wear of your new pads. Replacing the rotors along with each pad replacement is an easy way to keep your brake system operating at peak performance.
