Source | Unsplash
Imagine if, at the worst possible moment, you discover that normal braking pressure isn’t going to stop your car in time. That’s exactly what can happen if air bubbles get into your brake fluid lines. To prevent this from occurring, learn to recognize signs that air has found its way into your braking system. And then to fix the problem—and save some money in the process—learn how to bleed the brakes.
When should you bleed brake lines?
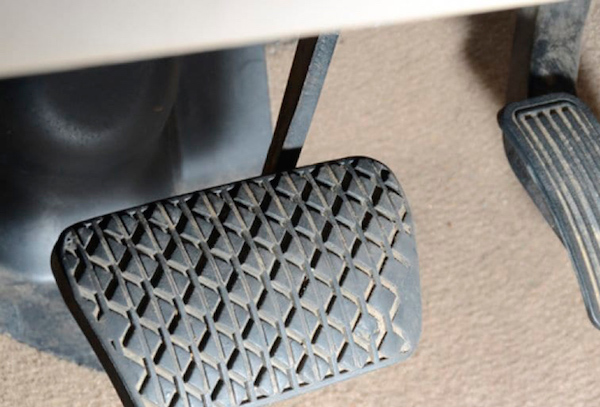
A brake pedal that feels spongy, soft, or vague when depressed or goes all the way to the floor is a good cue to check for air in your brake lines. You should also consider bleeding your lines:
- When replacing car brakes/brake pads
- When a vehicle sits for months at a time
- When your vehicle endures frequent hard braking
- Every 24,000 miles or two years
How does air get into the braking system?
Oxidation, heat, and moisture each play a role in degrading your brake system. Damaged brake lines and seals can allow air leaks. DOT brake fluids also attract water, which lowers the fluid's boil temperature, and introduces air into the system.
This is a project that needs some know-how
-
Ask a friend to sit at the wheel. Put on your protective eyewear and gloves to protect against accidental contact with brake fluids.
-
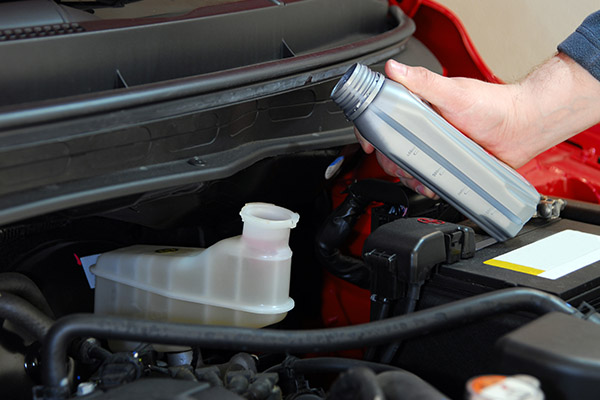
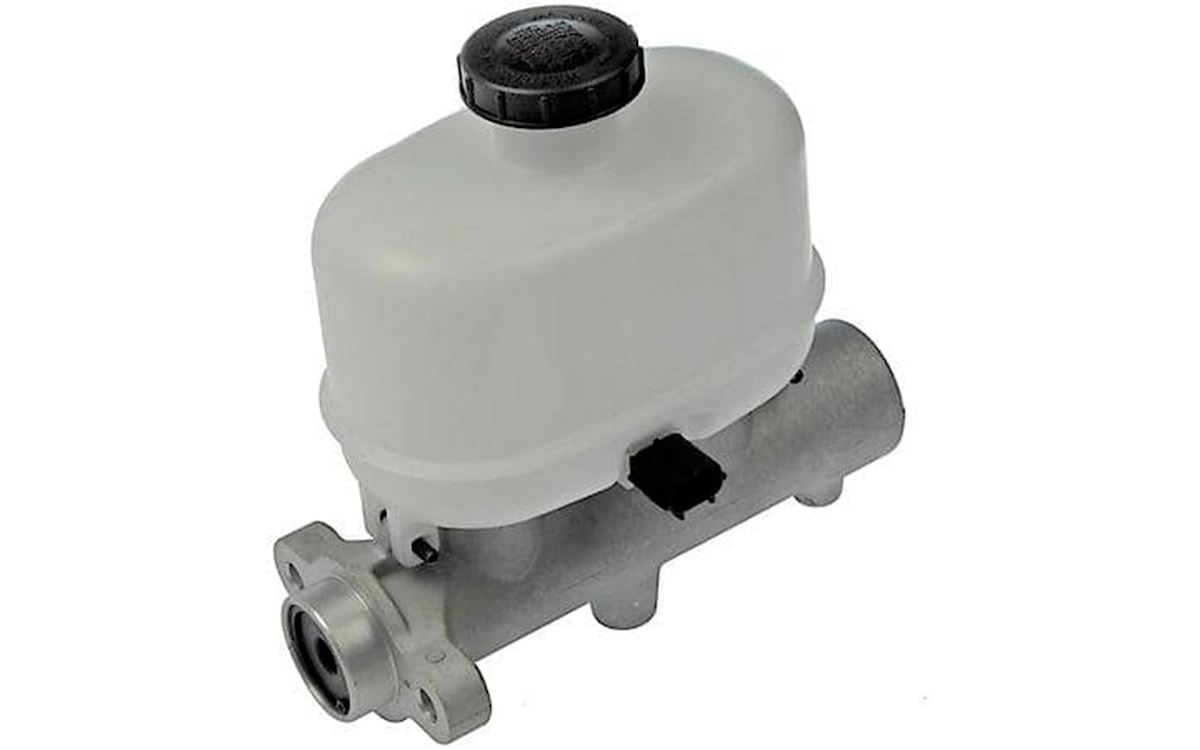
Check the fluid level in the reservoir. Verify that it’s full.
-
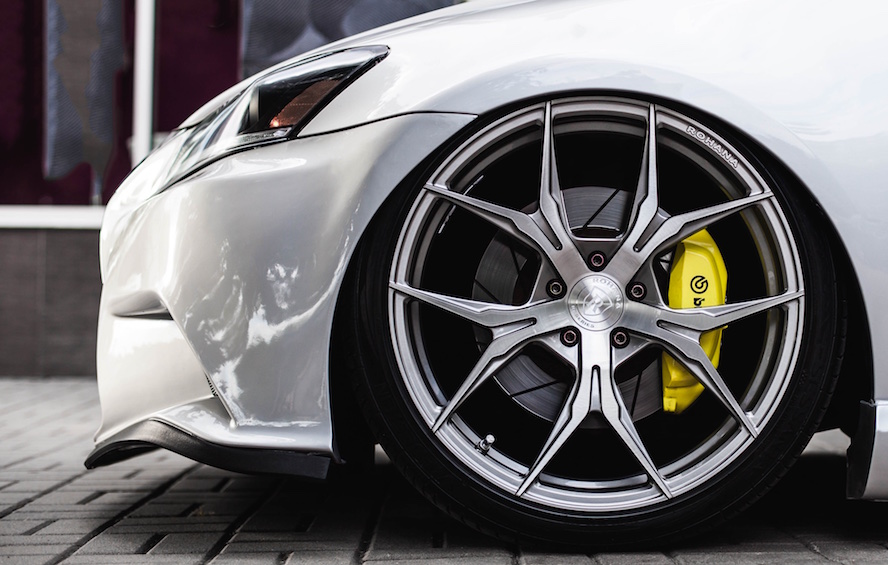
Place a bucket or bowl below the bleeder valve.
-
Use a wrench to open the bleeder valve (size of wrench needed varies by manufacturer).
-
As you open the bleeder valve, ask your buddy to press slowly down on the brake pedal. Picture a hypodermic needle clearing out the bubbles as its plunger is depressed. Some brake fluid will be lost during this process. The escaping air bubbles will pop or hiss as they come out.
-
Close the bleeder valve before your helper eases off the brake pedal.
-
Repeat several times until the brake fluid pours out without any hissing or bubbling sounds.
-
Top off the brake fluid reservoir to the maximum fill line. Ensure the reservoir doesn't get too low and allow air to be pulled back into the system during bleeding.
-
Repeat steps 1-8 for each wheel.
-
Test drive your vehicle to check the responsiveness of your brakes and recycle any overflow brake fluid.
In bleeding brakes, there is a “corner order” to follow, which may be found in your owner's manual. As a general rule, it states that you want to start with the brake farthest from the master cylinder.

