Source | Mike Aguilar
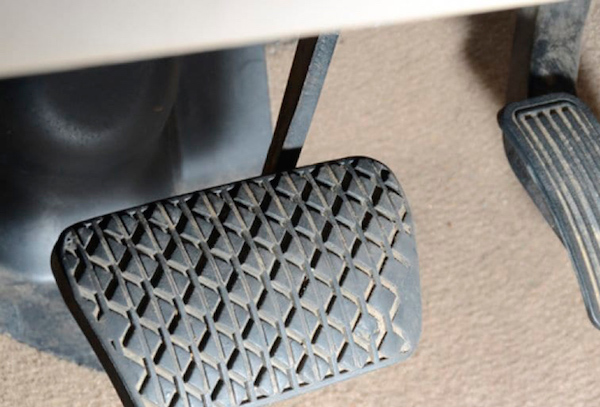
Does your brake pedal sink to the floor when you sit at stop lights? This is a sign of a master cylinder that's failed. We'll take a look at diagnosing problems with both manual or power brake master cylinders. We'll then walk through the steps to replace a bad master cylinder.
This is a project that needs some know-how
-
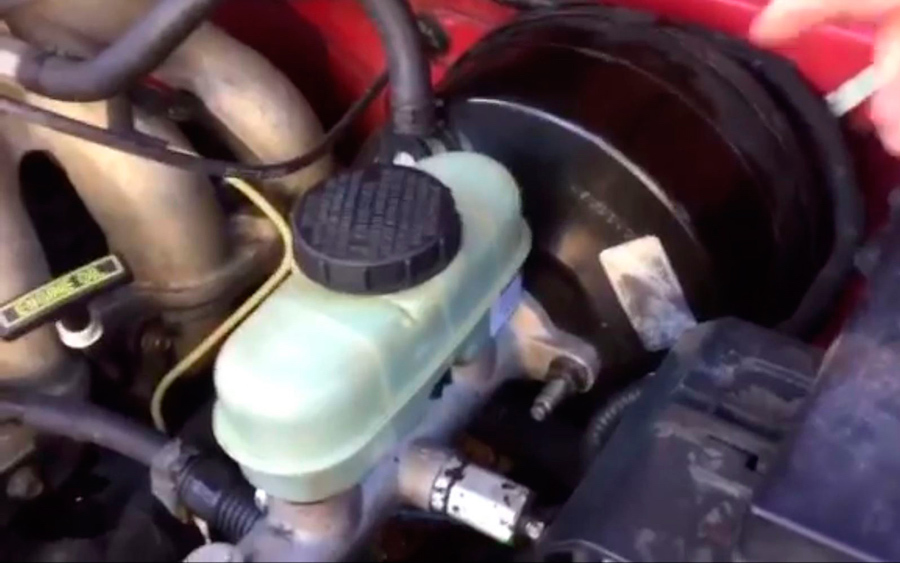
The first step of changing a master cylinder is giving yourself access to it. Sometimes this is straightforward, like on this Ford Ranger, and other times you may need to move some components out of your way.
Source | Mike Aguilar
-
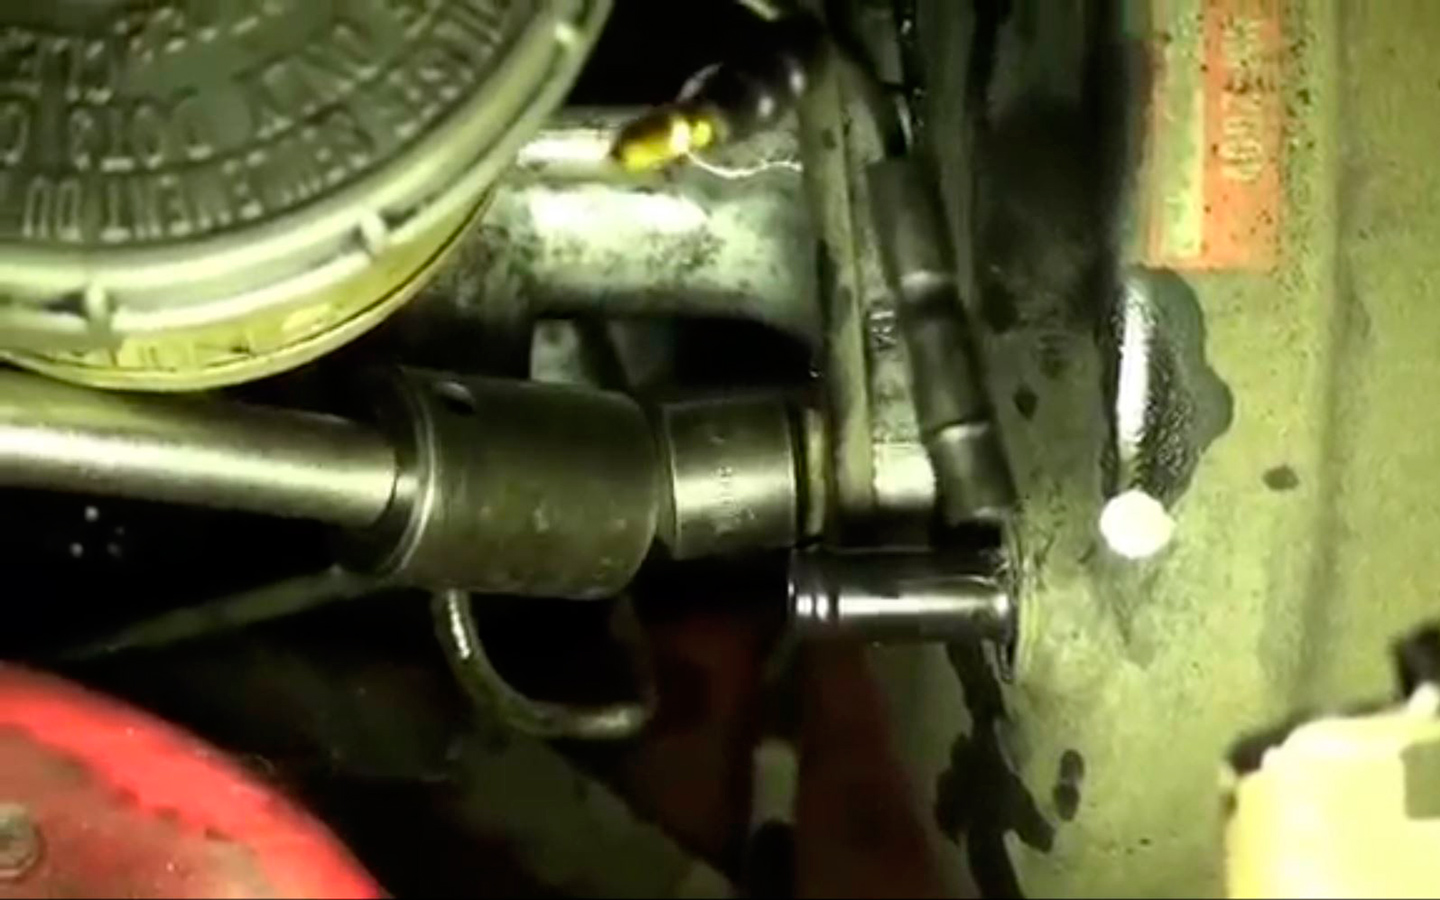
Use a wrench or socket with extension to remove the two nuts securing the master cylinder to the firewall or booster.
Source | Mike Aguilar
-
Using a flare nut or line wrench, loosen and remove the brake lines from the master cylinder ports.
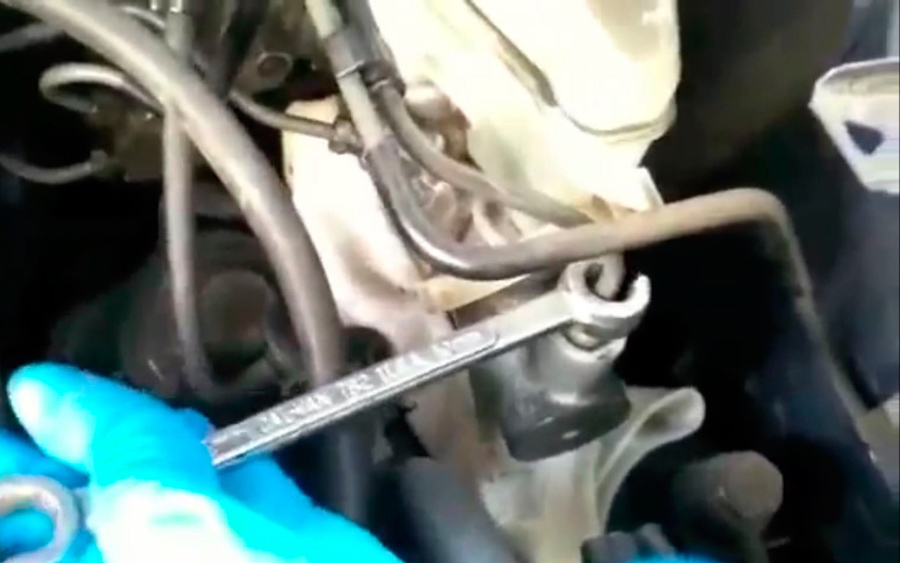
Source | Mike Aguilar
-
Disconnect electrical connections and any special fittings or sensors on the fluid lines. Transfer fittings and inline sensors to the new master cylinder.
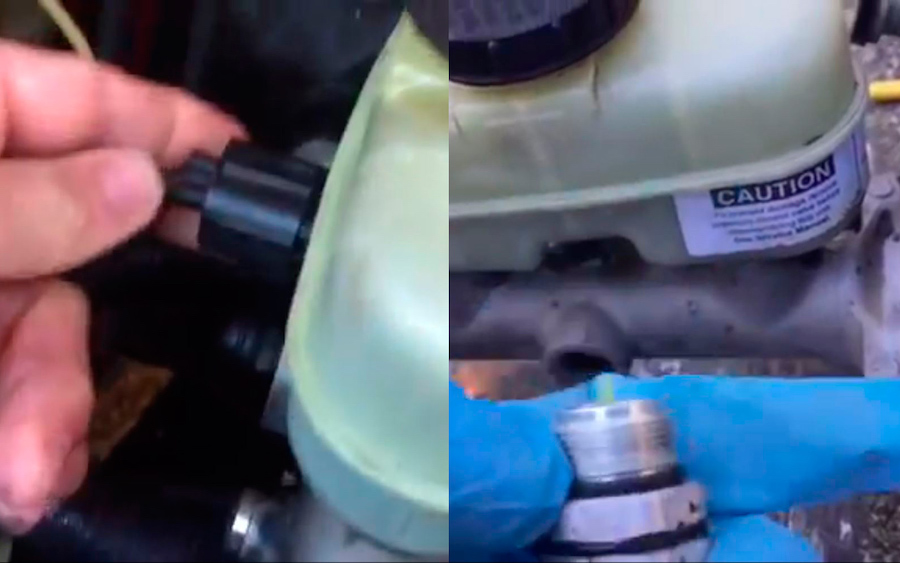
Source | Mike Aguilar
-
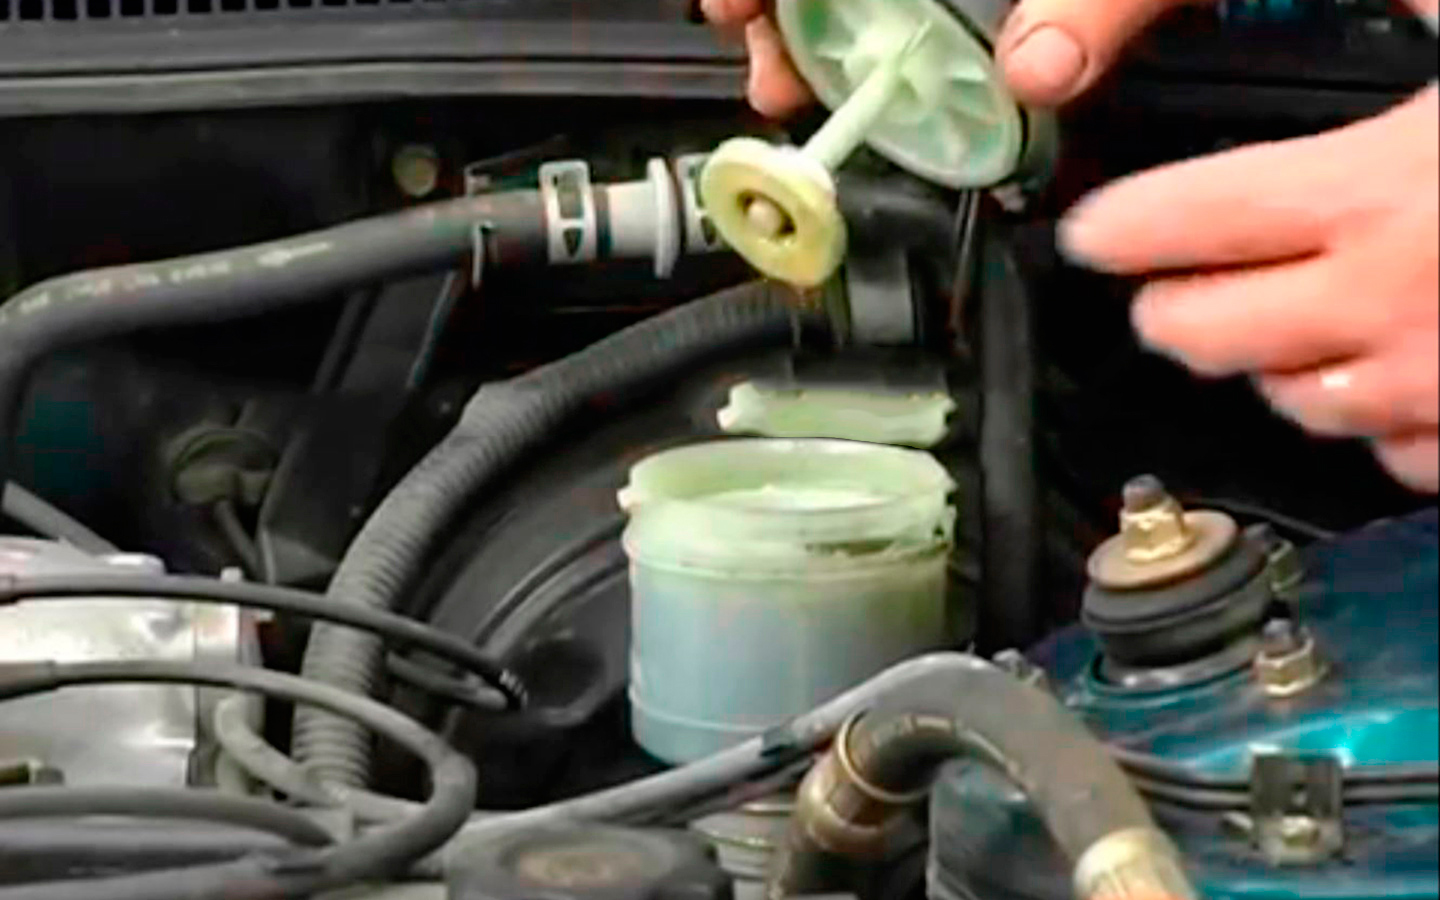
Some vehicles, like Hondas, require you to transfer the fluid reservoir to the new component. It's easy on this Honda—all you have to do is loosen the clamp to remove the reservoir. Some other vehicles, such as Volvos, may require you to pry the reservoir out of the old master cylinder.
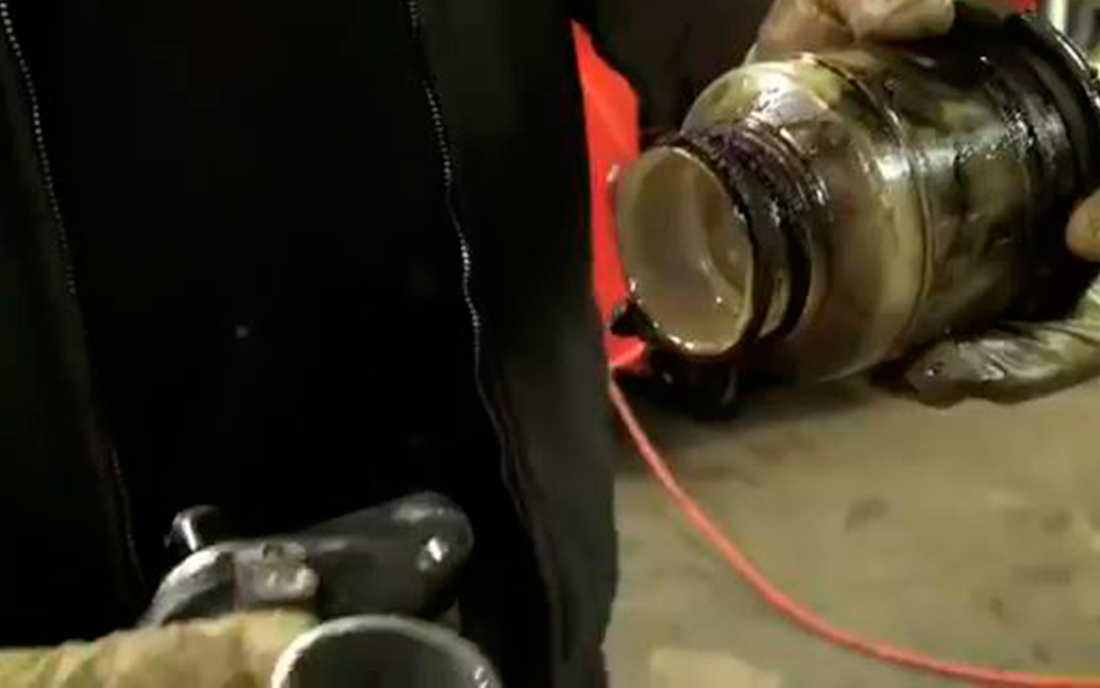
Source | Mike Aguilar
-
Install the master cylinder bleeder kit that came with the new part as shown. These new bleeders are cool because they give you little clips to keep the hoses from flopping out of the reservoir.
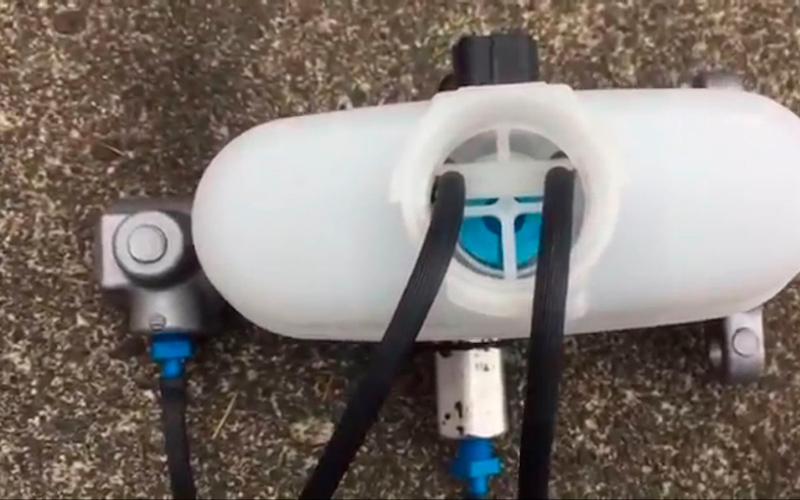
Source | Mike Aguilar
-
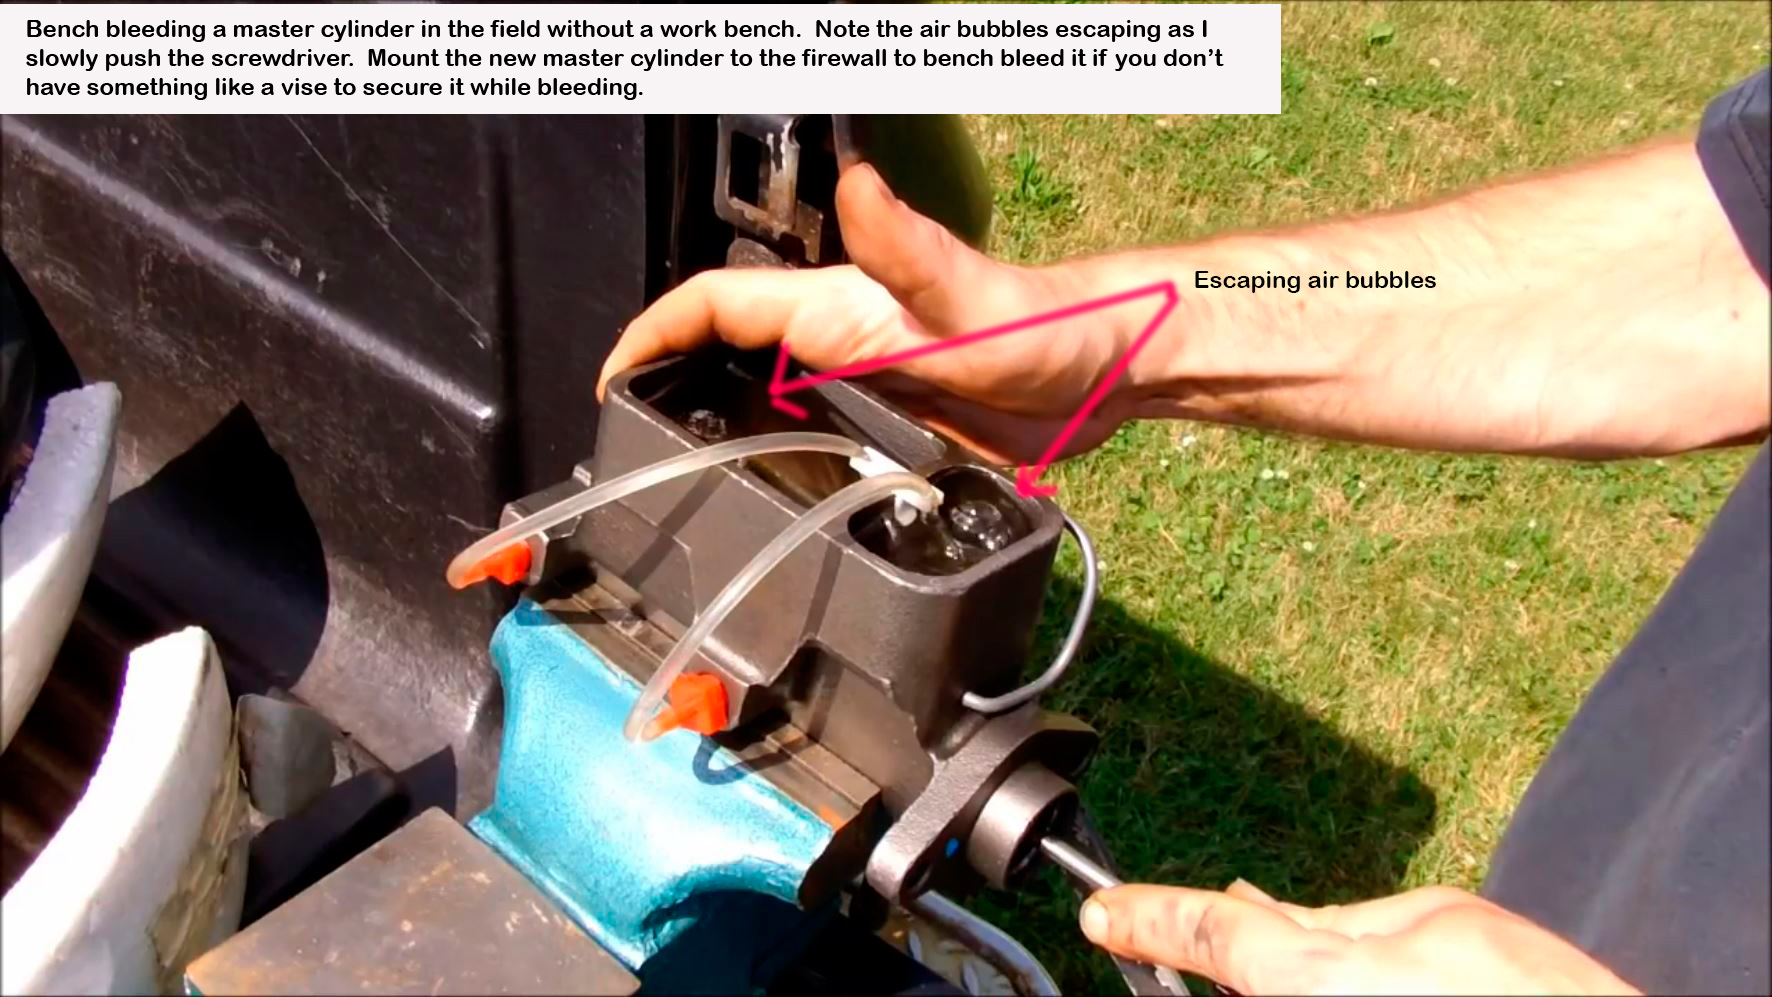
Bleed the new master until all the air is gone. If you've got a vise, use it to secure the new part. Otherwise, pass this step until you complete the next one.
If bleeding in the vehicle, two people will be required and the person pushing the brake pedal must do so smoothly and easily. Don't “panic stop" and don't push the pedal all the way or damage can result.
Source | Mike Aguilar
-
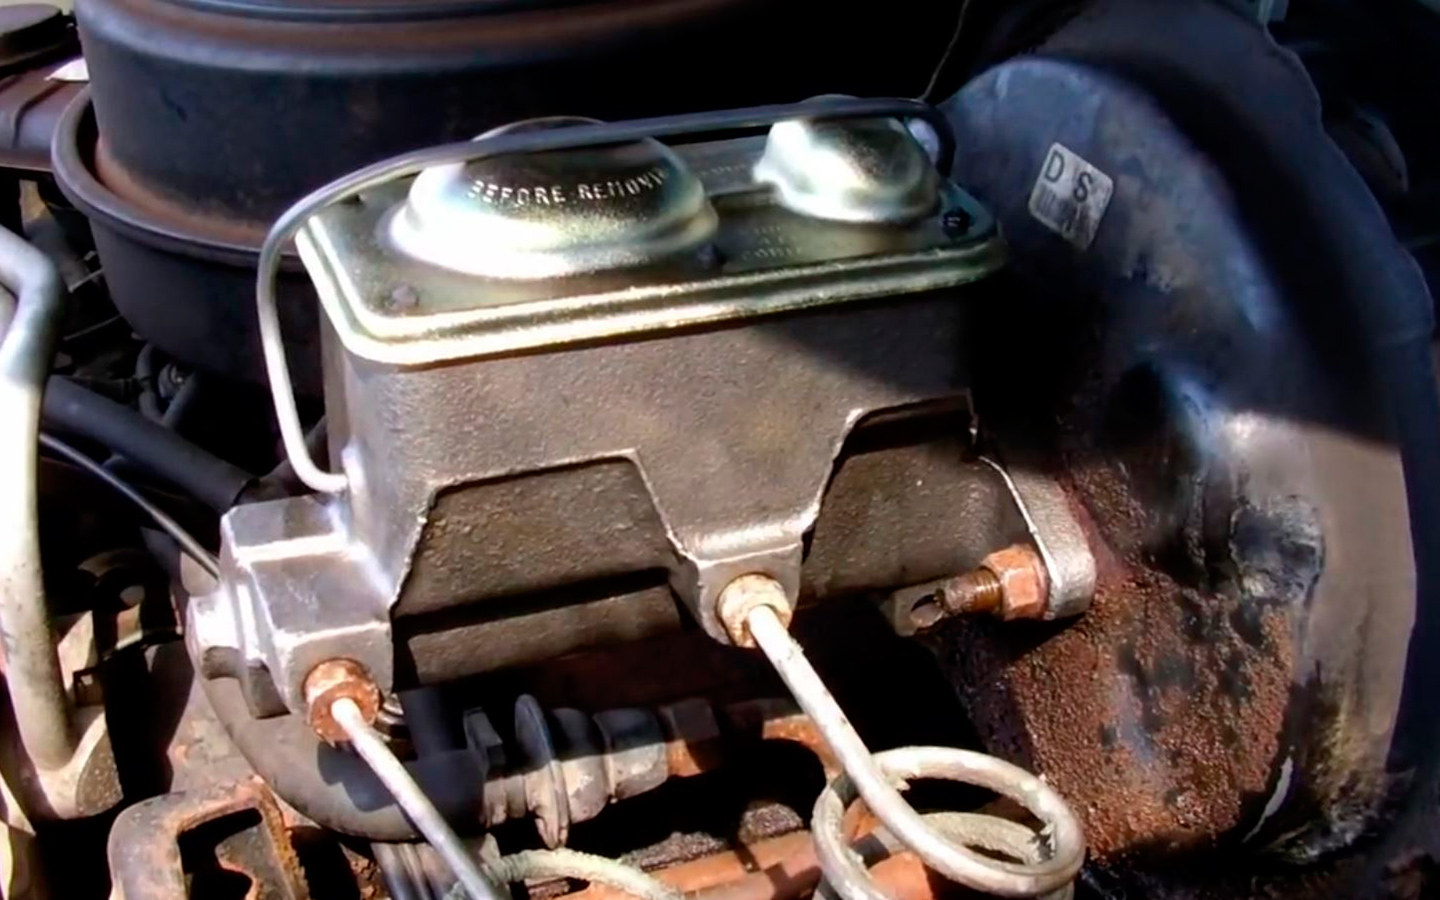
Mount the new master cylinder in the car. Install the brake lines prior to the mounting nuts so you can move the part around to start the fittings. Tighten the lines using a flare nut or line wrench. Tighten the bolts to the specified torque.
Source | Mike Aguilar
-
Double check tightness on the lines and master cylinder nuts. Top off the reservoir as needed. If the brake pedal feels spongy, you'll need to bleed the brakes at all four wheels.
Pop the hood and look around the master cylinder for leaks. Leaking lines or components can mimic master cylinder problems. Check the fluid level in the master cylinder first when any brake issues develop. If the reservoir is full, you're not experiencing an external leak. If your foot slowly sinks to the floor with normal pressure on the brake pedal, the master cylinder is leaking internally. To diagnose a clutch master, clamp the rubber fluid line near the slave and press the clutch pedal. If the master cylinder is good, the pedal won't move.
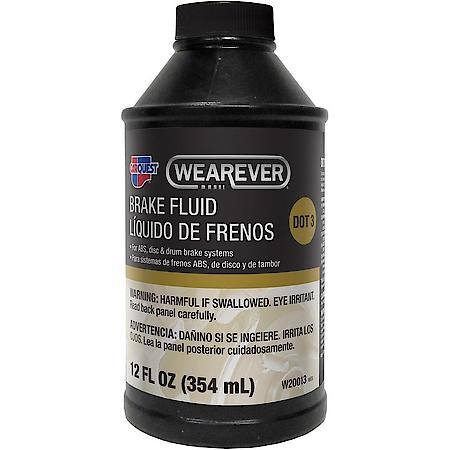
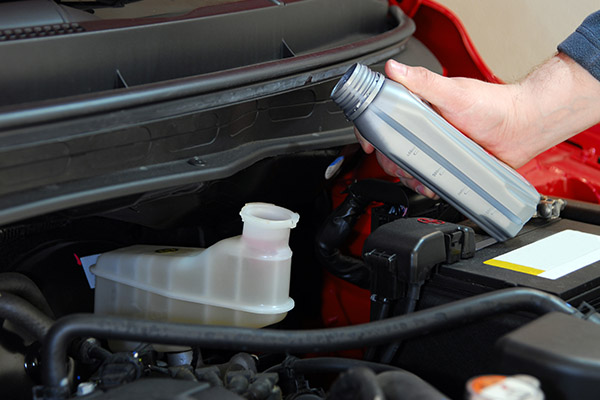
Check your repair manual to determine the type of brake fluid (DOT3, 4, or 5) specified by the vehicle manufacturer. Not all brake fluids are compatible, so it's important to have the right type.
Be extremely careful with brake fluid around painted surfaces as it will strip the paint. If brake fluid does contact your vehicle's paint, rinse it immediately with water.

