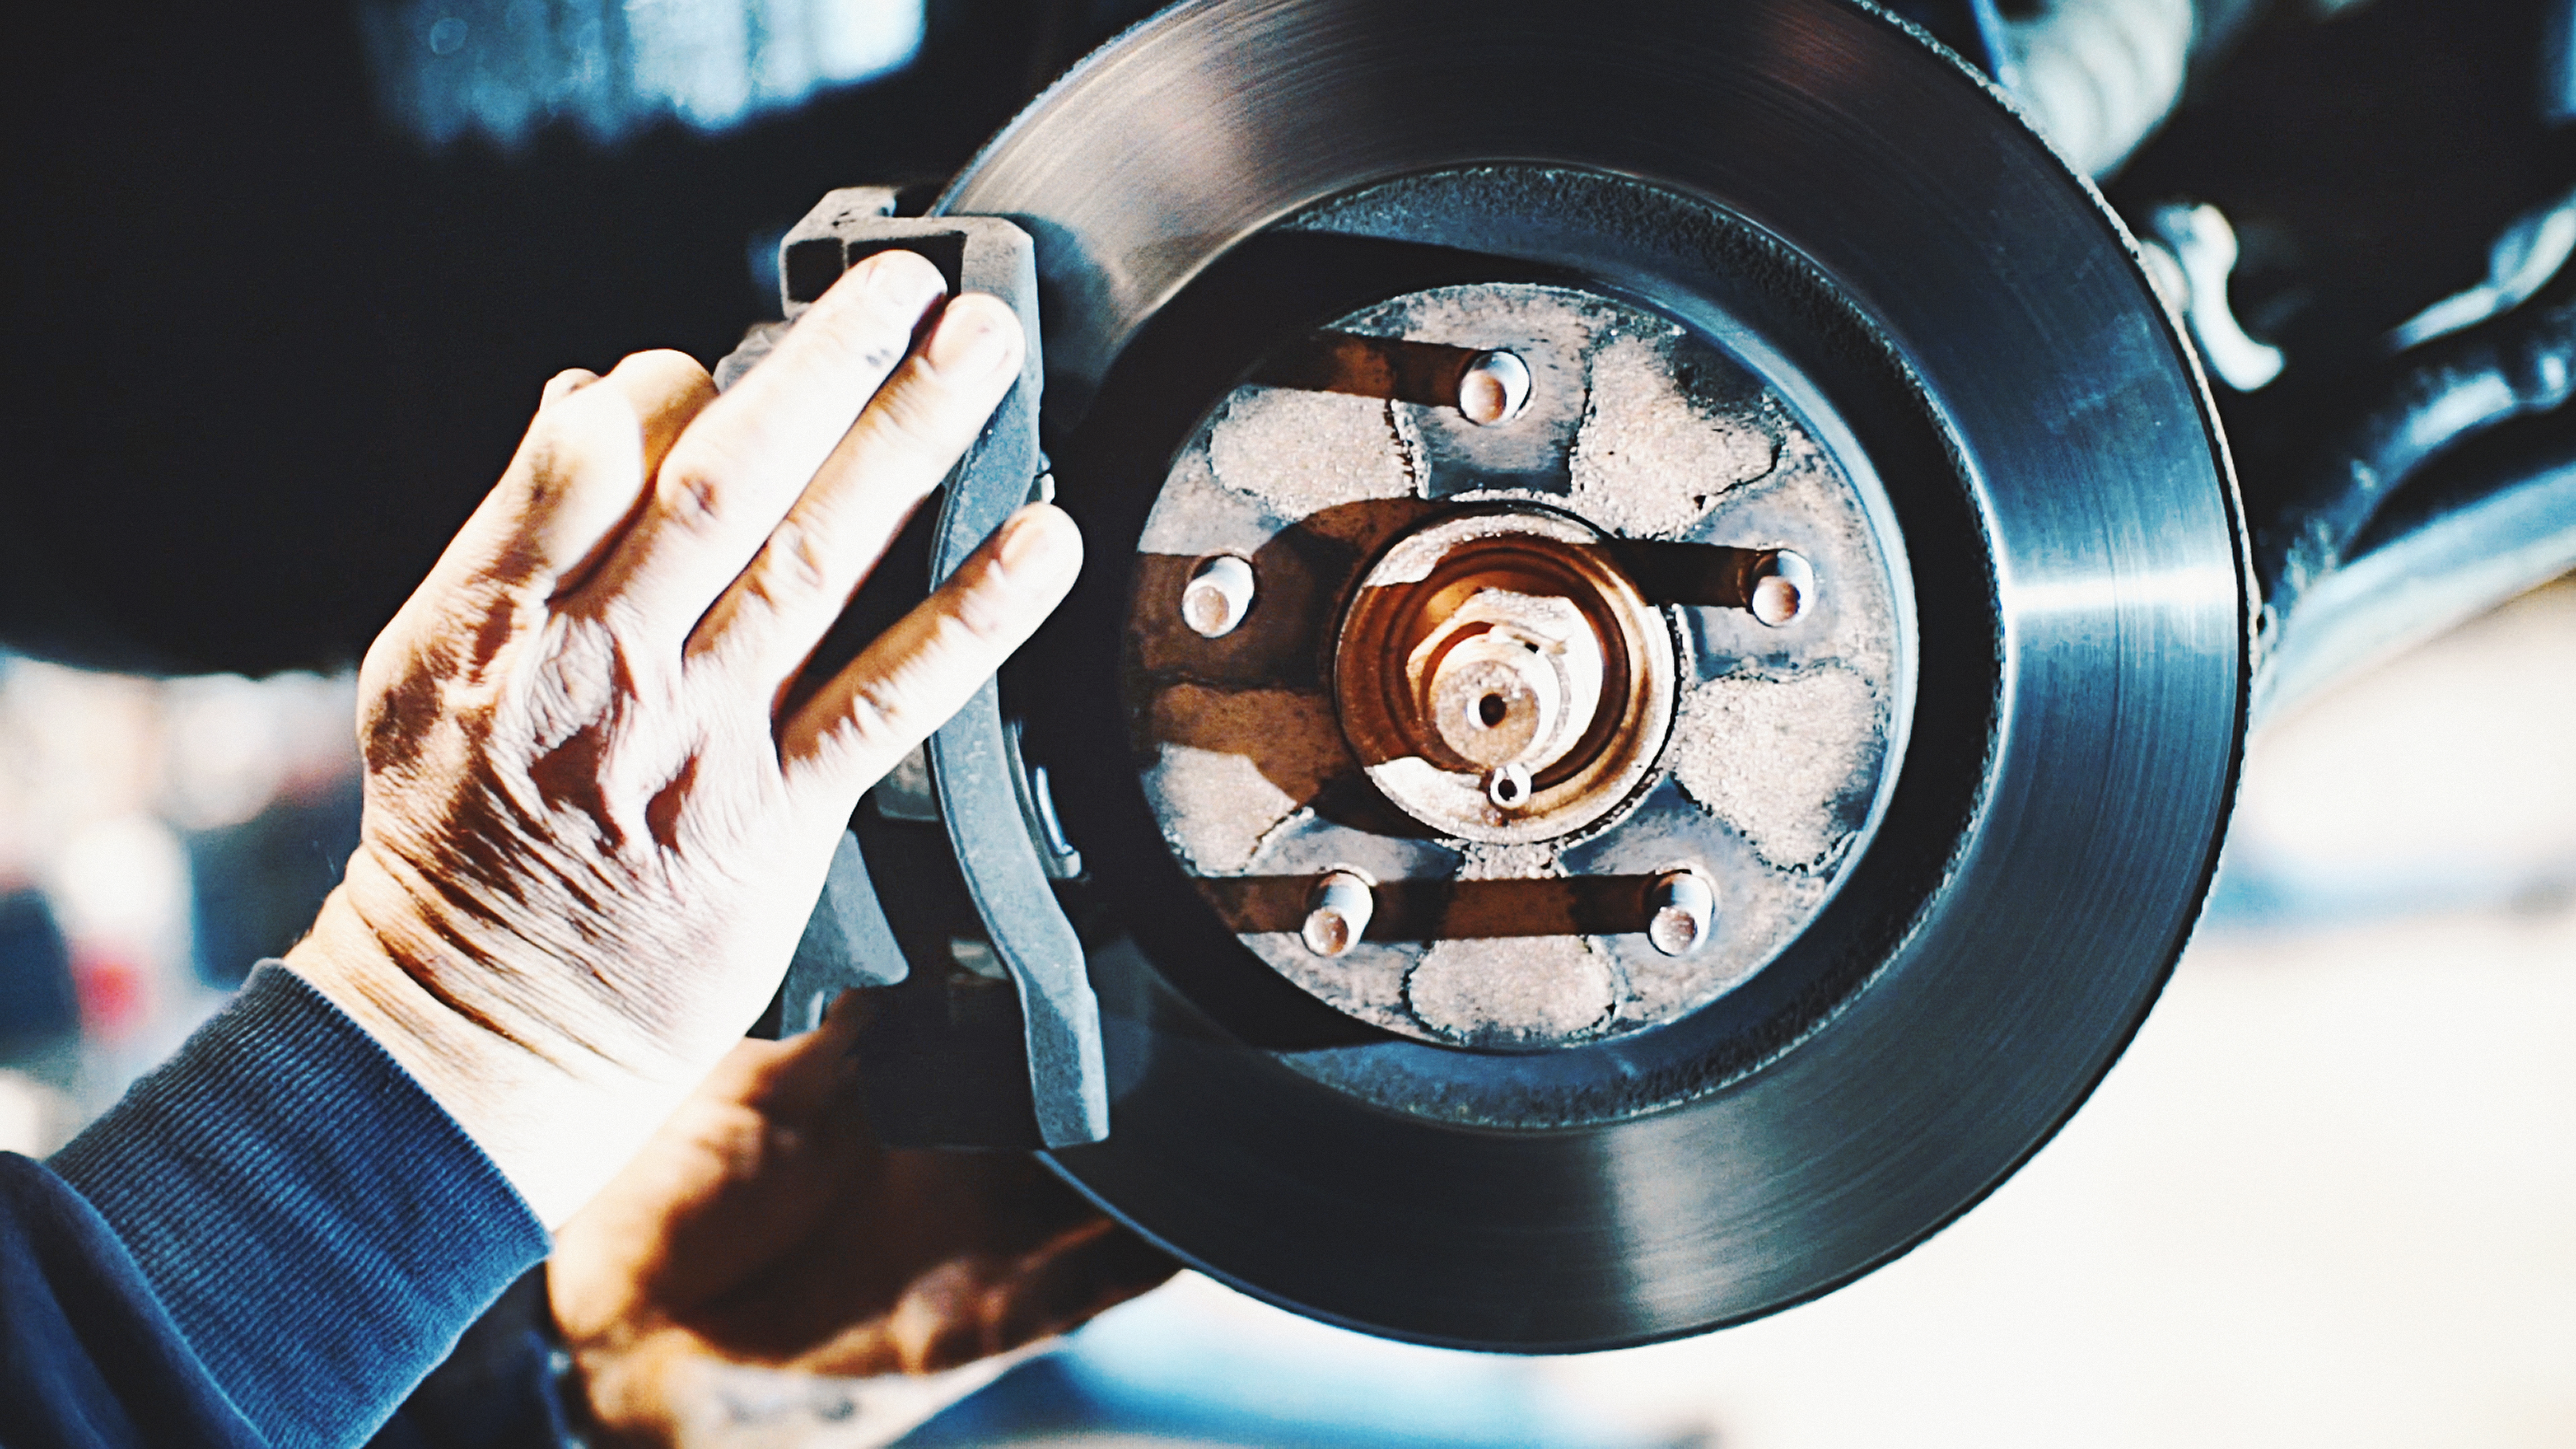
Brake calipers can fail for numerous reasons, but no matter how they fail, they must either be replaced or rebuilt. Most caliper rebuild kits are available at Advance Auto Parts and are an economical alternative to installing new or remanufactured calipers. Additionally, some caliper part numbers aren't easily available due to a lack of remanufacturing facilities, a lack of rebuildable calipers due to vehicle age, or low sales volume.
Generally, removing calipers requires the removal of two bolts to separate the caliper from the car. Where and how these two bolts are attached and removed depends on the vehicle and whether you're doing the fronts or rears. You might have two Allen bolts or two hex bolts. Some makes even use large Torx-45 or Torx-50 fasteners. We'll leave you to your own devices for this part.
Piston removal varies by caliper design. Some caliper designs require you to completely remove the caliper before you can remove the piston, while there are others that allow you to leave the caliper on the car. You might also notice that most rebuild kits are sold as an axle set instead of individually. We recommend going ahead and rebuilding both sides even if there seems to be an issue on one side. It's economical, plus there's a chance the other side may soon have a similar issue as the one you're rebuilding.
Additionally, rear calipers are going to have the parking brake cable, which will need to be separated from the caliper. They also have a significantly different piston removal process. We'll describe the different steps for rear calipers following the front caliper section.
Caliper rebuilding - like any brake work - is a job that has to be done right, but it's not that difficult if you follow the steps closely. Here's how to rebuild both front and rear calipers on most cars and light trucks with disc brakes.
This is a project that needs some know-how
-
Jack up the vehicle and secure it with stands, and remove the wheels being worked on. Place the drain pan under the caliper being removed.
-
Loosen the brake hose. Remove the brake caliper. The caliper that's stuck may need some persuasion in the form of a flat screwdriver or pry bar. Twist the caliper off of the hose, not the other way around. Banjo bolt connections don't require rotating the caliper of the hose and can just be removed from the caliper.
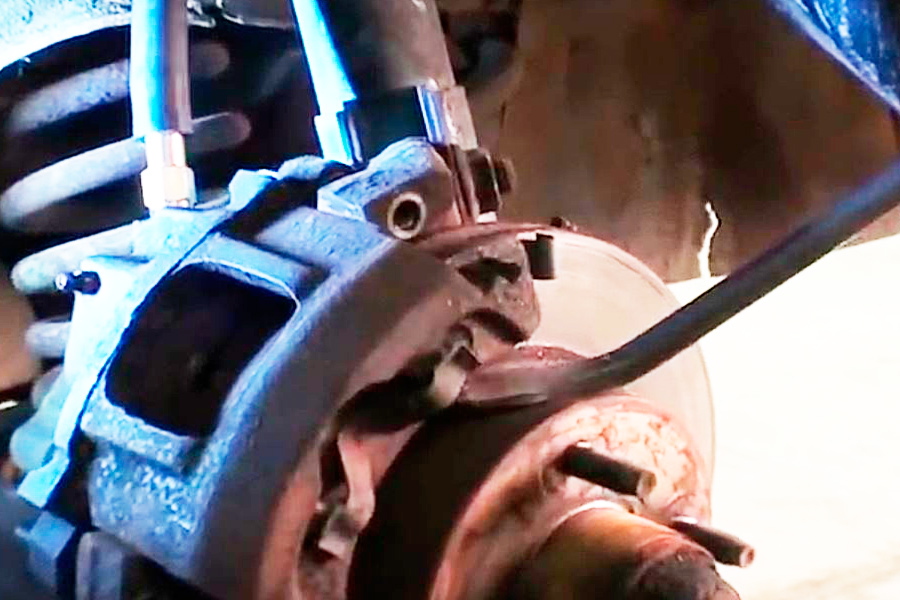
Source | Mike Aguilar
-
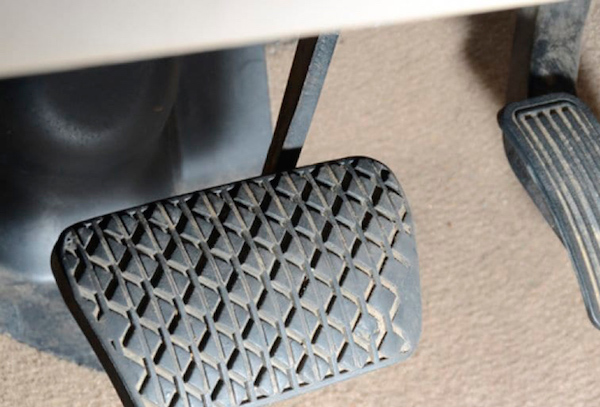
Lay the caliper on the floor or your work bench with the outer pad still installed (or a small block of wood can be used), and cover it with shop towels. Blow compressed air at low pressure through the brake hose port to pop the caliper piston out of its bore. Only use enough air pressure to pop the piston out. If you don't have access to compressed air, the piston can be removed by very slowly applying the brake pedal before removing the brake hose.
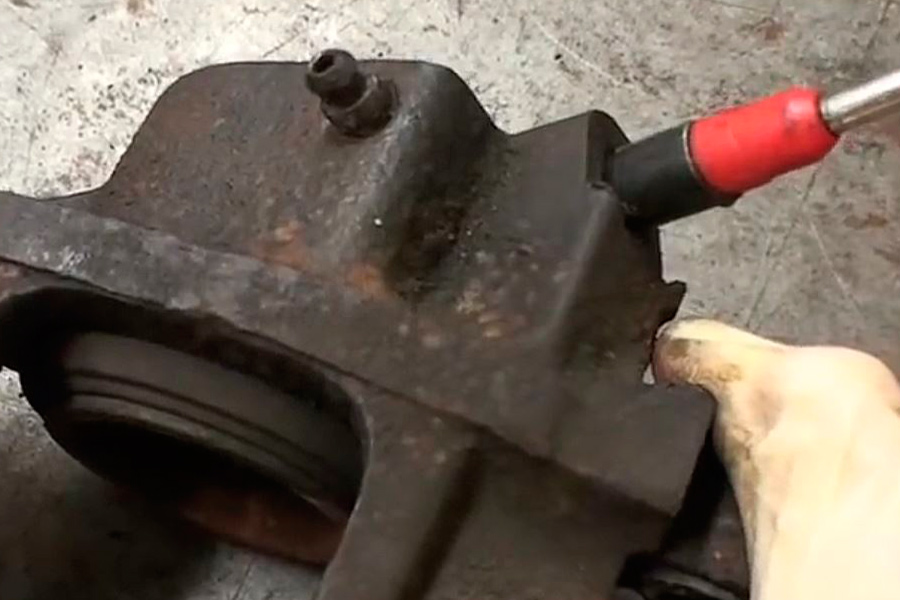
Source | Mike Aguilar
-
Pull the piston seal out of the caliper. Use a small screwdriver, toothpick, or mechanic's pick to remove the square-cut piston seal from its groove in the bore. Remove those rubber parts contained in your rebuild kit.
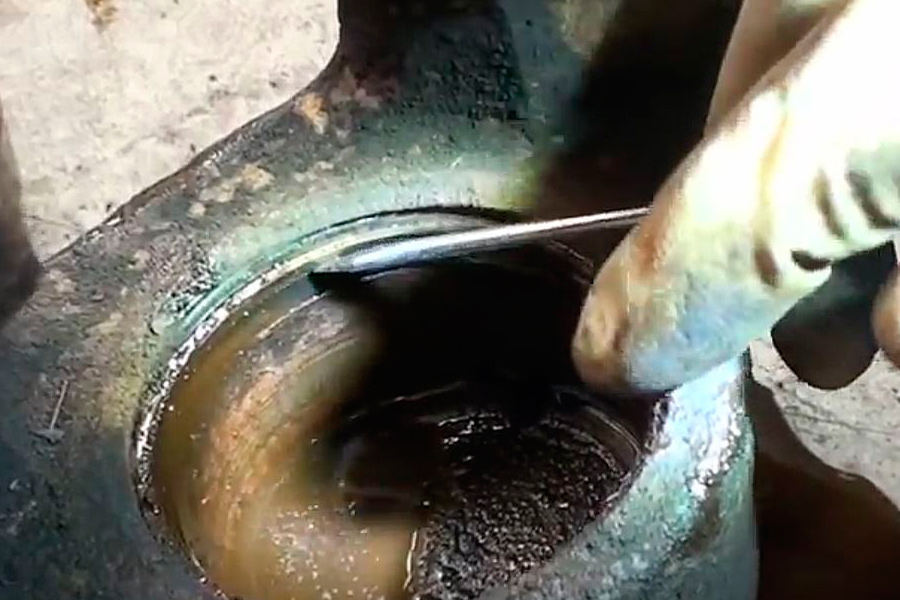
Source | Mike Aguilar
-
If you plan on painting the calipers once you're done rebuilding them, take this time to clean them thoroughly with a wire brush/wheel to give the paint the cleanest surface on which to stick.
-
Clean and inspect the caliper piston bore. Sludge and surface rust should be removed using a brake caliper hone. Use plenty of brake fluid while honing, and clean and inspect the bore often. Clean the caliper well, using brake parts cleaner, paying careful attention to the inlet and bleeder passages. Make sure the square-cut seal groove is spotless.
If there is no surface rust or minor scoring in the caliper bore, honing isn't required—just do a very thorough cleaning with brake cleaner.
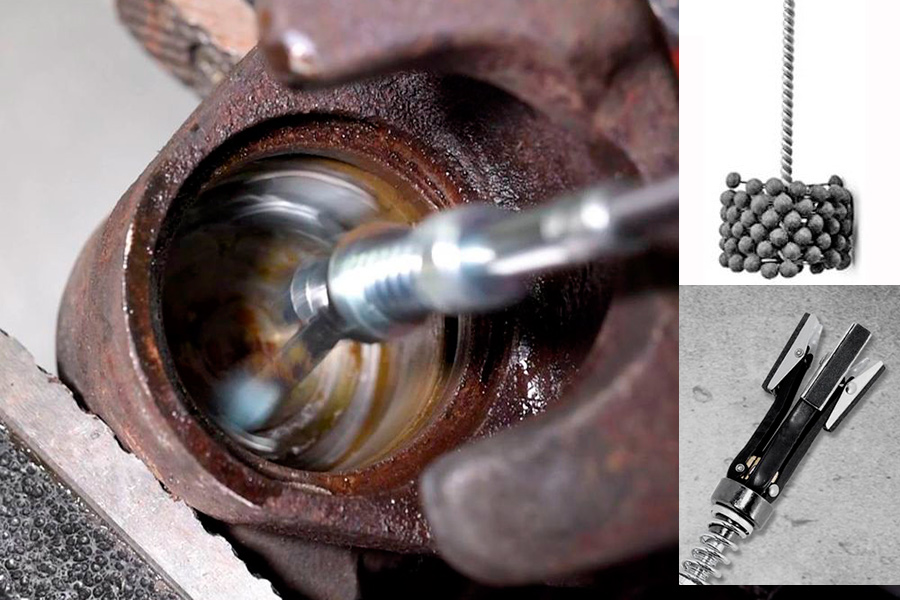
Source | Mike Aguilar
-
Thoroughly clean and inspect the piston. Emory cloth, steel wool, or Scotch-Brite pads are great for removing surface rust and sludge. Again, keep them lubricated. Pistons that are pitted or scratched must be replaced or they will leak. Clean carefully.
-
Lubricate the caliper bore, seal, and piston well with brake fluid. Slide the seal into its groove in the bore and replace the piston until about half an inch sticks out. Slide the dust seal over the piston and into its groove in the caliper. The piston can now be pressed in completely.
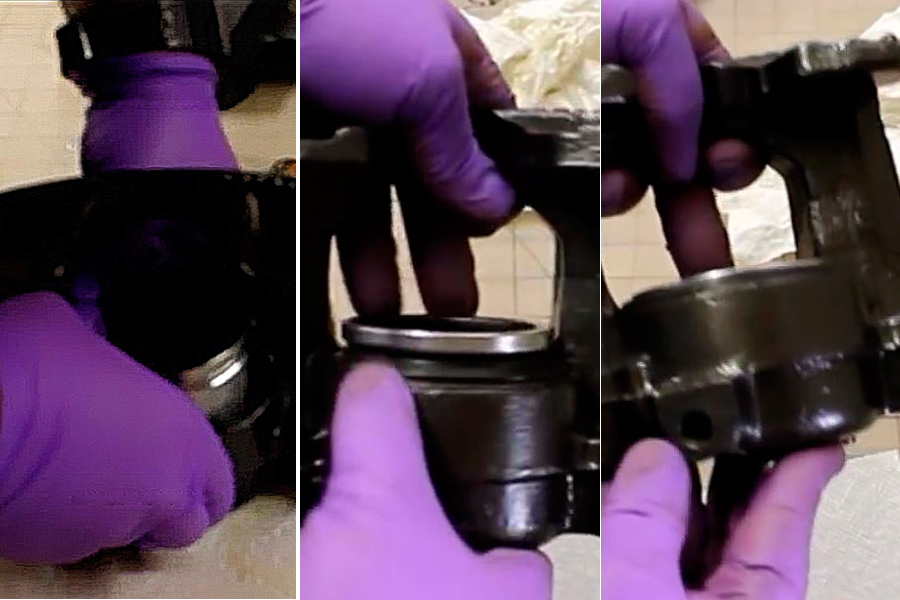
Source | Mike Aguilar
-
Using the new gasket or seal supplied with the kit, spin the caliper onto the brake hose hand tight. Install the new brake pads with supplied shims/anti-squeal compound, and mount the caliper on the car again. Grease any slider pins/rails with brake grease during the reassembly. Torque the caliper bolts to the torque specified in the repair manual for your car and tighten the brake hose(s). Banjo fittings can be installed last.
-
If you are not moving on to the rear brakes, this will be your final step. If you are, read on!
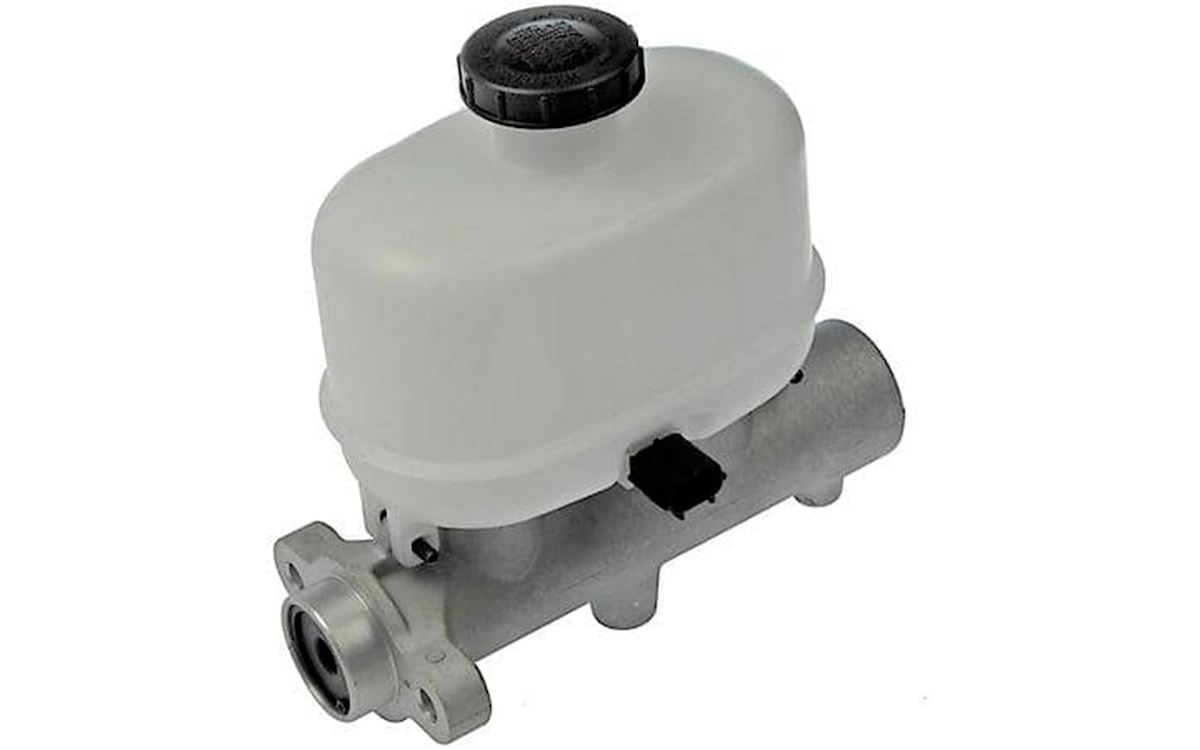
Refill the master cylinder with the recommended fluid and bleed the entire brake system, keeping and eye on the master cylinder to make sure it isn't empty.
Replace the wheels and lower the car. Test the brakes to make sure they aren't leaking and then test drive the car. Re-bleed the system and adjust the parking brake if necessary.
-
Most parking brake cables can be removed from the actuating lever on the caliper by prying with a screwdriver. Pulling the coiled sheath away with pliers helps.
-
Remove the cable from the bracket.
-
Loosen the bolt on the actuator lever just a tad (maybe a half-turn) before removing the caliper bolts.
-
Use a pair of pliers to pull or twist the return spring out of the hook and remove it from the caliper.
-
Remove the bolts securing the caliper and remove the caliper. Again, the use of a small pry bar or flat screwdriver may be required to provide enough leverage to move a stuck caliper.
-
Twist the caliper off the brake hose.
-
Turn the piston and tool counterclockwise until there is no more outward/upward motion of the piston while turning.
-
Twist and pull the piston out of the bore by hand or with rubber-coated pliers.
-
Pull the dust boot out.
-
Use a small screwdriver or pick to remove the square-cut seal in the bore.
-
Use a pair of snap-ring pliers to remove the snap ring retaining the parking brake screw and remove the screw.
-
Disassembly and removal of the rest of the parking brake assembly varies by year, make, and model. The final part to remove resembles a metal pill.
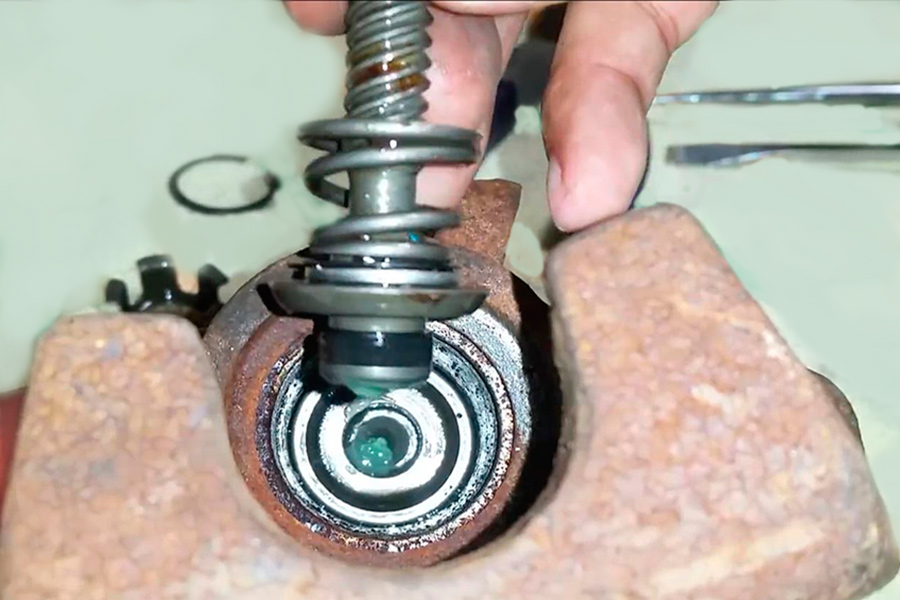
Source | Mike Aguilar
-
Pull the parking brake pivot shaft from the rear of the caliper.
-
Inspect and clean the piston and bore as described in the front caliper section.
-
Clean and lube all sliders and pins, and lube and install the new seals. Lube and install the piston after sliding the new dust boot on the end.
-
With a half inch or so of the piston sticking out of the bore, press the dust boot firmly into place. You can now finish seating the piston.
-
Reassemble the caliper.
-
Spin the caliper onto the brake hose using the new seals provided in the rebuild kit.
-
Install new pads using any shim or anti-squeal compounds included with the pads. Reinstall the calipers and torque the bolts to the specification in the vehicle-specific repair manual, and tighten the brake hose.
-
Refill the master cylinder with the recommended fluid and bleed the entire brake system, keeping the master cylinder full. Replace the wheels and lower the car. Test the brakes to make sure they aren't leaking and then test drive the car.
Re-bleed the system and adjust the parking brake if necessary.
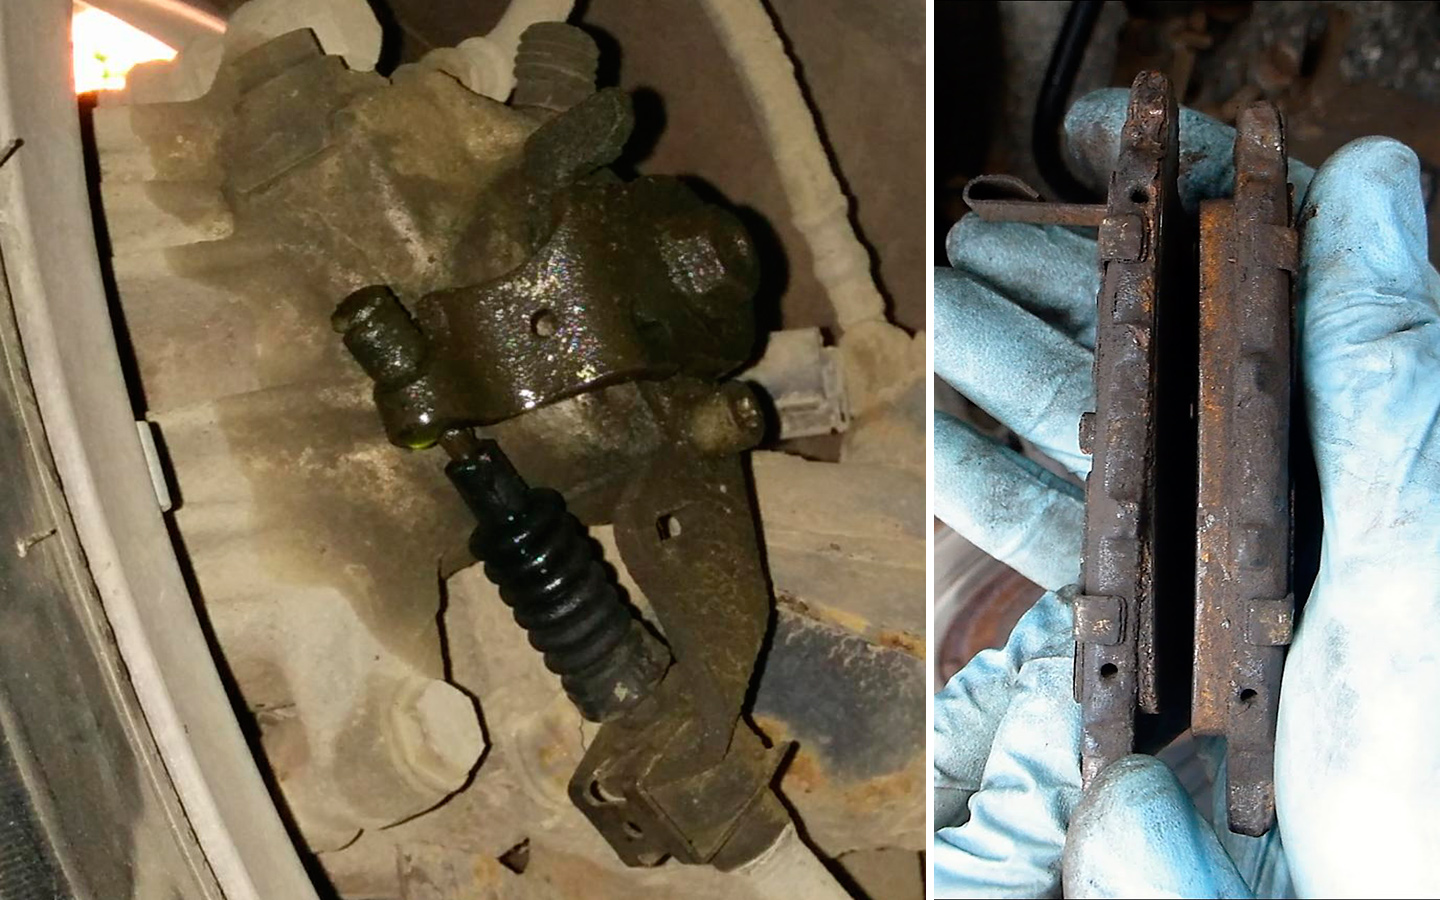
Calipers that are leaking fluid (left) or causing uneven pad wear (right) need to be rebuilt or replaced. Source | Mike Aguilar
If you don't have an air compressor, a good bike pump with a rubber valve stem also works great to pop out the piston.
One way rear disc brakes differ from front brakes is that they have a parking brake cable in your way, unless you want to rebuild them without removing the cable, which you can. Again, removal and reinstallation of banjo fittings can occur before or after caliper removal and reinstallation. Full rear caliper removal is as follows.
Rear brakes are also different because you have to unscrew the piston from the parking brake actuator assembly inside the caliper before you can pull it out of the bore. Otherwise you can ruin the caliper. Advance Auto Parts has special tools for this purpose, both for sale and available as a loaner tool. Although not absolutely necessary, they do greatly simplify the job. Also, caliper and auto manufacturers recommend against any other method of piston removal.
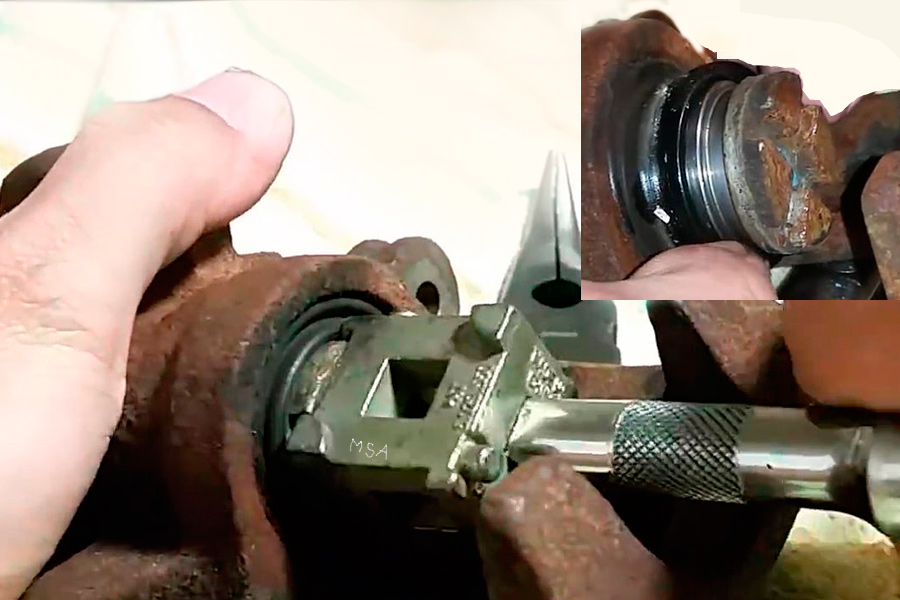
Source | Mike Aguilar

