The tools and instructions you need to troubleshoot and replace your starter and solenoid
With just the turn of the key or push of a button, your vehicle’s starter and solenoid engage, cranking the engine and enabling it to fire. At least that’s the way it’s supposed to work.
A malfunctioning starter or solenoid might instead present itself as clicking or grinding sounds when the driver attempts to start the vehicle, or there might simply be silence. Unfortunately, these same symptoms could also indicate a failing battery. So, have the electrical system and battery tested first to eliminate or confirm the battery as the source of the problem. If those check out okay, get busy replacing the starter and/or solenoid following the steps below.
One way to troubleshoot the starter is to get under and whack the starter's housing with a wrench or hammer if it balks. This will free up a stuck starter bendix.
Pro Tip: Have the battery tested first to ensure it isn't causing the problem.
If you're going through all the trouble of replacing the starter, it’s a good idea to replace the solenoid at the same time. This will save you the time and effort of having to do the job again later if and when the solenoid fails. The solenoid is a switch that supplies electrical current to the starter. Some are attached directly to the starter, while others are located away from the starter, such as on the firewall or fender well. Check your owner's manual for the location if you're unsure.
This is a project that needs some know-how
-
If needed to access the starter, raise the vehicle using a jack and secure it with jack stands and by placing wheel chocks at the wheels.
-
Using the hand tools, disconnect the negative cable from the battery and move it away from the terminal.
-
Remove the starter retaining bolts and lower the starter to gain access to the solenoid wiring. Note the location of the starter shims if so equipped. The starter is likely to be fairly heavy, so be careful about removing these bolts.
-
Mark the wires—and what they’re connected to—with colored tape and/or numbers to make re-installation easier. You can even take a photo for reference later.
-
Remove the wires from the starter and/or solenoid.
-
Make sure that the wires are connected in the proper locations—referring to your tape and numbering system—that all connections are tight, and that the wires aren’t touching one another.
-
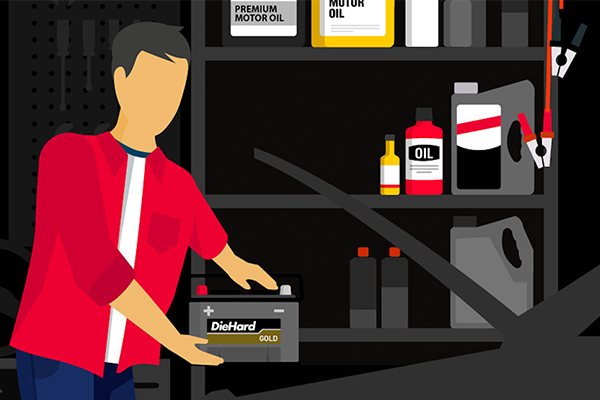
Clean the negative battery post (and the positive one too if it's dirty) using the battery terminal brush and spray the posts with anti-corrosion spray. Anti-corrosion grease can be a real help here as well, or even Vaseline!
-
Reconnect the negative battery cable, then test the starter by turning the ignition key and releasing it. If the starter cranks the engine and disengages as it should, the starter and solenoid have been successfully reinstalled. Great work!