All photos by Mike Aguilar
Every engine will have a leaking valve cover gasket or seal during its lifetime. This can't be avoided because the rate of expansion of the metals in the cylinder heads and valve covers are different. This causes the seal to break over time and allows oil to leak.
The vast majority of valve covers are bolted to the top of the cylinder head. Bolted valve covers will either have the bolts running around the perimeter of the cover, as in Toyota, Chevy, Ford, and Dodge Small Block families, or running down the middle/top of the valve cover as in GM's LS series and most overhead cam (OHC) engines.
Valve cover gaskets are typically either a cork or paper composite or a rubber seal. The key to ensuring a good seal is removing the old gasket completely without damaging either mating surface. My gasket cleaning method is two steps: I use a blade-style scraper to remove the larger pieces, after which I use a wire wheel or cleaning disc for fine cleaning. Rubber seals are cool because they should need no more than a good wipe down.
This is a good project for new DIYers
-
Anything impeding the removal of the valve cover once the bolts are removed has to be moved or removed. This can include coils or coil packs, hoses, sparks, spark plug wires, and throttle/transmission linkage. Label everything you disconnect so it can be put back together properly when you're done. Taking a "before" pic with your phone can also be helpful during reassembly.

-
Remove the bolts/screws securing the leaking valve cover. Keep track of where these originated, as they may be of different lengths.

-
Remove the valve cover. A sharp rap on the side or a prybar may be needed to loosen the grip of the gasket/sealant.
-
Cover the top of the cylinder head with a rags to keep out foreign objects and debris. Remove all traces of the old gasket/seal from the sealing surface on the head. Wipe the sealing surface with a cleaning solvent-soaked shop towel.
-
Remove the gasket or seal from the valve cover. Spray the interior of the valve cover thoroughly with parts cleaner to remove any debris.

-
Remove the shop towels and pour one or two quarts of oil over the area covered by the valve cover to remove any debris.
-
Check your repair manual, and if RTV sealer is recommended, apply it now. Most valve cover gaskets from Advance Auto Parts come with RTV if it's recommended by the manufacturer.

-
Lay the valve cover on the head and start all of the bolts or screws by hand, starting at opposite ends of the valve covers. Check your repair manual for the proper torque.
-
Replace everything that you removed in the first step.
-
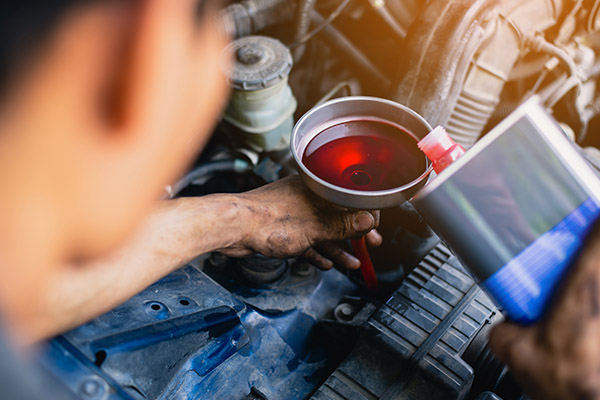
Change the oil. The filter doesn't need to be replaced unless the normal oil change interval for your vehicle is close.

I recommend draining the oil and pouring at least one quart over the rockers and valve springs to remove all debris prior to reassembly.
Dab droplets of sealer around the valve cover and spread them with your finger. All that's needed is enough of a film to stick the gasket to the valve cover. Stick the gasket to the valve cover and apply another fine film of RTV to the gasket.

Do not over tighten these bolts or you can break or warp the valve cover and cause a new leak—I've done it!
If you can't see the back of the engine, now is the time to check your work with a telescoping mirror. If your gasket is rubber, move your mirror along the back of the engine bank to confirm the gasket hasn't "rolled" out of place, as this will cause an immediate leak. You can also confirm that you didn't catch any wires under the valve cover during reassembly.