Under the hood of your vehicle, you'll find a network of vacuum lines that help control various components. The draw of vacuum affects sensors and actuators that figure into fuel delivery and other functions. A vacuum leak can introduce extra air into the system, throwing off the fuel/air balance that's critical to fuel metering, and can in some cases even be enough to register a trouble code and illuminate the dreaded check engine light.
The environment in the engine compartment is pretty harsh, with extreme heat and vibration, and over time those vacuum lines can start to degrade and dry out, eventually causing a vacuum leak. With that spaghetti bowl of vacuum lines, how can you be sure which one is actually leaking? If you're lucky, it'll make an audible hissing sound that you can isolate to one particular line, but often that's not the case. We'll talk about a few ways to track down that leak and apply a fix.

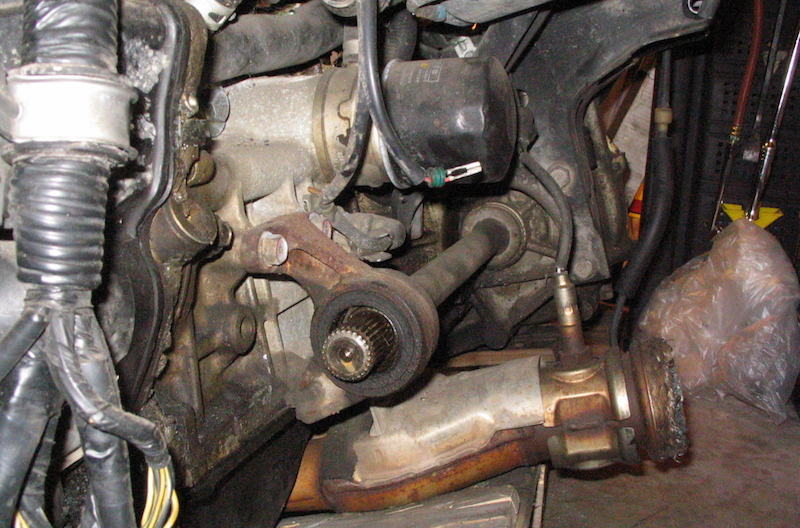
Pop your hood and you'll find a maze of vacuum lines
Is A Vacuum Leak The Problem?
If something has caused sensor to register a trouble code, don't just presume it's the sensor that's at fault. In other words, always take a failed, split, loose or deteriorated vacuum line into your troubleshooting checklist. For instance, a vacuum leak at the EGR valve can be enough to prevent the solenoid from opening and closing the valve, causing a trouble code to be stored. A vacuum leak at the MAP sensor might disrupt engine timing strategy and fuel delivery, causing fuel economy and drivability problems. Same goes for emissions systems like the EVAP canister and others. Even your braking system can be affected by a vacuum leak, since most power brake boosters rely on engine vacuum for the assistance in braking effort.
Symptoms like poor acceleration, rough idle, stalling, stumbling, misfires, poor fuel economy, and hard starting might be caused by nothing more than a vacuum leak. In other words, don't presume the worst or go after the most complex and expensive problem unless you've ruled out a vacuum leak.
Finding the Vacuum Leak
- See if you can locate a vacuum schematic for your vehicle. In many cases, there will be a sticker under the hood that will show vacuum line routing, but you can look in a service manual if you need greater detail.
- If your trouble code is related to fuel metering, the engine control computer may already have compensated to adjust for the change in air/fuel ratio. If that's the case, disconnect the throttle position sensor (located at the throttle body) to force the engine into "open loop" mode. That way you can hear it rough-idle and it should be easier to track down the vacuum leak in question.
- Being mindful of hot surfaces and moving parts, begin a visual inspection of each vacuum line, including its T's and junctions. Remember that vacuum lines are usually fairly thin and soft, some not much bigger than a drinking straw. Look for splits, tears, flared-out ends, and splits at the ends. For hard-to-reach places, you might need the help of an inspection mirror and flashlight.
- It will be harder to listen for the hiss of a vacuum leak over the noise of an idling engine, but a mechanic's stethoscope (or even a length of hose) can make it easier to amplify and isolate a noise.
- Feel for softened spots, hardened spots or deformed spots along the length of each line. If you're lucky, your fingertips might even be able to feel suction from a leak.
- If you find a vacuum line that's split at the end, you may be able to snip off the end and reconnect. For many hoses, this is not an option, though, as the length from the factory is specific to the application. Advance Auto Parts sells vacuum hose by the foot, and it's oh-so-affordable! A hose that's split, softened, hardened or deteriorated from coolant or oil will probably need to be replaced anyway (and you should determine where the coolant or oil is coming from).

An example of a vacuum routing diagram that can sometimes be found under the hood
Words to the Wise
Many vehicles have lots of vacuum hoses under the hood, sometimes with three or four lines supplying one sensor or one component. In instances like that, be sure to repair one line at a time and label lines as needed.
In some instances, should you run across a leaking or damaged section of line that's an inch or less long, you can just cut out that section and use a plastic union to join the two sections of hose. Keep in mind, though, that if your line was damaged in one place, the rest of it is probably not in great shape either. Replacing the whole line is an affordable and quick option that will leave you feeling confident in your repair. Remember also that vacuum lines are designed at specific diameters and from specific materials. Always replace a line with its exact match, i.e. plastic, rubber or PVC.
In some cases, a vacuum leak can be maddeningly hard to pin down. Don't be afraid to try process of elimination, pulling off and reconnecting one vacuum line at a time to see which one doesn't affect idle quality. Along with jiggle tests and wiggle tests, some old-timers have used an aerosol carb cleaner or brake cleaner, spraying it along the length of a questionable vacuum line and listening for a change in idle quality when the combustible aerosol is sucked into the system.
In some cases, it might be necessary to use a smoke machine to see where the smoke is actually being sucked in, but that can be difficult when the radiator fan is running under the hood. Just remember to be methodical, be thorough and don't get ahead of yourself when trying to locate the leak.
Have you managed to diagnose and repair a vacuum leak? Let us know what you did in the comments.
Share
About the Author(s)

Jerry Renshaw is a veteran journalist, gearhead and guitar player, and cultivated his mechanical skills by 30 years of turning wrenches to keep one piece of junk or another on the road. He's owned everything from a Chevette to (three) minivans to a fire-breathing Dodge muscle truck, and is constantly keeping up to speed on what's going on in the automotive world.