A failed motor mount is easy to notice. Clunks when you let off the gas, excessive vibration and engine movement, and no "check engine" light most likely means a motor mount has given up and needs replacement. Front-wheel-drive vehicles are more prone to motor mount failure, with high miles.

Source | Andy Jensen
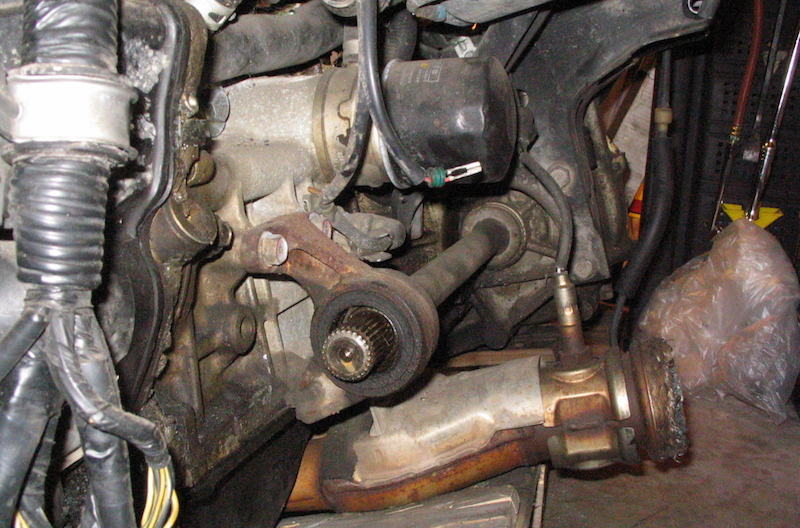
You'll probably be shocked at professional motor mouth replacement cost, but although this repair is a little involved, it's still doable by a beginner. Follow along as we show you how to replace motor mounts.
What is a Motor Mount?
Motor mounts, or engine mounts, are basically a brick of high-temp, high-strength rubber sandwiched between metal plates or brackets. Vehicles have them for a few reasons. First, they are bolted between the engine block and the vehicle chassis or subframe. Motor mounts are a way of keeping the engine secured.
Imagine a hypothetical car with a powerful V8. As the engine speed increases, it generates more power and torque. That twisting force needs to make it to the ground, so the motor mounts keep the engine firmly in place, letting power travel through the transmission and on its way to the wheels. Without motor mounts, the high-revving engine would likely flip itself over in the engine bay, while the car goes nowhere.
The other big feature of a motor mount is vibration absorption. Think of all the vibration caused by each cylinder firing and all the associated spinning parts. Transferring all that vibration to the cabin would turn your Lexus into a Shake Weight, so the heavy-duty rubber acts as a damper to keep the ride smooth.
Signs of a Failed Motor Mount
Fortunately, the signs of a failed engine mount are rather distinct. A broken motor mount will likely cause loud noises from the engine bay, like metal-on-metal hammering or a dull clunk. This is the engine torque lifting it from the broken mount. Modern engine bays have tight clearances between parts, so the cylinder head might clank into the A/C accumulator with a thunk.
Another sign is excessive vibrations without an engine code. That vibration-dampening effect is gone, and you're left feeling the engine idle from the driver's seat. That's cool in a modified '69 Camaro, but it's bad in a stock Mercedes S-Class.
Lastly, you can probably see the evidence. Open the hood and have a friend rev the engine while the transmission in neutral. You can see engine nearly leap out of the engine bay as it revs.
Motor Mount Replacement Cost
Motor mounts are basically just an engine damper and bolt, so they aren't complex. That usually means an affordable part, and it's true here. Most motor mounts are usually priced under $45 and usually top out around $200. But if you do some research online for what others are being charged for replacement, you'll see figures ranging from $400 to $1,000.
Why does it cost so much to replace a motor mount? Generally, they are not easy to access, and you need to support the engine to replace one, so most of the mechanic's motor mount cost is paying for labor. If the vehicle has three motor mounts and they are hard to get at, like in a minivan, labor costs are higher.
This is a project that needs some know-how
-
Place wheel chocks behind the rear wheels. Pop the hood.
-
Locate the motor mounts. It's best to replace them all now, as if one has failed, the others are likely showing wear. Also have a look at engine and accessory clearance to the firewall. Keep this in mind later, as you don't want to raise the engine enough to cause other damage.
-
With the parking brake on, jack up the front of the vehicle. Support it with jack stands. Support the engine by using a jack with a large jack pad or solid wood block. Do not use just the jack on the oil pan, as it will likely break the pan. Use just enough pressure to ease the engine weight off the motor mounts.
-
Using a socket and long extension, remove the motor mount bolts on the engine side.
-
Then remove the motor mount bolts on the chassis side.
-
Slowly raise the engine using the jack. Check every full pump to see if you have enough clearance to remove the failed motor mount. Note the orientation as it comes out.
-
Transfer any heat shields to the new motor mounts, and slide into place the same as before.
-
Slide in the chassis bolts and hand tighten.
-
Slowly lower the engine onto the new mount. Slide in the engine side bolts, and torque all of them down.
-
Repeat for other motor mounts.
Check the repair manual before starting this job. Each vehicle will be different and some will have specific instructions.