Source: Alexandr Podvalny from Pexels
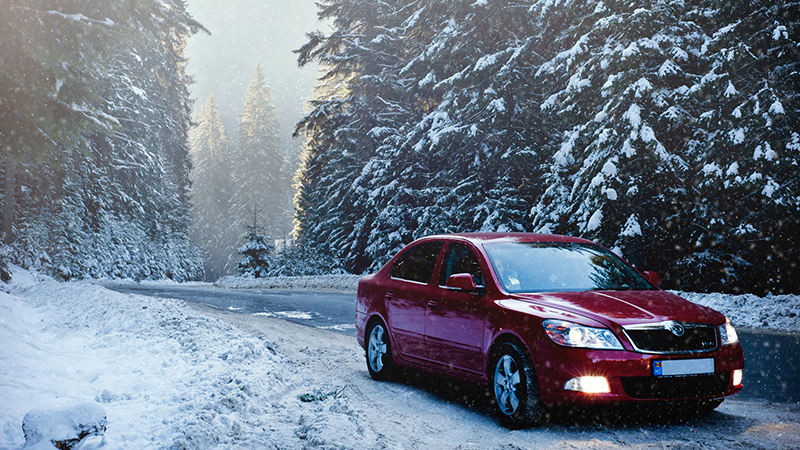
It's awful when it's freezing outside and you get into your vehicle, only to have to sit in a miserable, ice-cold seat. Heated seats can make your commute way better, as toasty buns aren't just for hot dogs. However, if you already have a vehicle without heated seats, you might be thinking it's too late to do anything. Fortunately, there's not one, but two ways to add heated seats to any vehicle. Here's how to do both.
How to Add Heated Seats the "Easy Way"

Seat heating pads | Andy Jensen
Let's say you want heated seats, but you aren't mechanically inclined or you don't want to permanently modify your vehicle. Or maybe you just want something handy to transfer the heating to another vehicle as you swap to a different ride. That's understandable, and the good news is there are products out there just for you. Here are the steps you can take to add heated seats using no tools and only five minutes of your time.
- Park on a level surface where you have plenty of light in the interior. Set the parking brake.
- Remove the heated seat pad from its packaging and unfold. Drape over the seat you want heated, estimating where it will contact your body. Some heaters only fit the seat bottom, while others also fit the seat back. Ensure the proper orientation.
- Secure the seat pad to the seat with the included straps. Note that you may have to work the straps around handles or seat buttons, but each strap should have a place to tightly secure the seat pad.
- Plug the 12V outlet into the accessory power port. Test the pad to ensure it warms up without issues.
It's as easy as that.
How to Permanently Install Heated Seats
Looking for an OEM-quality install? If warming seat pads aren't your style, you can convert your existing seats to heated seats that look like they came from the factory and work just as well. Additional bonuses here include being able to fit the pads to any seat design, the ability to continue using seat covers and potentially even raising your resale value with this desirable feature. There is a downside here, as you will most likely have to let this upgrade go with the ride when you sell it, versus the warming seat pads that easily swap between vehicles. You'll need a few more tools, some know-how and time, as installation will take around an hour per seat if you already have an idea of what you're getting into.
This is a project that needs some know-how
-
Park on a level surface, set the parking brake. Disconnect the negative battery terminal and open the door to verify the interior lights are not on. In a modern vehicle, you will be working near the seat airbags, so it is important to verify they do not have power.
-
Use a socket and ratchet to remove the four bolts securing the seat rails to the floor. Then, if applicable, disconnect any electrical connections such as seat movement, airbags or occupant sensors.
-
Remove the seat from the vehicle and place it on a stable flat surface. Have a helper assist you if possible, as seats are heavy and awkward to fit through the door opening. Place a shop rag or microfiber cloth over the seat rail corners to prevent scratches on door plastics and upholstery.
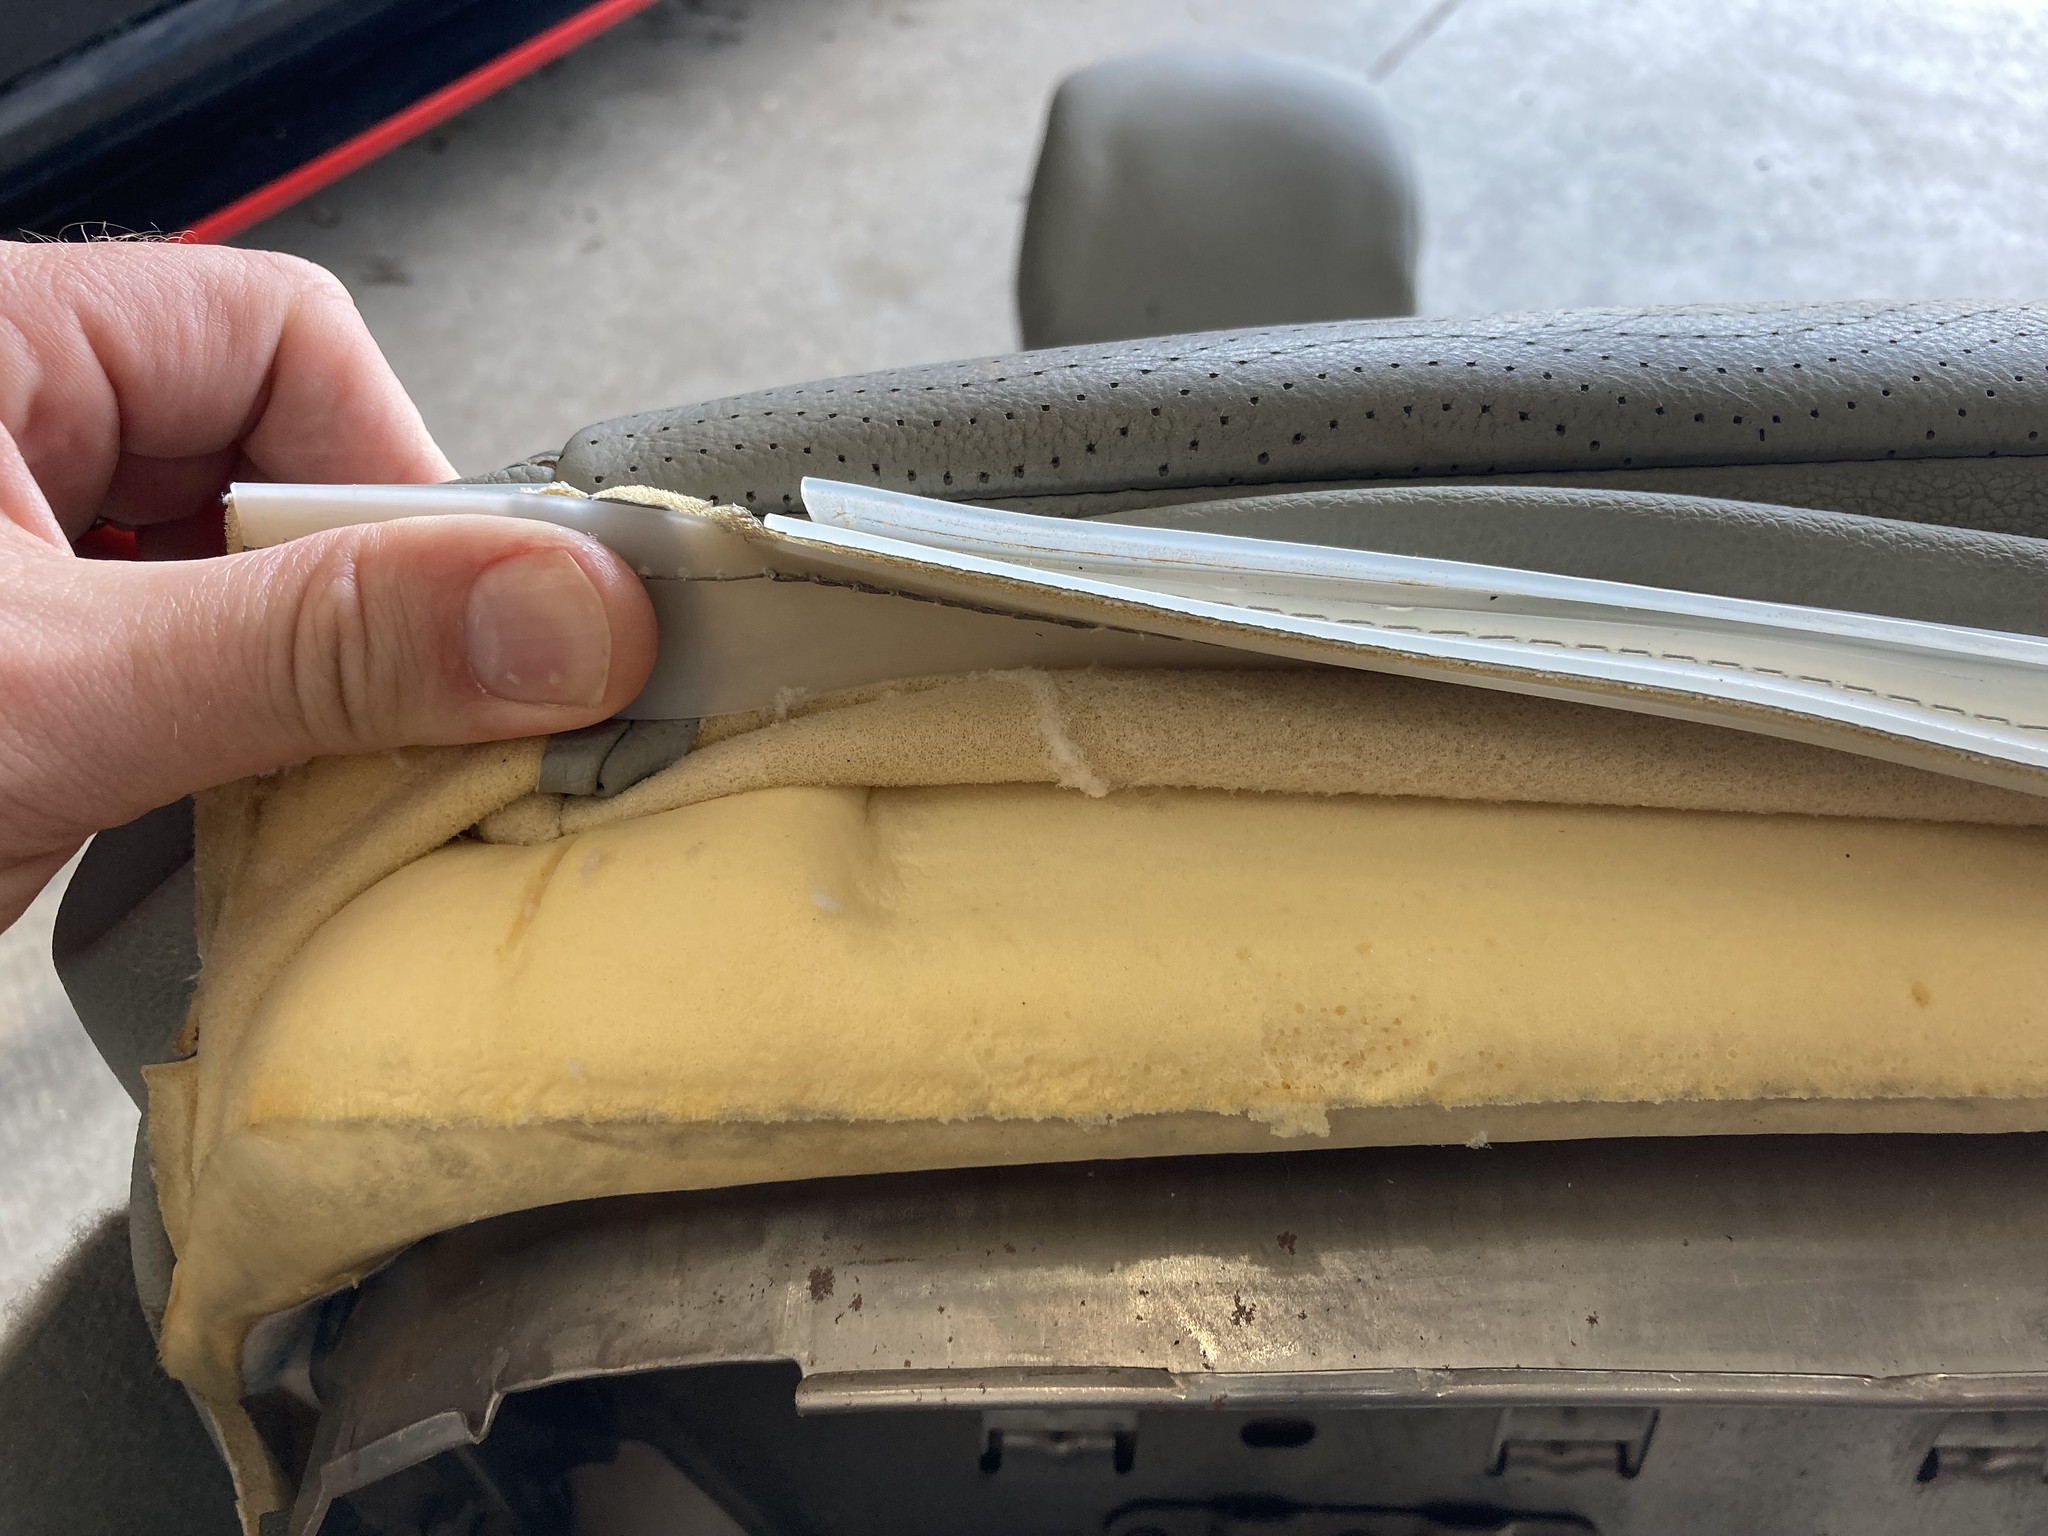
Peel back seat cover | Andy Jensen
-
With the seat on its back, start removing the lower seat upholstery by sliding it off the seat frame and foam cushion. This will expose hog rings connecting the exterior seat upholstery to the frame. Use diagonal cutting pliers or tin snips to cut through the hog rings. Discard old hog rings as you remove the seat upholstery.
Note that you only slide off as much upholstery as needed to perform the next step.
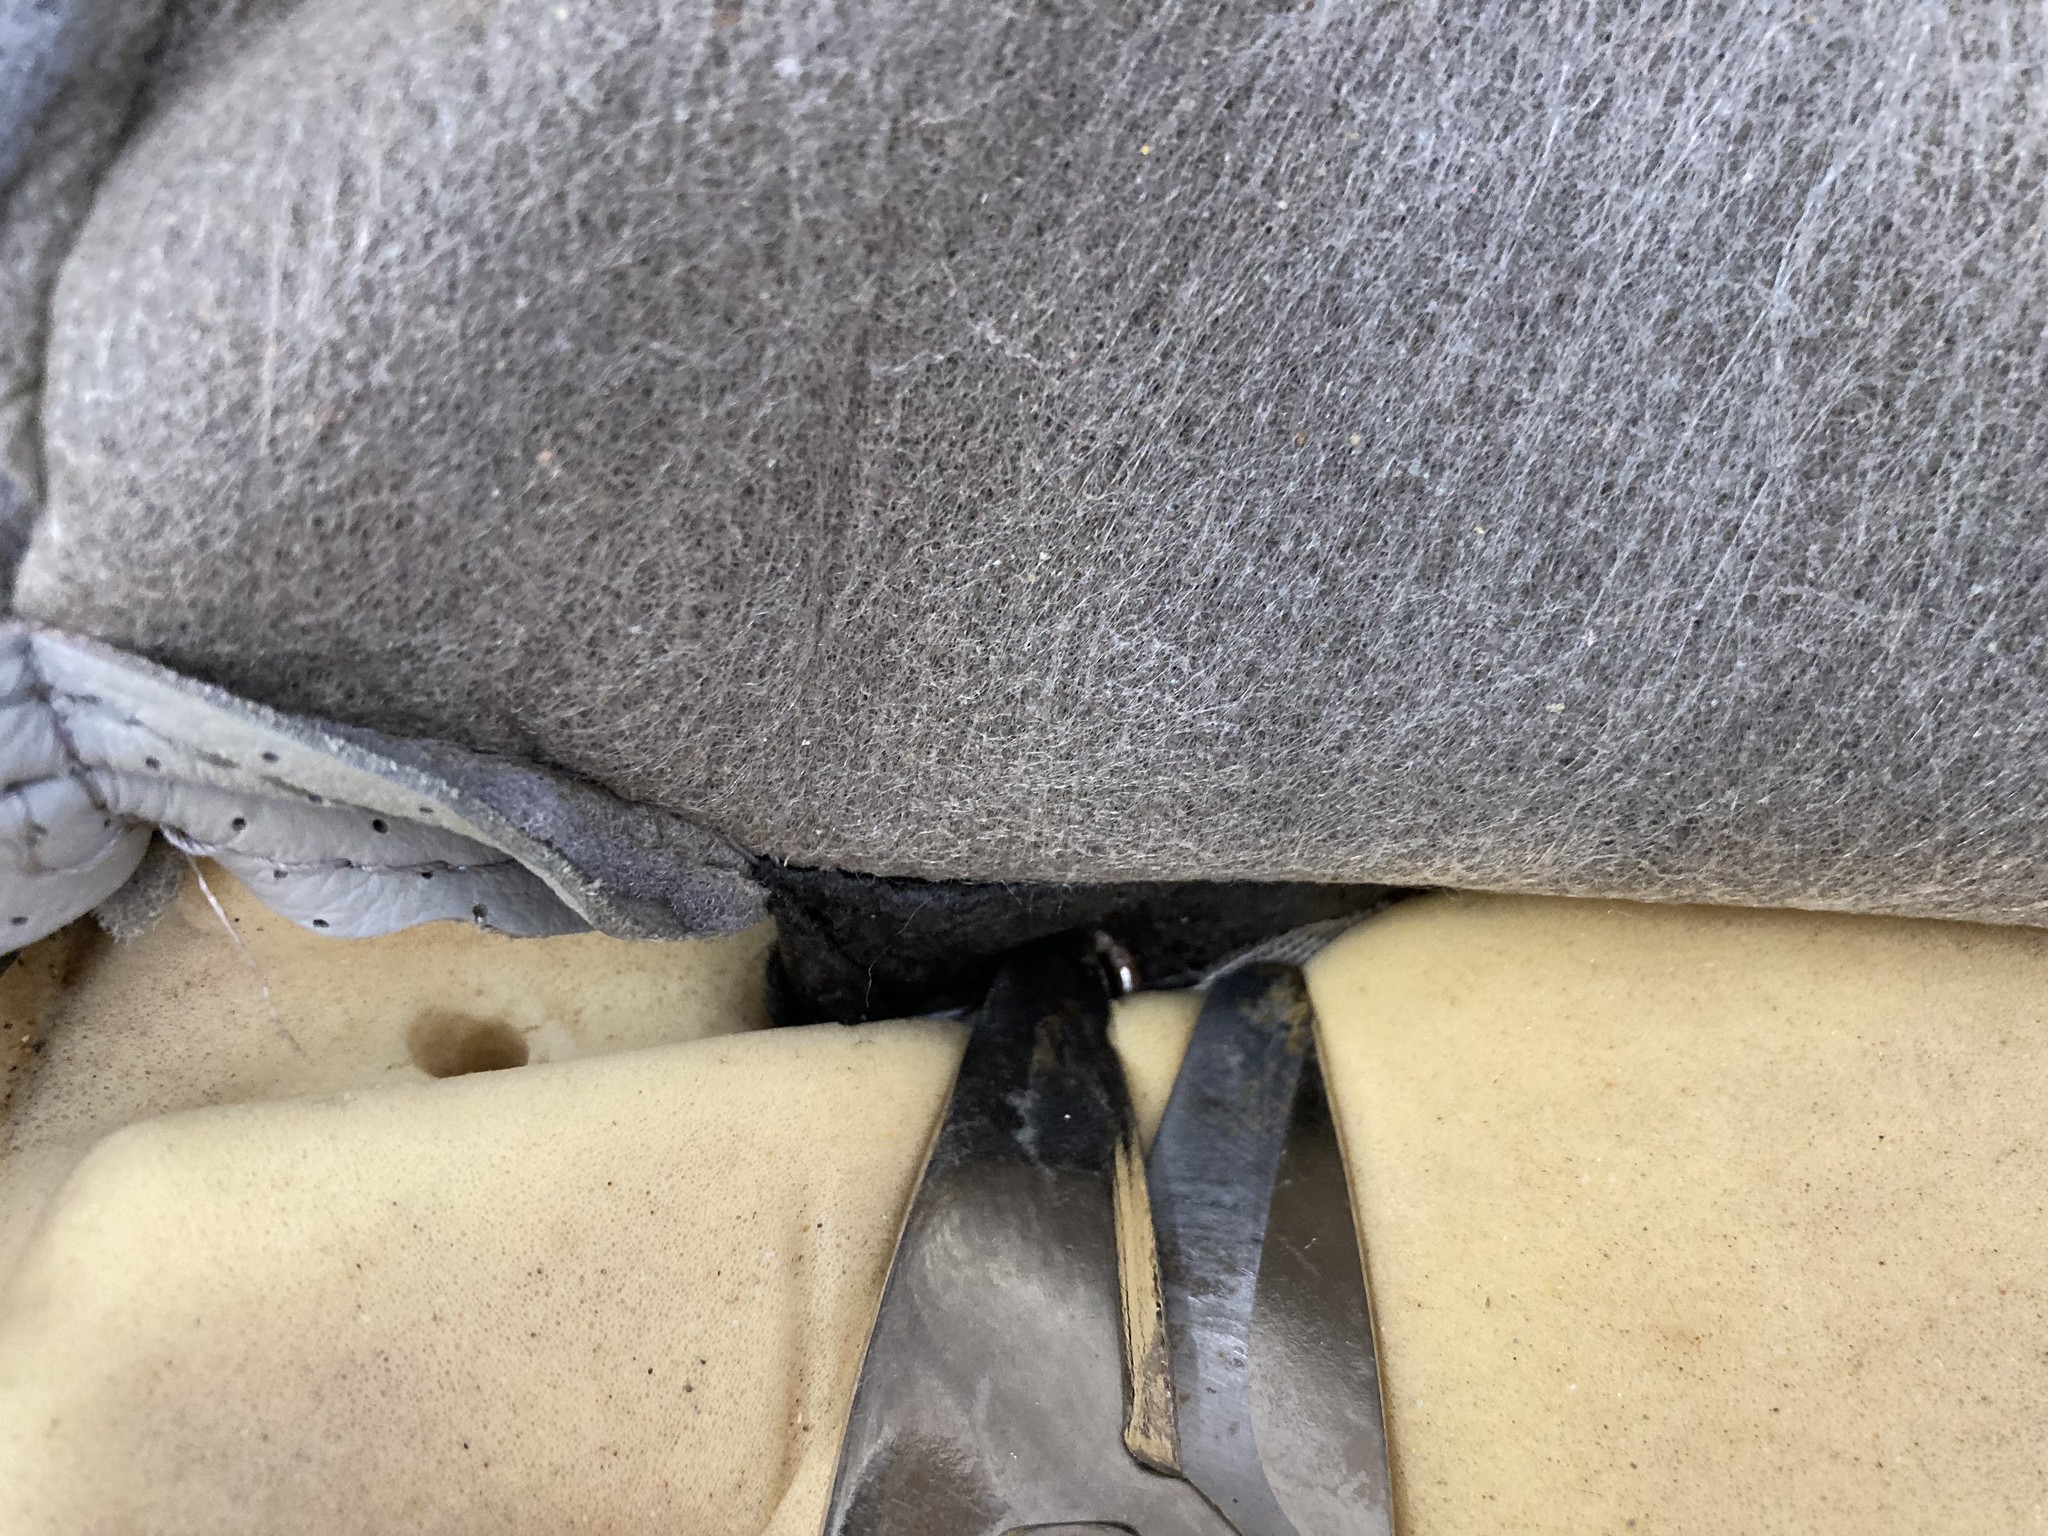
Cut out hog rings | Andy Jensen
-
Place the new heat element onto the seat foam. Test fit the location where you want the heat to be. Peel off the adhesive from the backside of the element, then stick it to the seat foam, aiming to get it seamless and wrinkle-free. This is similar to applying a window sticker, where you want to apply carefully to prevent bubbles.
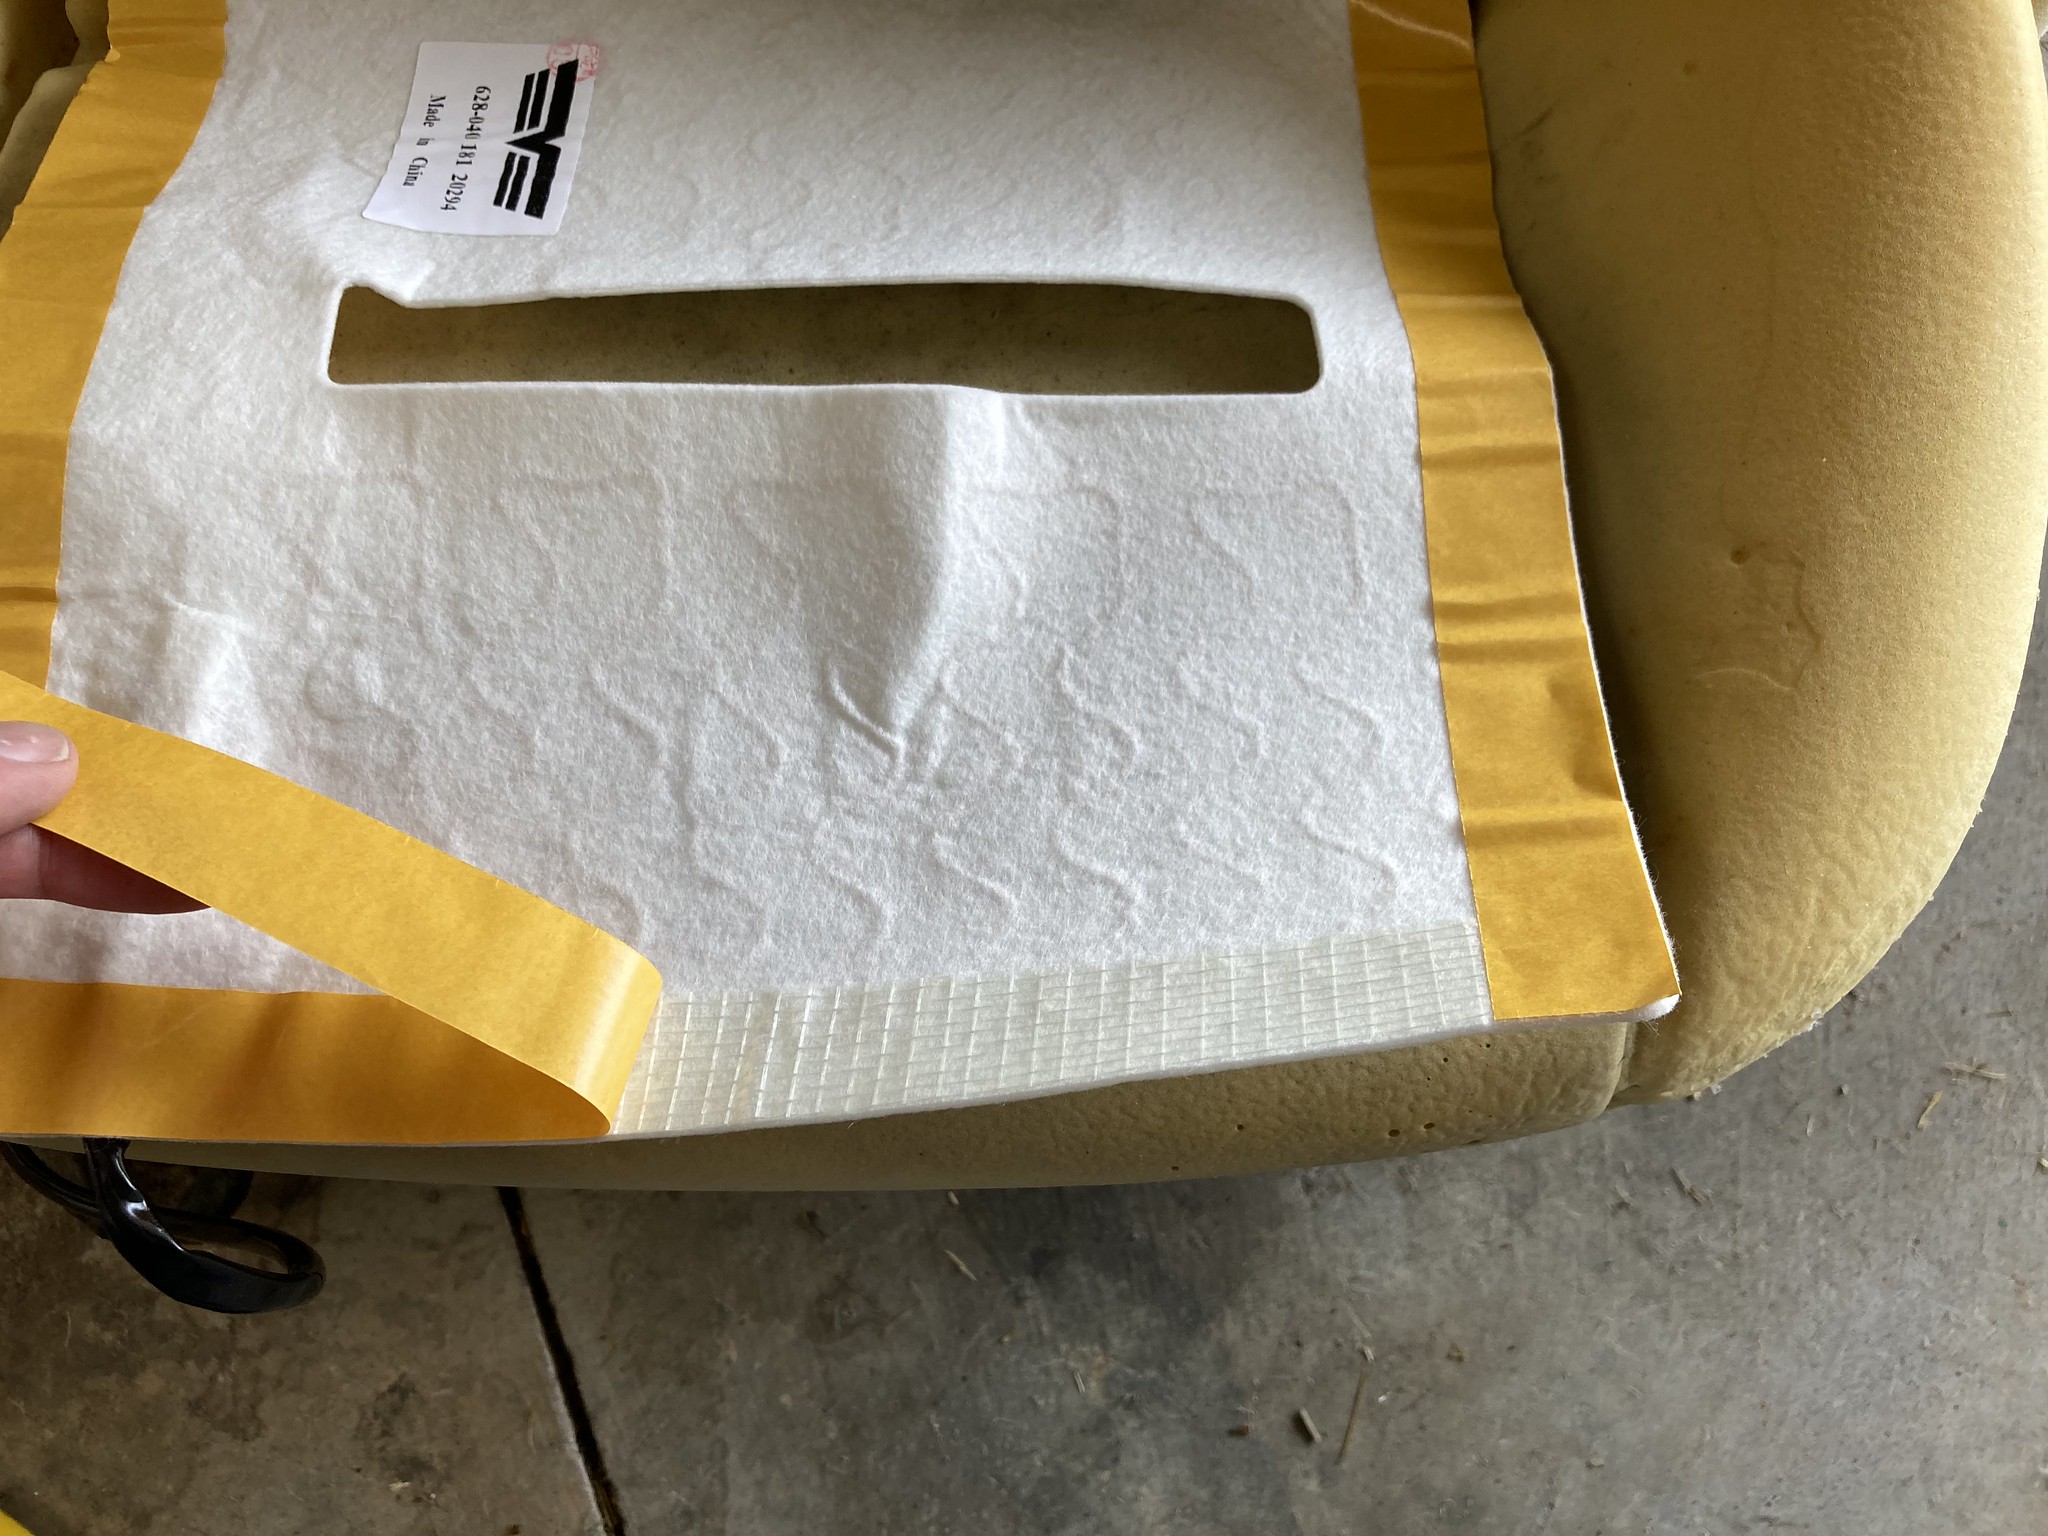
Remove backing from heat element | Andy Jensen
-
Replace the upholstery cover, using new hog rings as needed. Place a hog ring in the plier jaws, place the open “mouth" of the ring onto an area to clip, and squeeze the handles until the ring is closed. Use the hog ring pliers similar to a heavy-duty stapler. For some areas, it may be easier to use the included cable ties, Velcro® and clips.
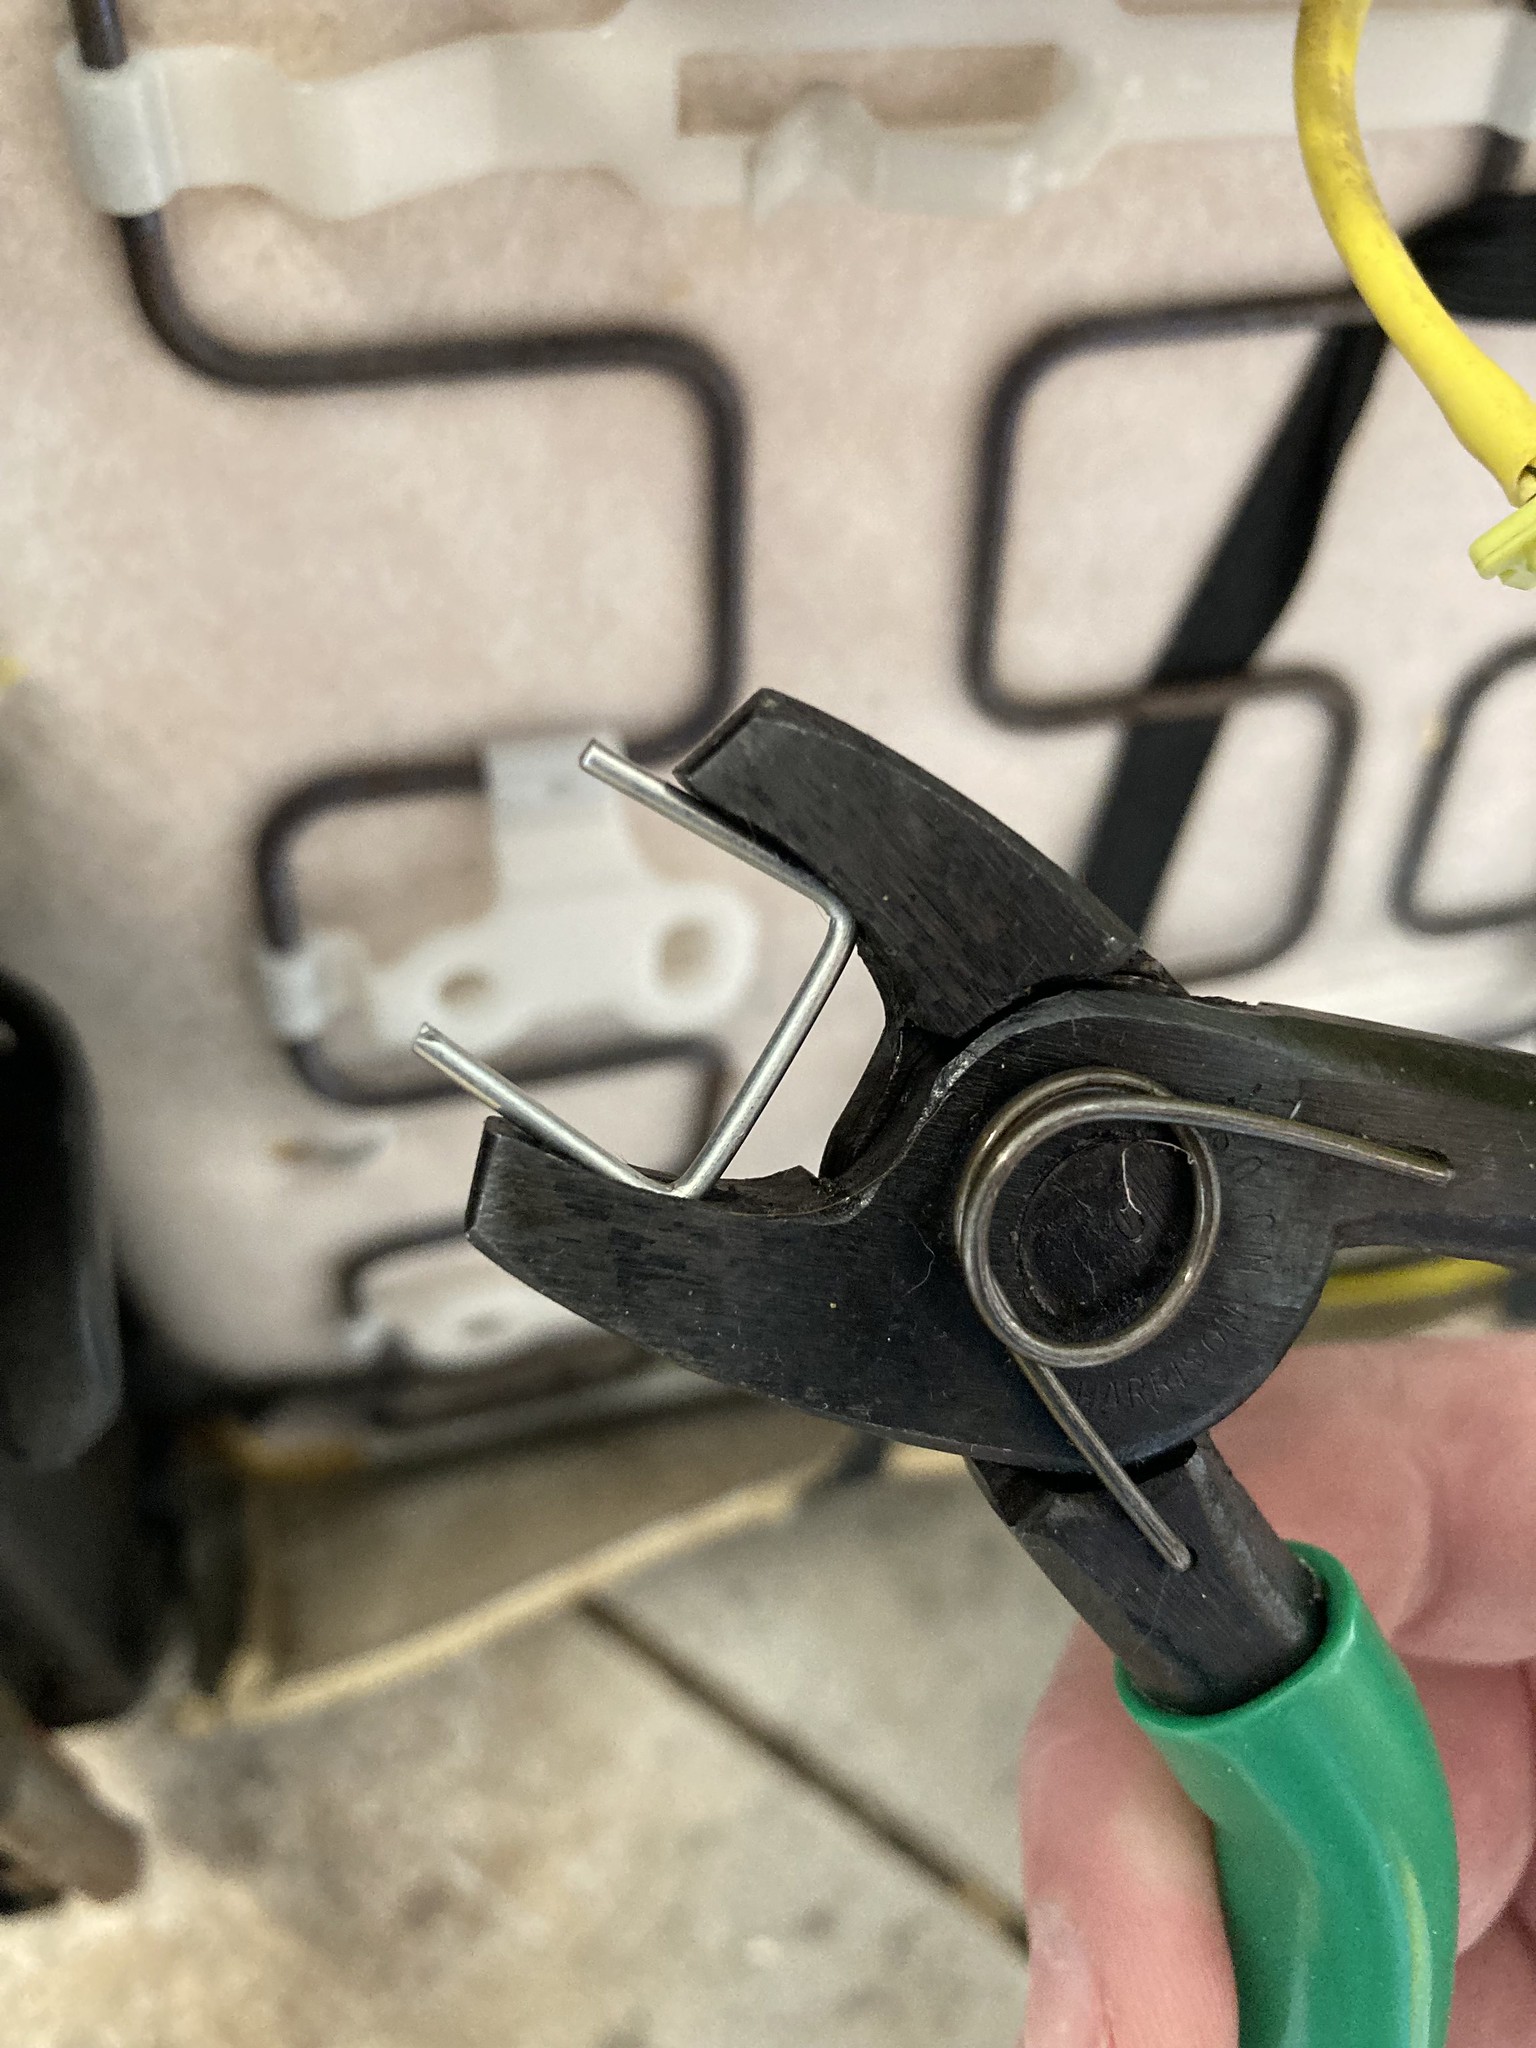
Insert new hog rings | Andy Jensen
-
Lay out the wiring for the electrical connection before reinstalling the seat. You should be able to slide the new wiring under the carpet next to the existing wiring. If not, you can instead cut a hole or run the wires under the door sill or center console, depending on your vehicle.
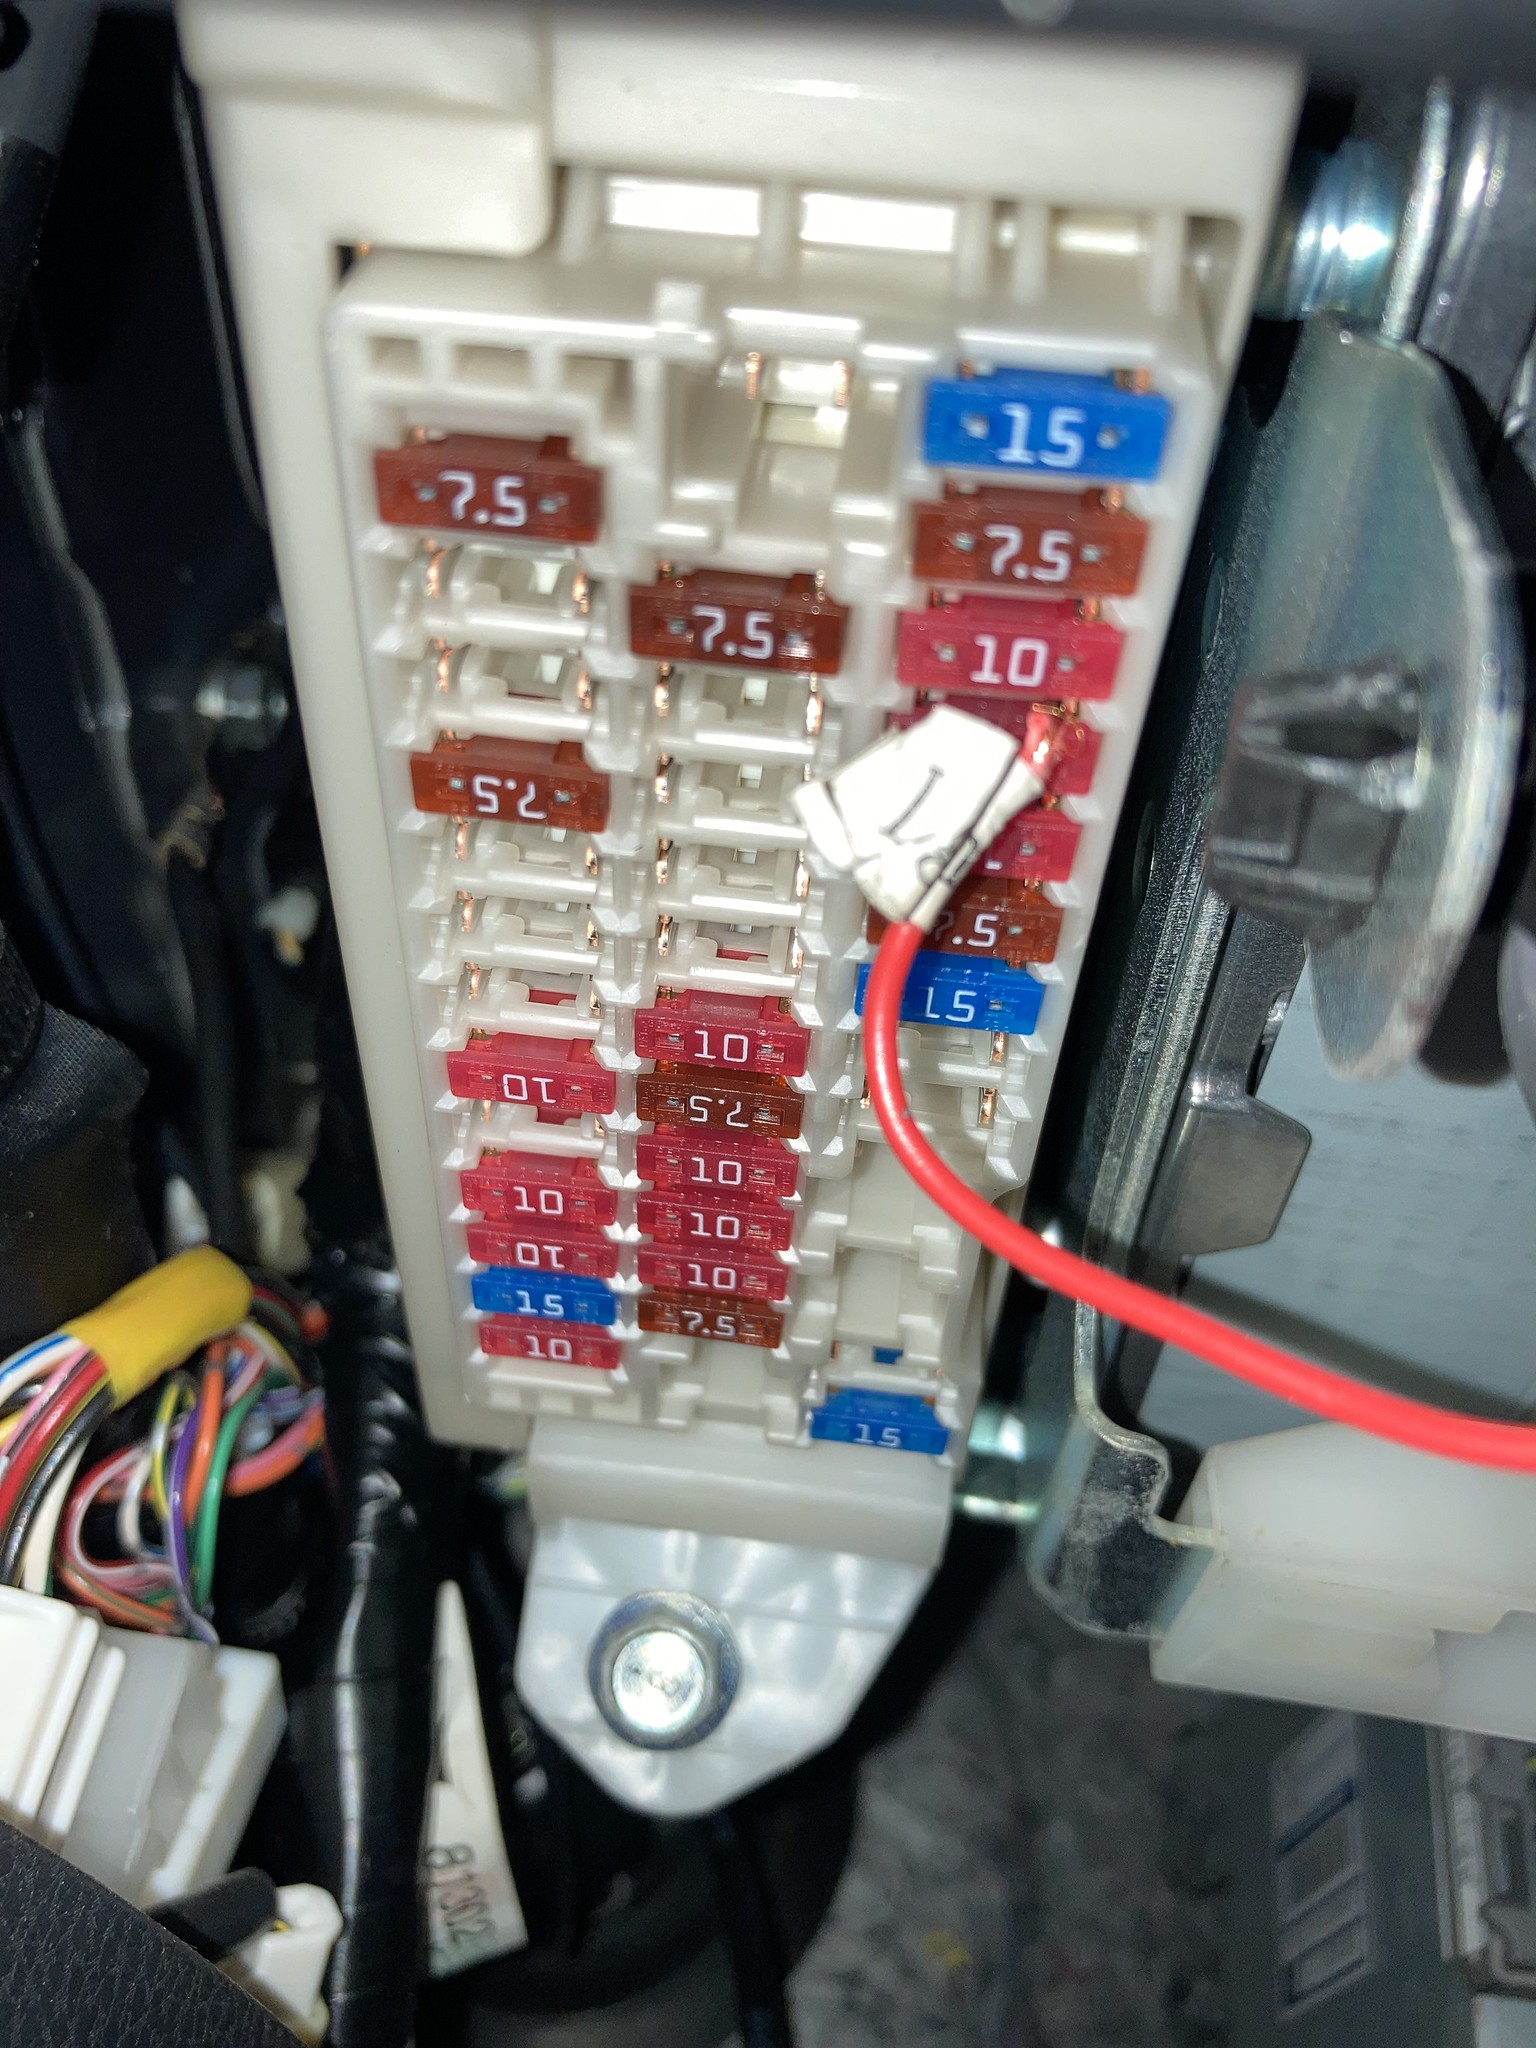
Find a fuse | Andy Jensen
-
Snap in the heating element's electrical connections to the wiring harness, then it's just a matter of connecting each wire to its proper place. The black wire goes to a ground of your choice, preferably on the body behind the dash. The red wire with the fuse connects to 12V power.
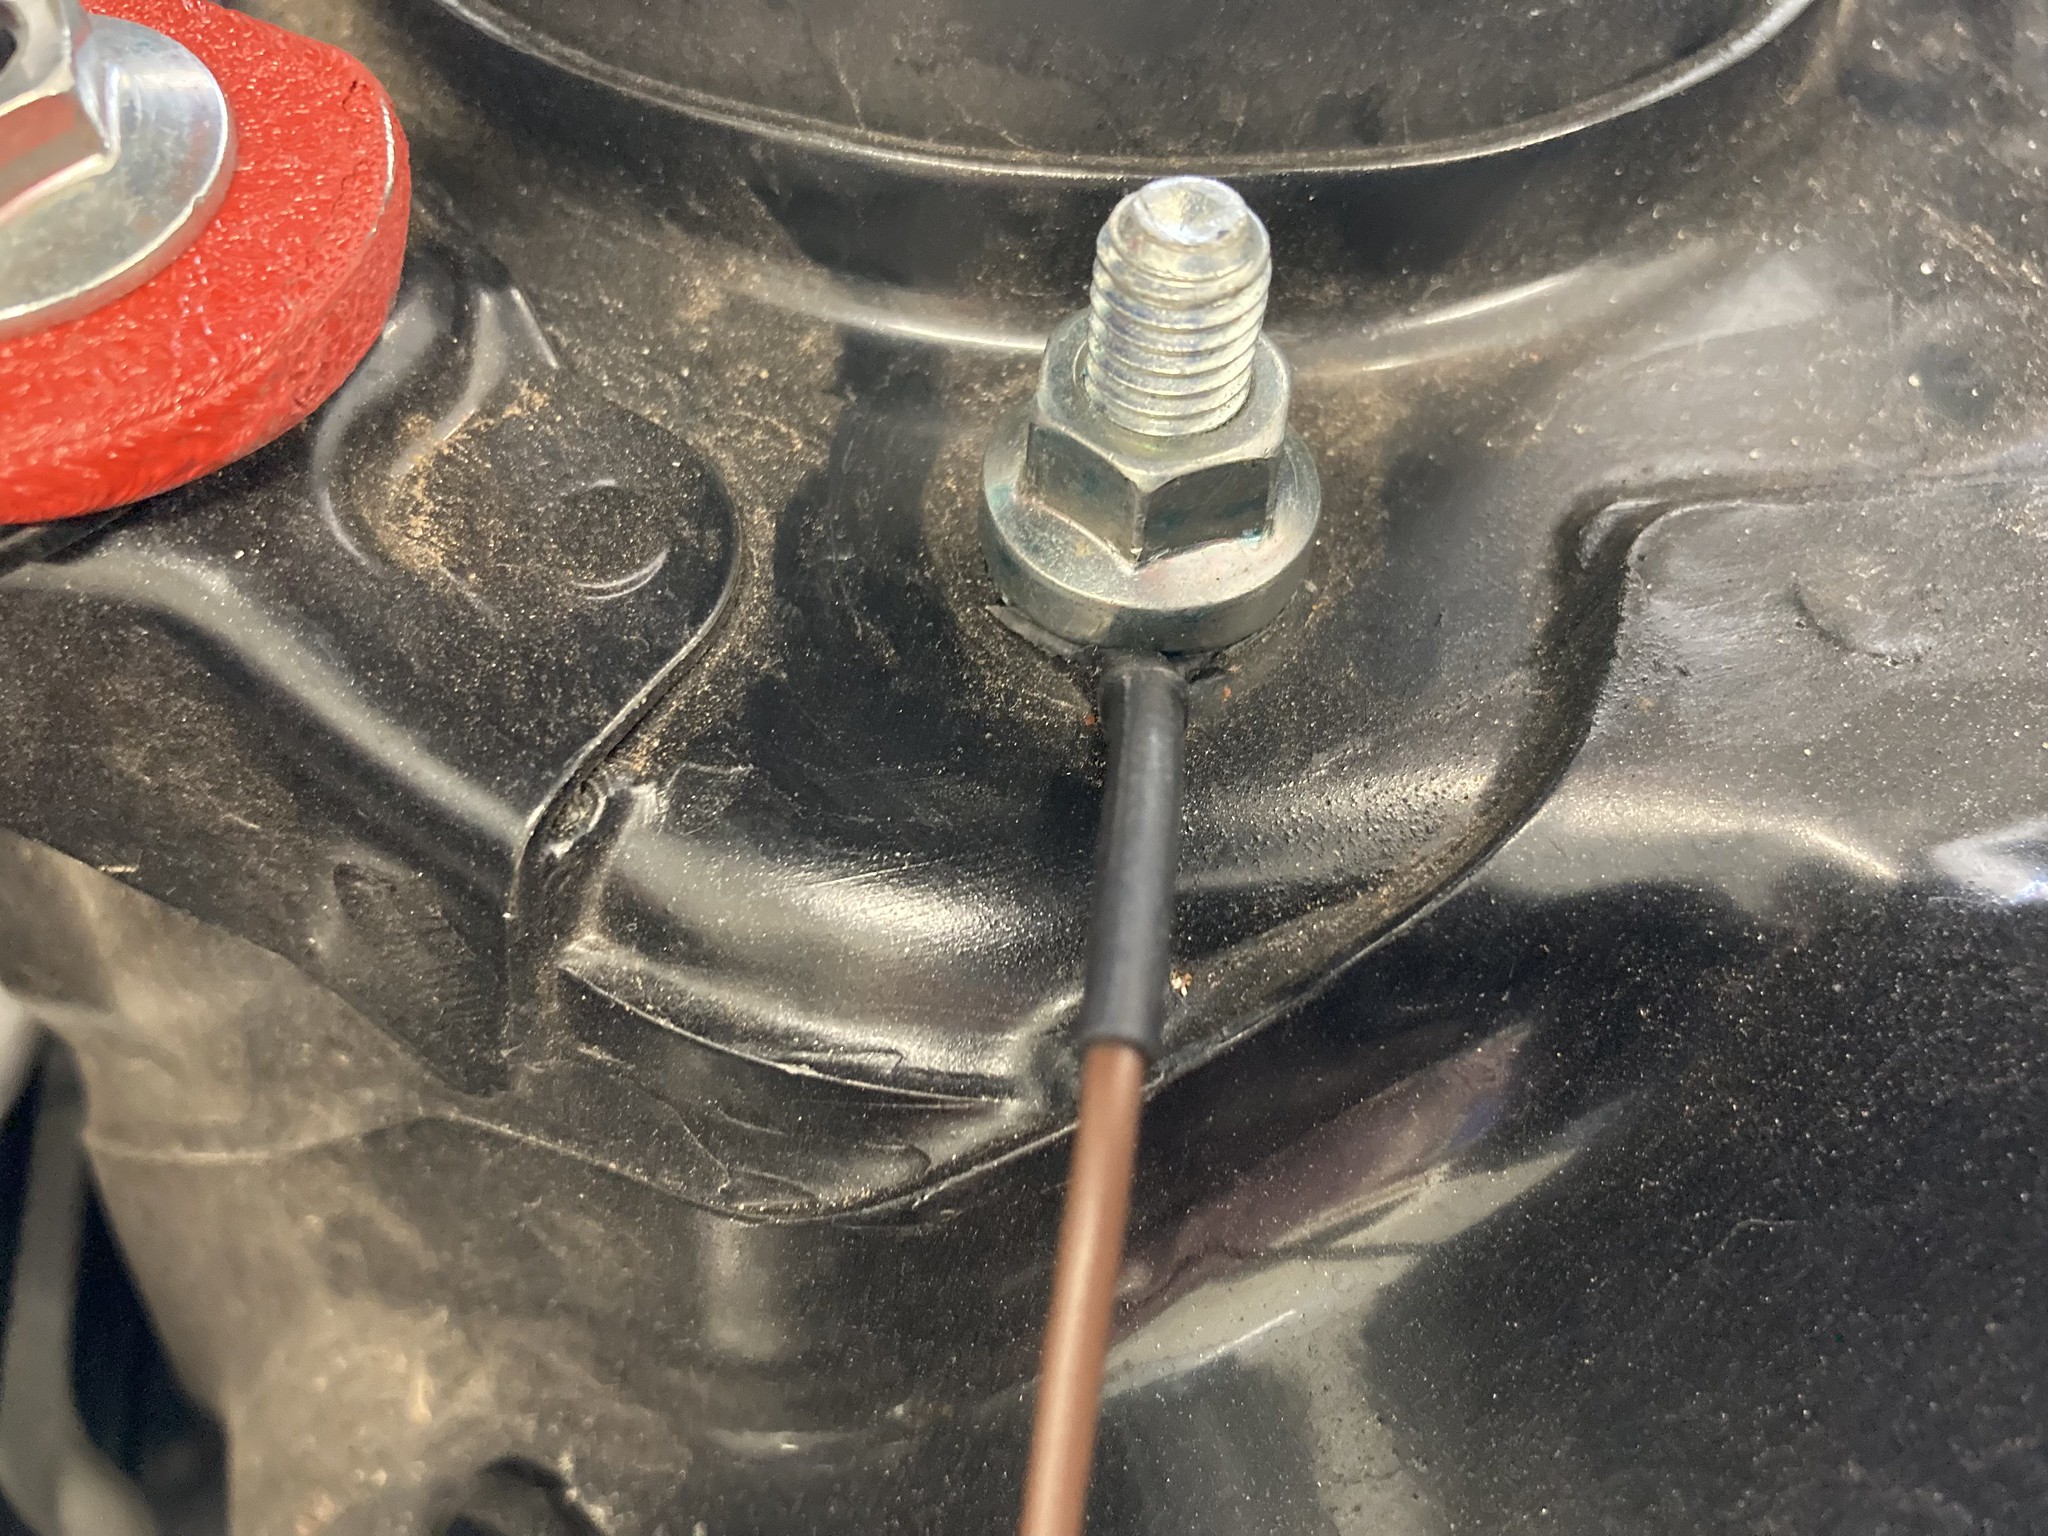
Connect to a ground | Andy Jensen
-
Use a 20mm drill bit to slowly file your way into the dash or center console plastic. This is the perfect size to slide in the HI/LOW/OFF switch, then connect it to the wiring harness. Use cable ties to keep wiring together so it doesn't bounce around and cause noise while driving.
-
Reinstall the seat, reconnect the seat's electrical power plug, and hand tighten the seat bolts. Check your service manual before tightening, as torque varies by the vehicle, usually 20 to 35 lb-ft.
-
Connect the battery and start the vehicle. Test the operation in low and high to verify proper installation. You should notice the heat in just a few minutes.
Wait at least 30 seconds after disconnecting the battery to start working around the airbags.
It is very important to torque the seat rail bolts properly, since having a loose seat is a huge safety issue. If you don't have a torque wrench, there are affordable options or totally free ones as part of Advance's loaner tool program.
Do you wish your ride had heated seats? Are you ready to tackle one of the installations above? Let us know in the comments below how you'll be staying toasty this winter.