The oxygen sensor (also commonly referred to as the O2 sensor) is one of the earliest innovations for emission controls. First developed in the '80s, O2 sensors are mounted in the exhaust stream to monitor the content of the exhaust gases as they make their way through the system. The O2 sensor sends a signal back to the engine computer, informing it of the oxygen content in the exhaust stream, and the computer then uses this information to determine fuel metering and ensuring the catalytic converters are functioning properly.
On many vehicles, the O2 sensor can last the entire life cycle of the car, but on many others the sensor can fail before 100,000 or so miles. A failed O2 sensor will result in:
- Excessive fuel consumption
- Poor power and acceleration
- Rough idle
- Rich fuel mixture and black smoke
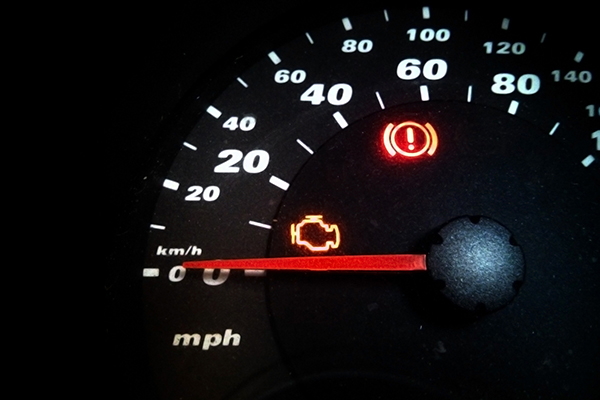
- Trouble code and an illuminated Check Engine Light
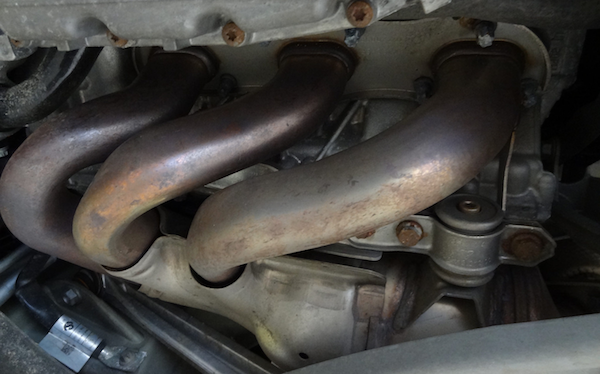
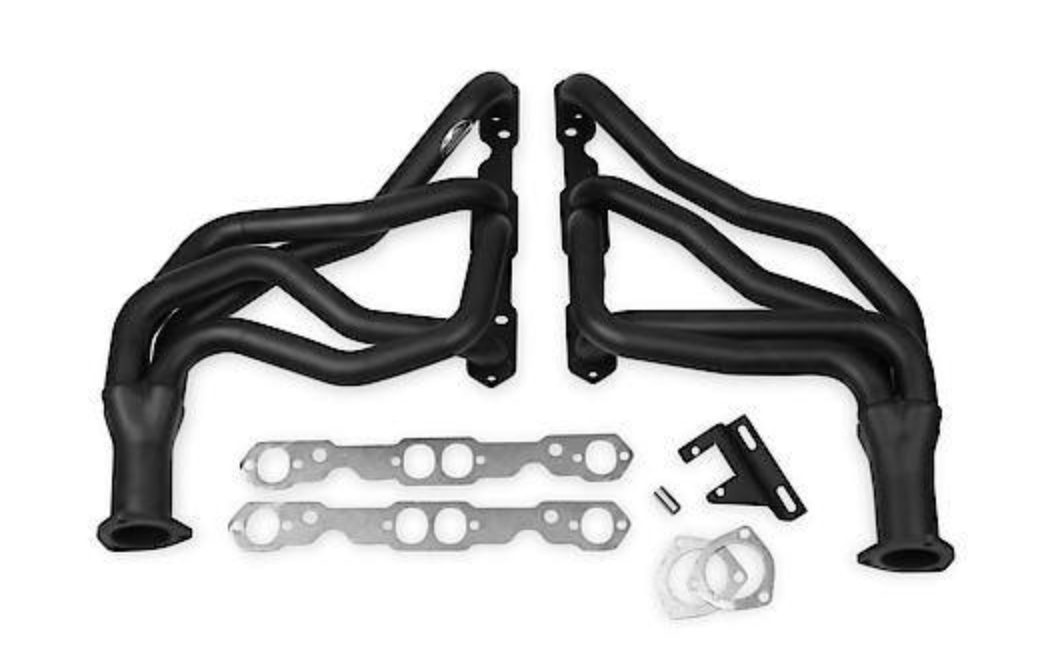
Older vehicles had a single O2 sensor in the engine compartment, closer to the exhaust manifold. Most newer vehicles have more than one (and as many as four), with the second sensor farther down the exhaust pipe, closer to the catalytic converter. There are a few O2 sensor codes, ranging numerically from P0030 to P0064 and P0130 to P0167. The code that's registered should tell you the specific sensor that has gone down.
If you've determined that the O2 sensor has failed on your engine, it's not that hard to change this part. Let's get the full rundown on this job.
This is a project that needs some know-how
-
Disconnect the negative battery cable.
-
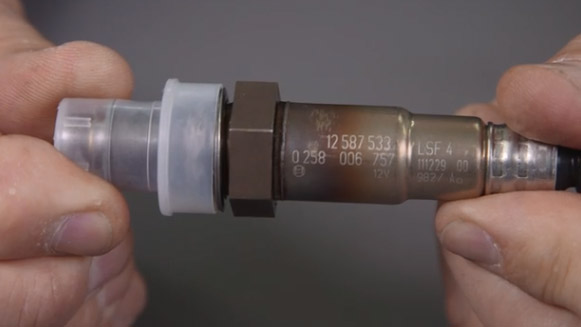
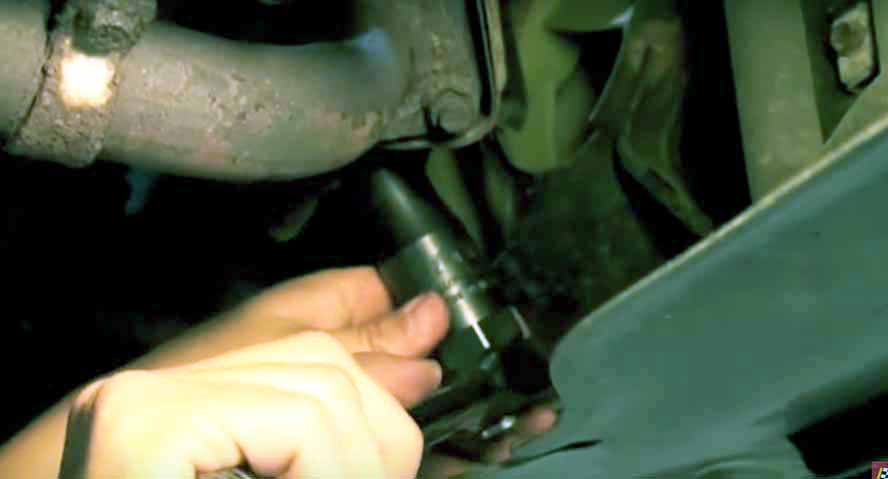
After you've read the codes and determined which O2 sensor is in question, jack up the vehicle and securely raise it on jack stands. Use the creeper to get under the vehicle and locate the sensor — it's the thing that looks like a large spark plug, with wires leading out of it.
-
The sensor can be difficult to remove due to the thousands of heat/cool cycles that practically weld this part to its mounting threads. Spray the base and threads liberally with a heavy-duty penetrating lubricant, such as PB Blaster. Wait for 10 minutes or so and see if the sensor will budge — it usually requires a 7/8" wrench. If it's still stubborn, heat up the base and threads with a heat gun (preferable to a torch, since there's no open flame). This is better than heating up the entire exhaust system and engine by running the engine for 10 or so minutes.
-
Disconnect the sensor's wiring connector (be careful of its plastic tabs) and try to remove it, either with an open-end wrench or an O2 sensor socket. This specialized tool is a deep-well socket, not unlike a spark plug socket, with a cutout along one side to accommodate the sensor's wiring pigtail. If you don't think you'll benefit from buying one outright, we've got you covered with a loaner kit.
-
Turn the sensor a few degrees counterclockwise and see if it will turn readily. If not, stop — this is where it can get dicey. If you force an O2 sensor that's not turning easily, you can damage the threads and end up with a much more costly and difficult repair. Hit the threads with penetrating oil again, wait, heat up the exhaust pipe and give it another shot. You may find yourself needing to cut the pigtail for the sensor and use a 1/2" drive deep-well socket with a breaker bar to get it to move.
-
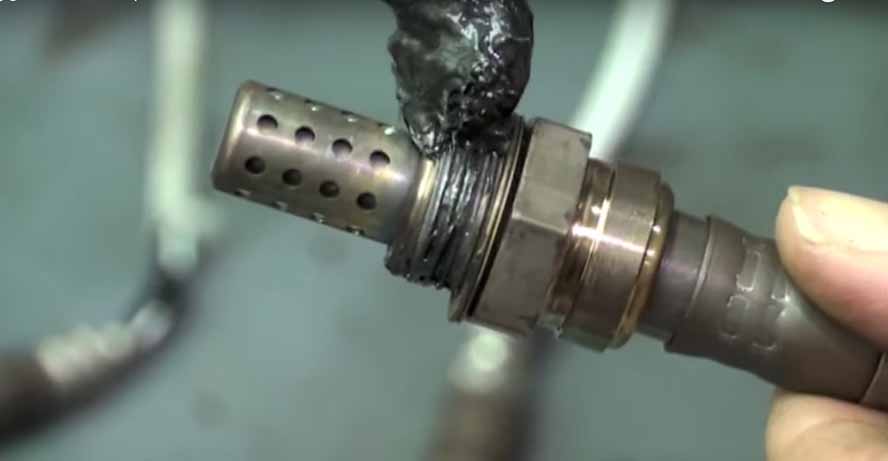
Once the sensor is removed, clean the threads carefully using penetrating oil and a rag. Compare the old sensor to the new one, making sure that you have a precise match. Do not touch the tip of the new sensor. Skin oils, penetrating oil or any other contaminants can shorten its life.
-
Put a dab of anti-seize compound on the threads and carefully start the new sensor by hand, being careful not to cross-thread it. Tighten the new sensor to your manufacturer's torque specs.
-
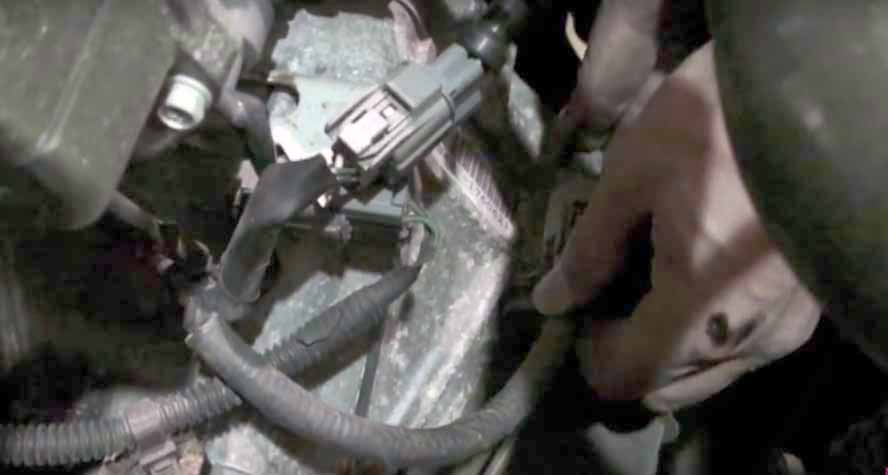
Reconnect the electrical connector.
-
Reconnect the negative battery cable and turn the ignition key to the "on" position, but don't start the engine. Use your code reader/scanner tool to clear any trouble codes from the engine computer.
Watch Video on How to Replace an Oxygen Sensor on Your Car

